Other Changes
The updated Home screen and multiwindow alone would justify giving iPad its own branded OS, but there are more iPad-related updates in this release worth covering.
Apple Pencil
I’ve written before about how I don’t use the Apple Pencil for artistic purposes but rely on it to control the iPad’s UI when I’m working with an external display, as well as for the occasional note-taking. For these reasons, the fact that Apple was able to reduce the Pencil’s latency down to 9ms (for both Pencil generations) doesn’t particularly affect me, but it’s noticeable, and it’s a big deal for creative pros who get work done with a Pencil every day.
The Pencil’s latency was already industry-leading, but Apple further optimized performance in the input and graphics stacks and enhanced its prediction algorithms to make drawing feel even smoother and more fluid. The digital ink now sticks so close to the Pencil’s tip, latency is barely visible to the naked eye.
Four years after the Pencil’s introduction with the first iPad Pro, Apple has created a PencilKit framework for developers to incorporate hand-drawn content in their apps. I’ve long argued that this is what Apple should have done to foster an ecosystem of Pencil-compatible apps: rather than forcing developers to write their own drawing engines from scratch – which has a high development cost that incurs a debt to time spent on other features – Apple now lets developers plug directly into the same system that generates drawings for Notes and Markup. Developers get a high-performance, highly tuned, low-latency drawing stack that supports both Apple Pencil and the user’s finger, effectively for free. I expect several note-taking and drawing apps to integrate with this new API in the near future.
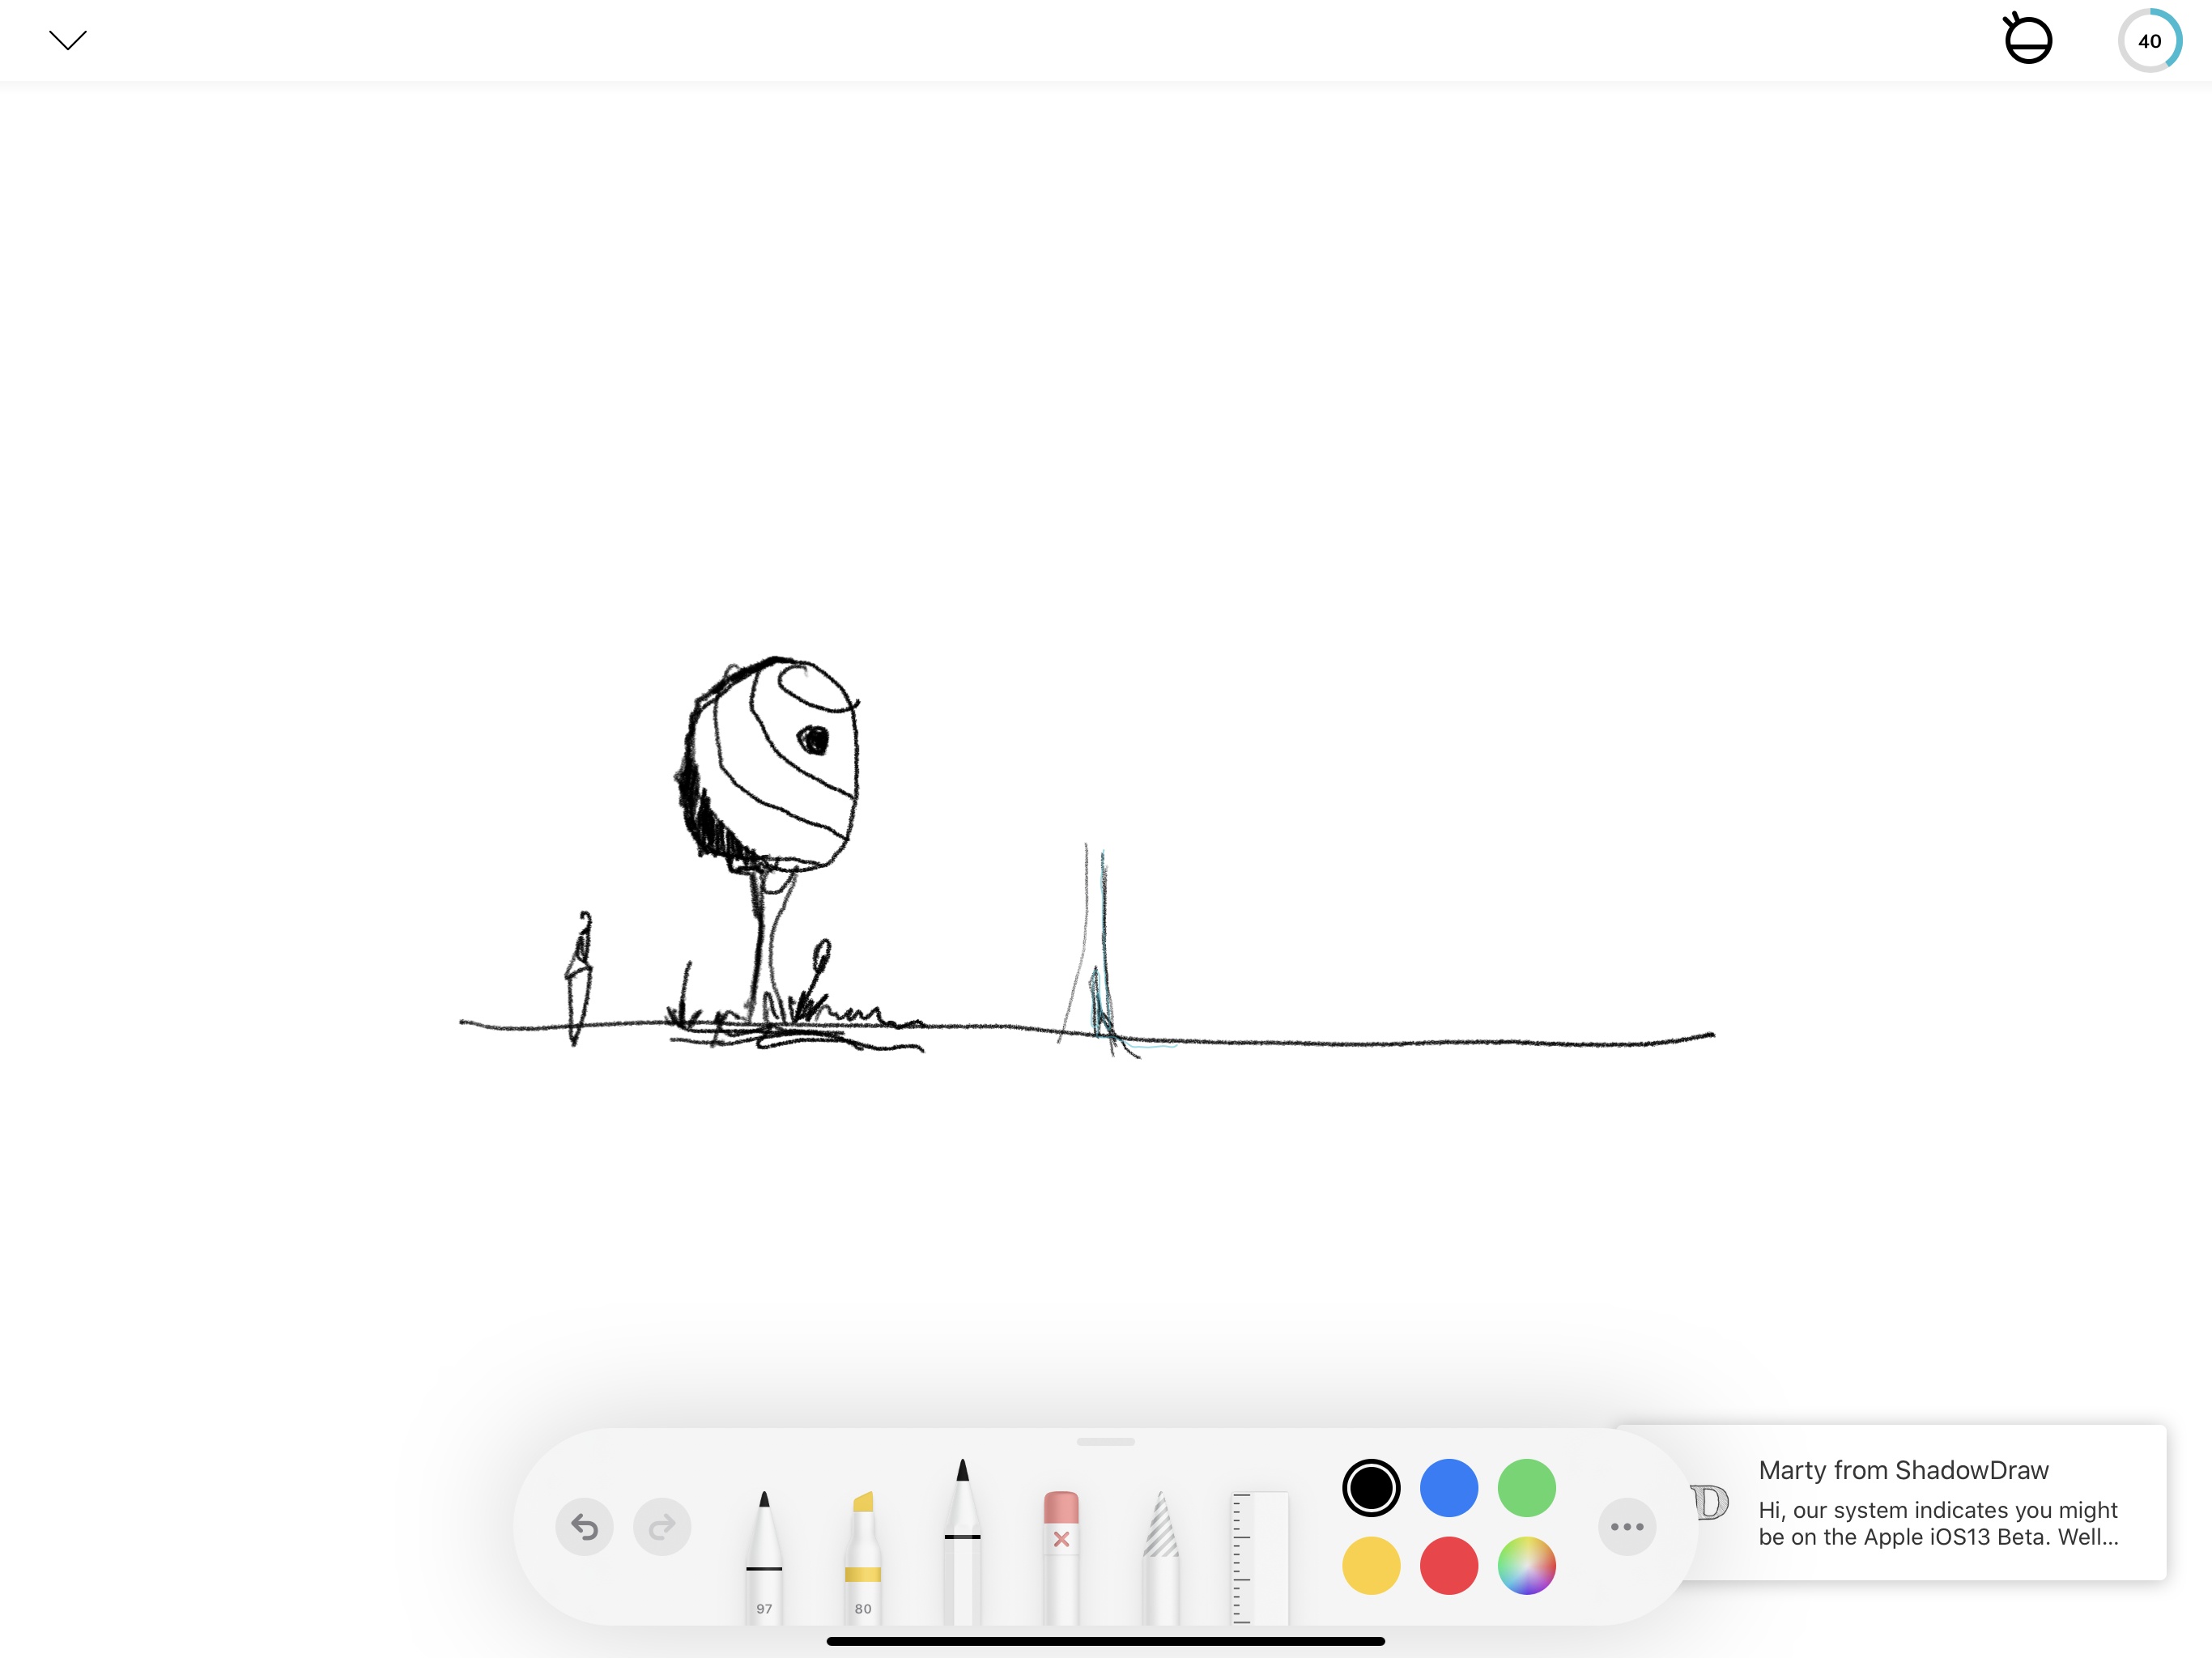
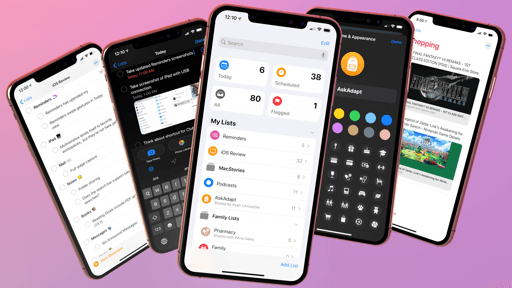
The big Pencil-related news in iPadOS 13, however, is the new tools palette available for markup mode or when taking screenshots. Tools have been redesigned so they have a more realistic appearance now, which is fun to look at and helps distinguish each individual instrument, especially on the iPhone’s smaller screen (the tools palette has been redesigned everywhere, not just on iPad). The level of opacity selected for each tool is also displayed as a numeric value, which I find easier to understand than a slider.
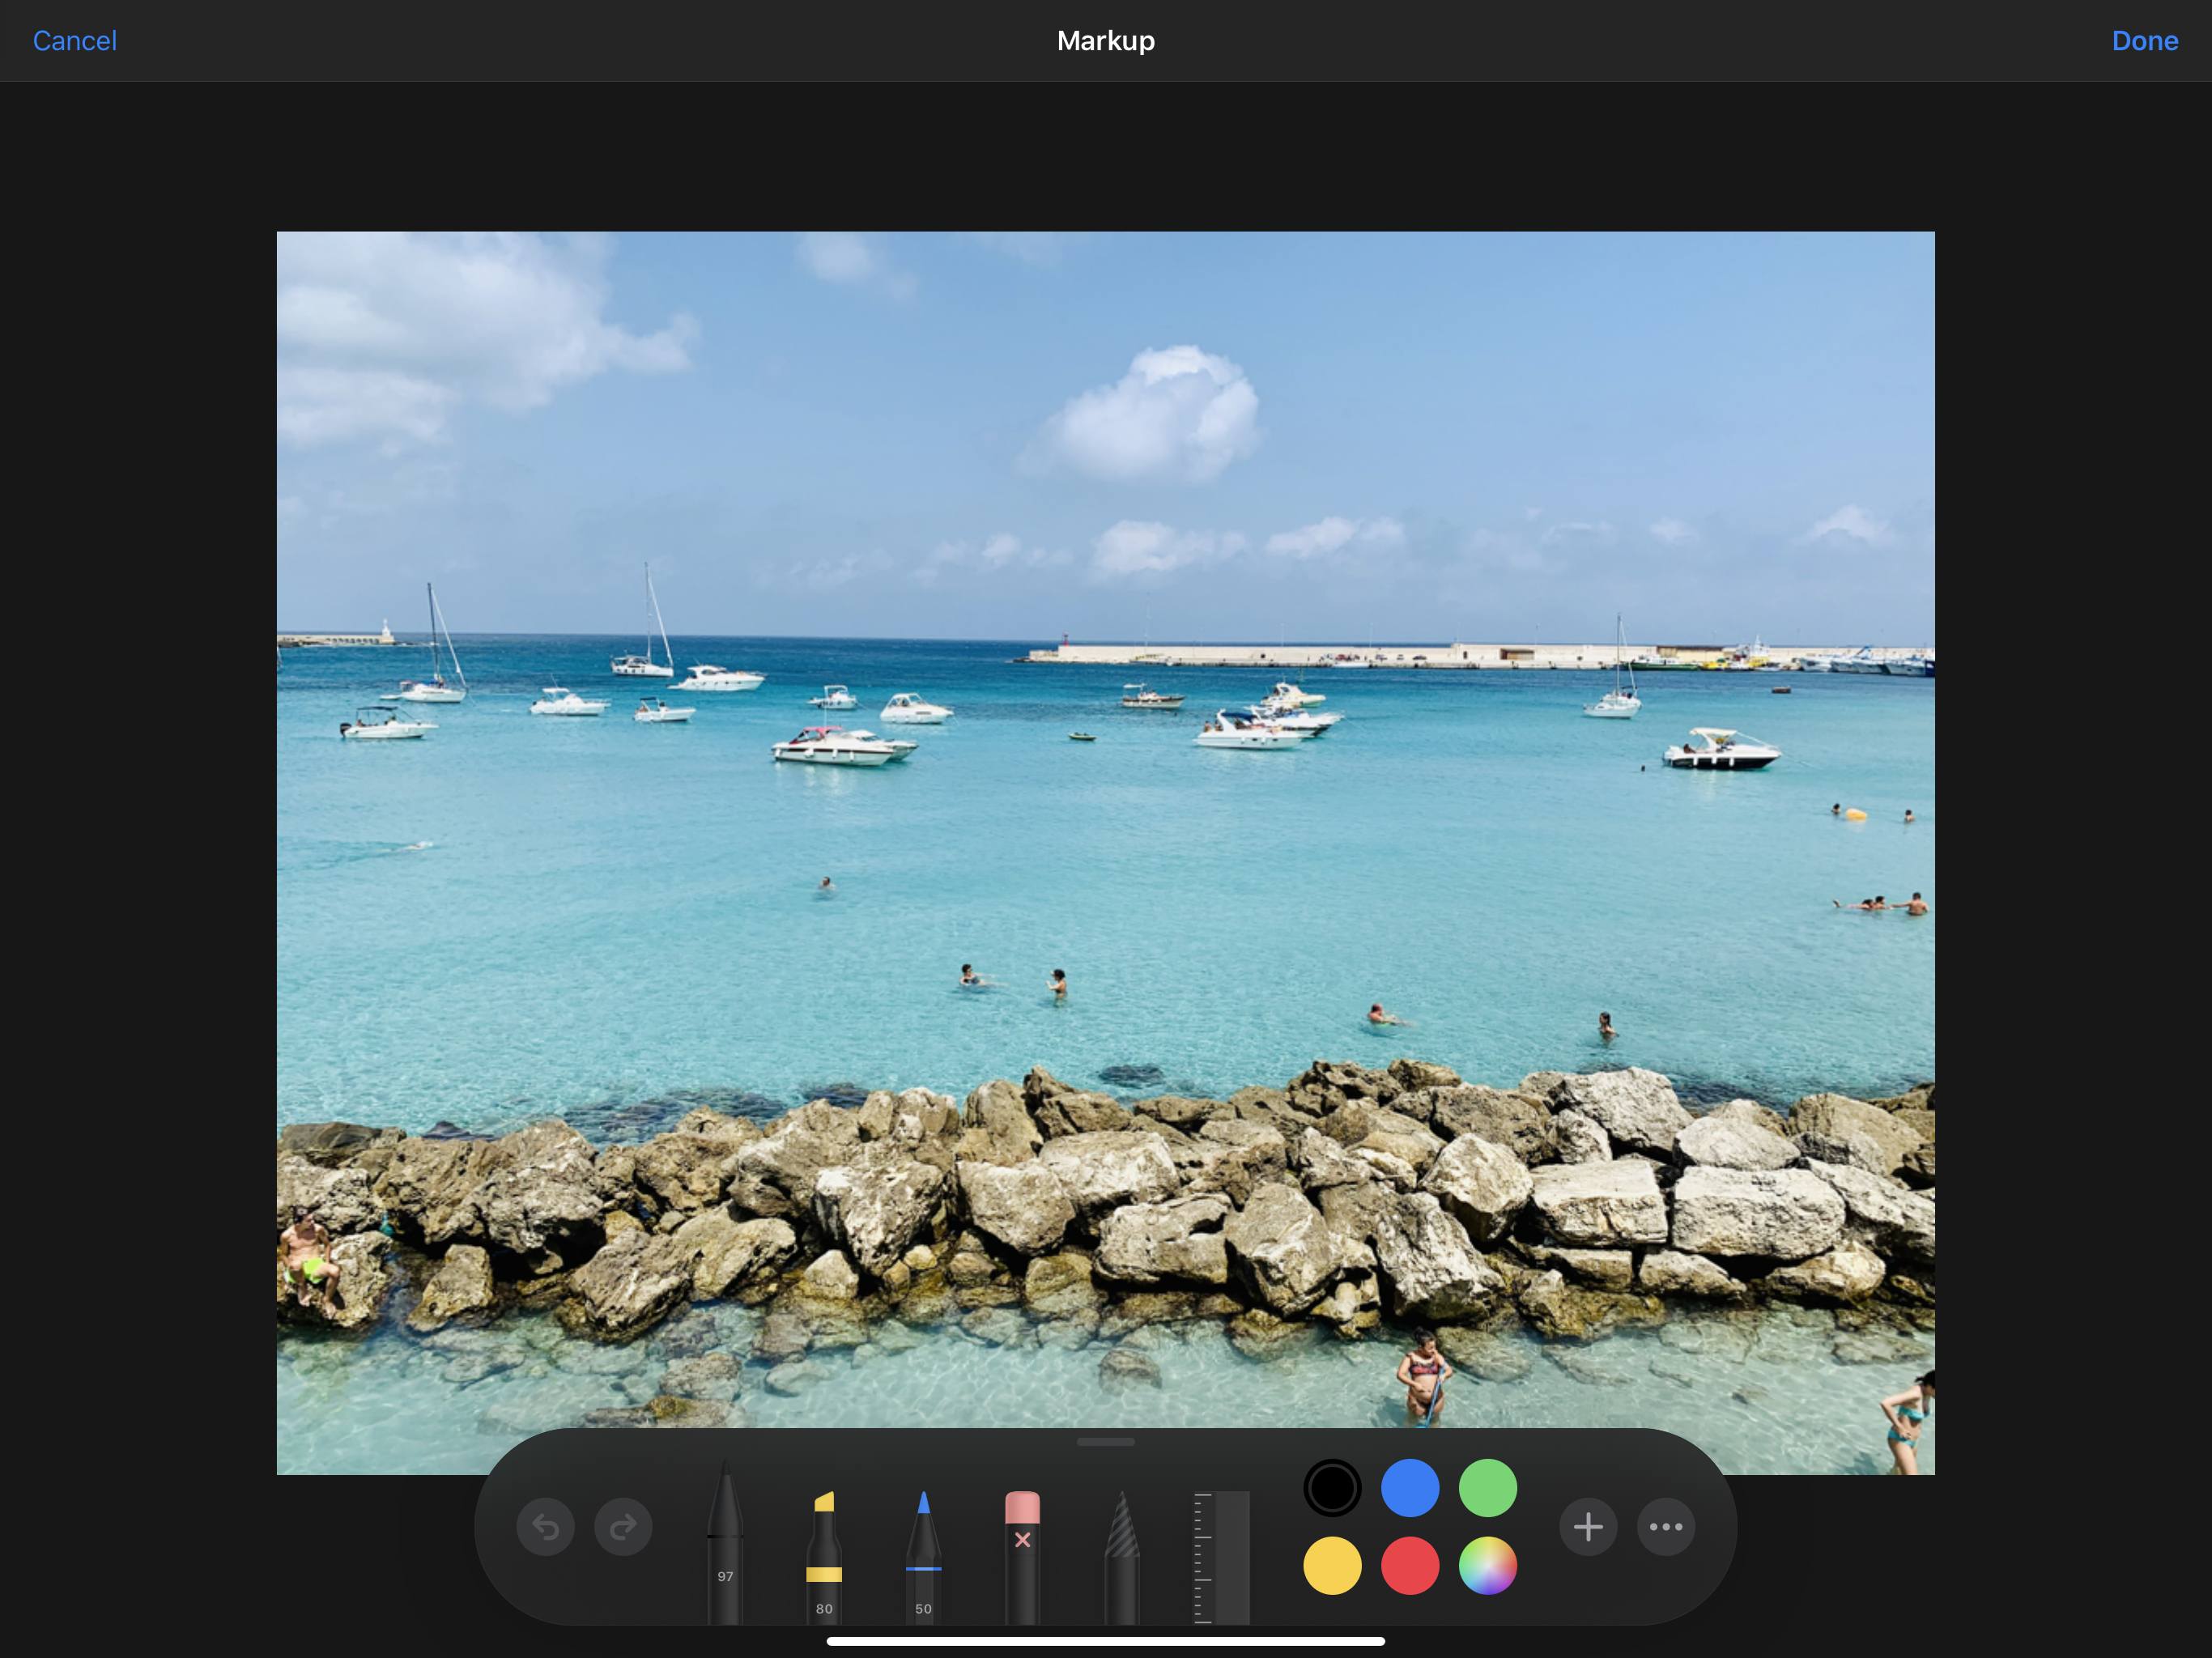
The eraser tool now lets you choose between a pixel eraser (the standard mode) and an object eraser that deletes entire annotations with one tap; to switch between modes, you need to choose from a menu that’s accessed by tapping the eraser tool. The ruler is also more obviously accessible than before as it’s a top-level instrument in the palette now.
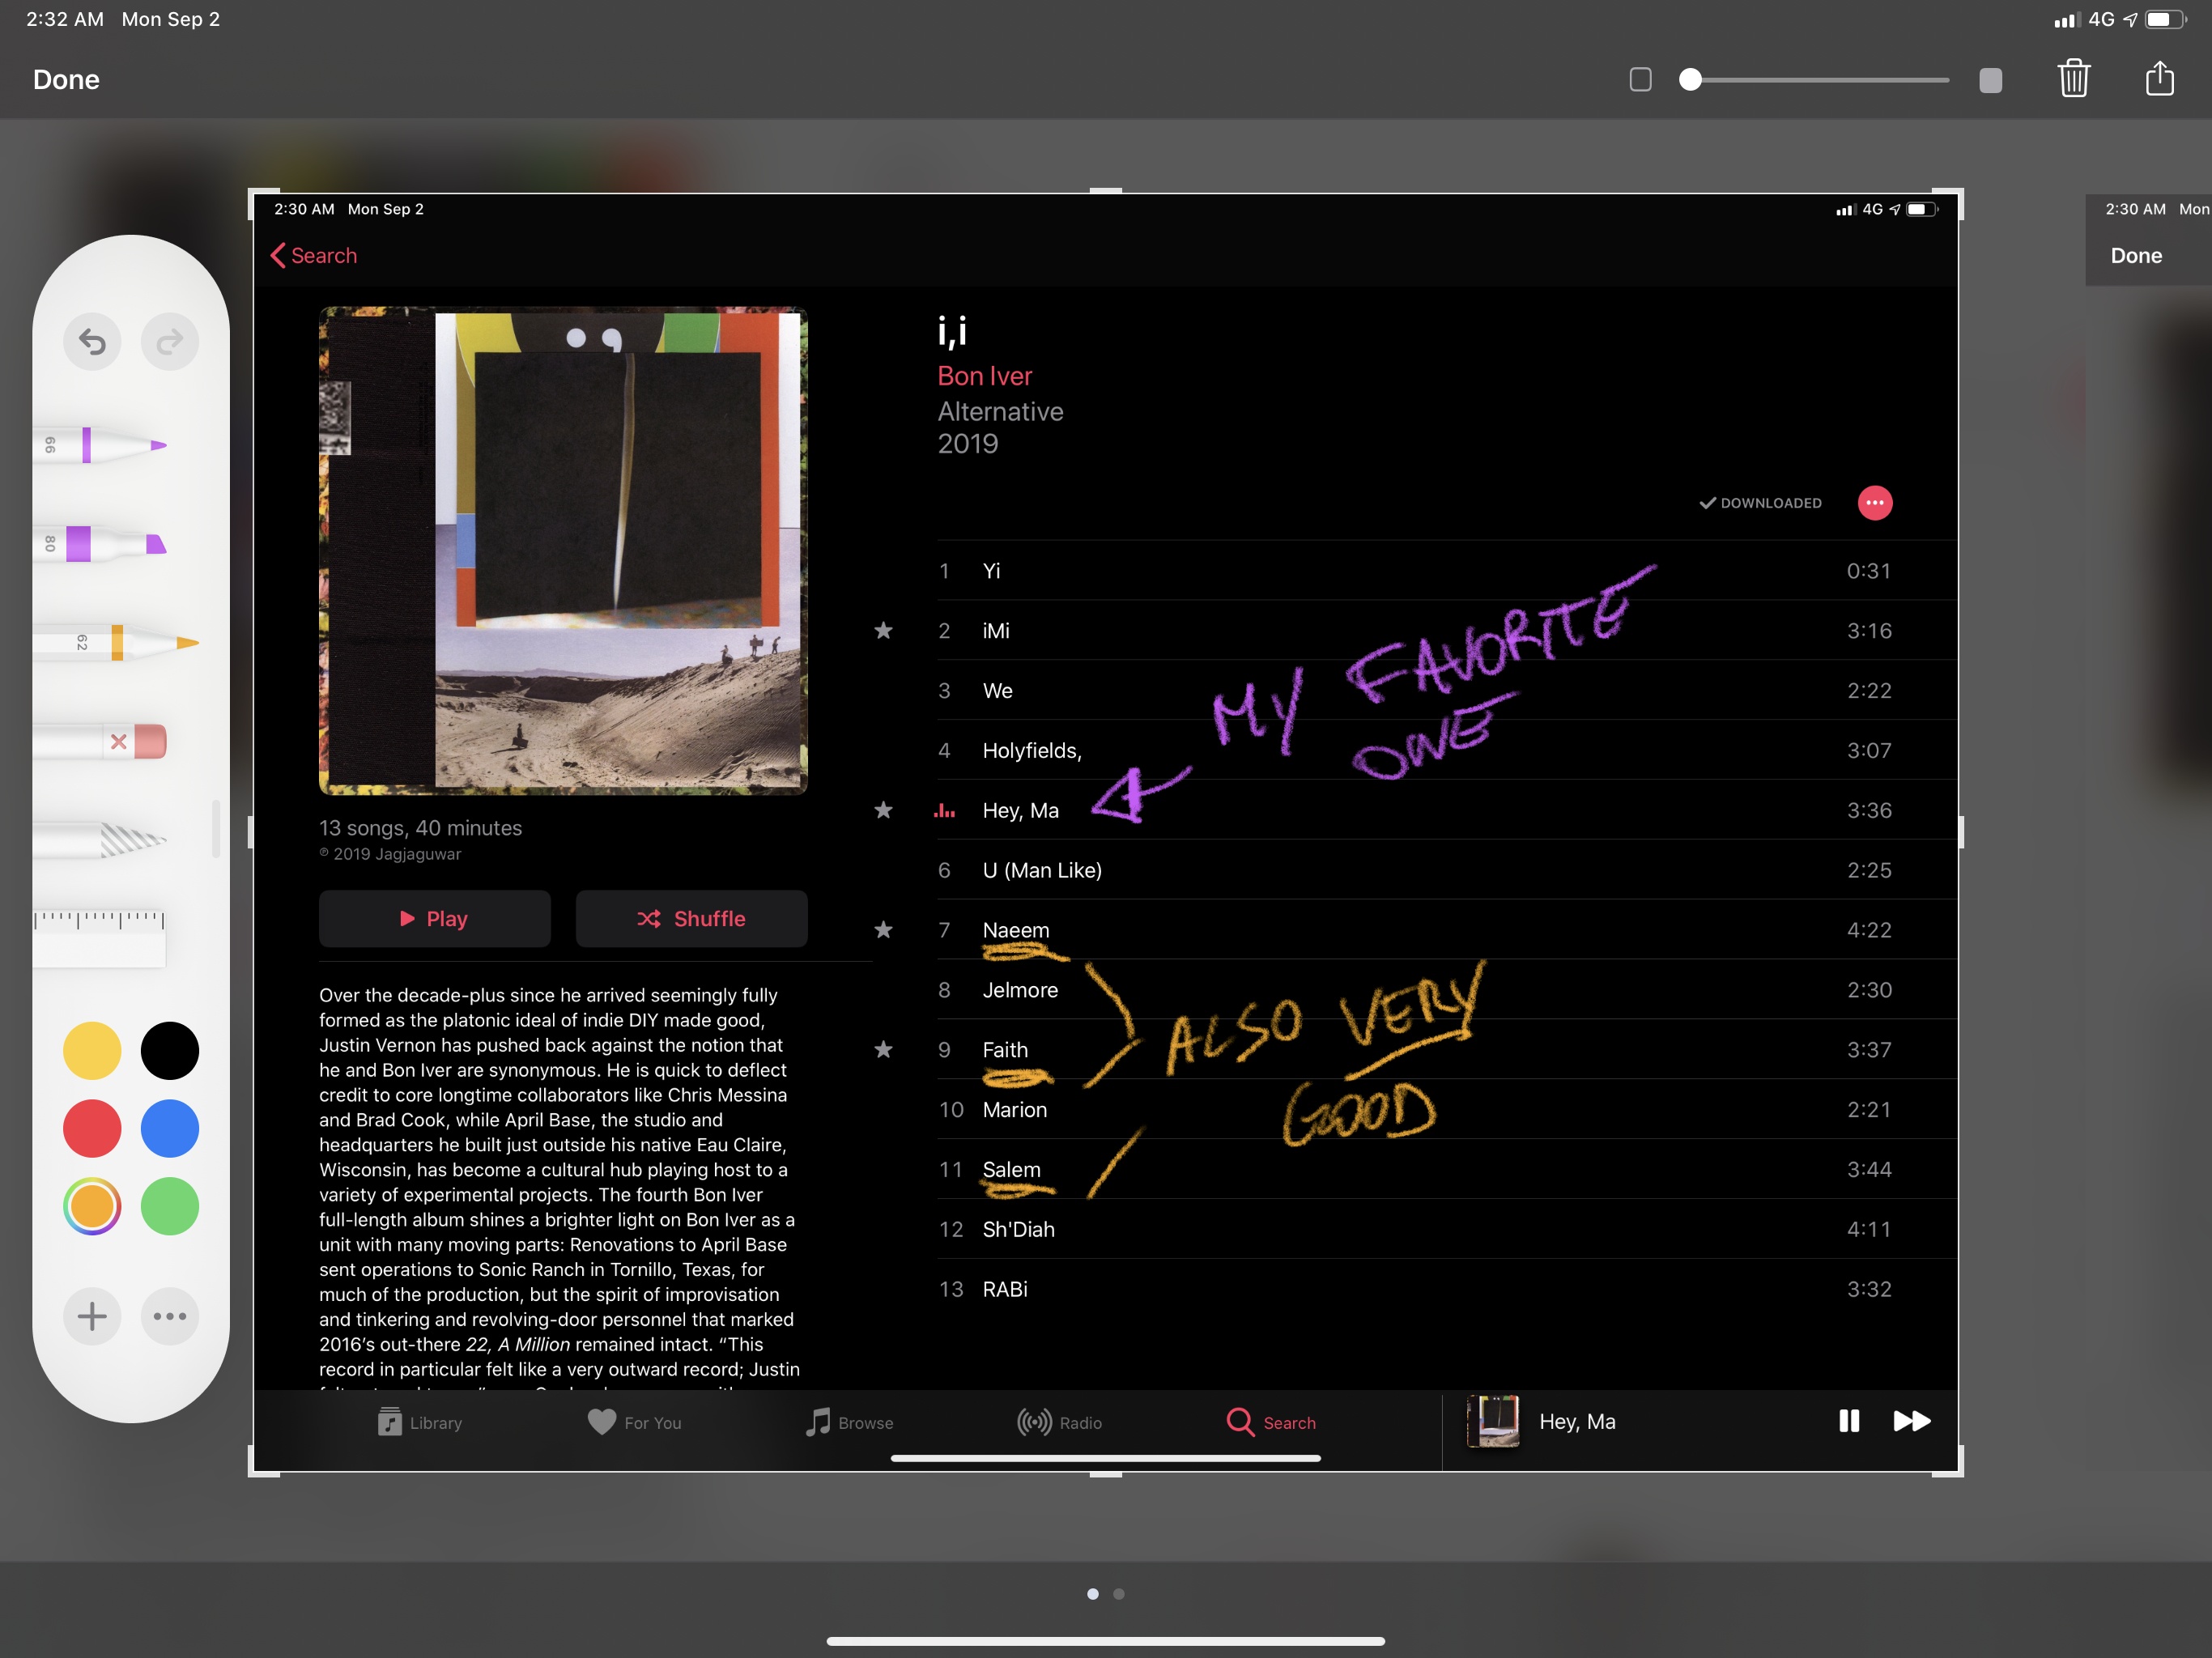
For iPad users, the most significant change is that the palette can be moved around with drag and drop and pinned to any side of the screen or minimized in a corner to prioritize screen real estate.
You can now move the tools palette around and even minimize it.Replay
When minimized, the palette is reduced to a smaller circular element in the corner of the screen that shows the currently selected instrument. When you tap it again to change tools, the palette expands; if you want, you can enable an ‘Auto-minimize’ setting that shrinks the palette as soon as you start drawing onscreen.
As someone who annotates screenshots on a daily basis, I think these enhancements are excellent. But there’s more. If you’re using a Pencil and want to take a screenshot, you can now swipe from the bottom left/right corners of the display, wait for the current screen to be framed, then let go of the Pencil to instantly capture a screenshot. It’s super easy to do:
Capturing screenshots with the Apple Pencil.Replay
You’ll also notice a couple new options regarding the output format of screenshots. First, when dismissing the screenshot UI, you’ll be offered the option of saving the screenshot to Files in addition to Photos. Second, and perhaps more importantly, iPadOS and iOS 13 support a new full-page capture mode that, as the name suggests, allows you to capture the full contents of an app’s page rather than just what’s being displayed onscreen.
For instance, this means you can now capture a full webpage in Safari:
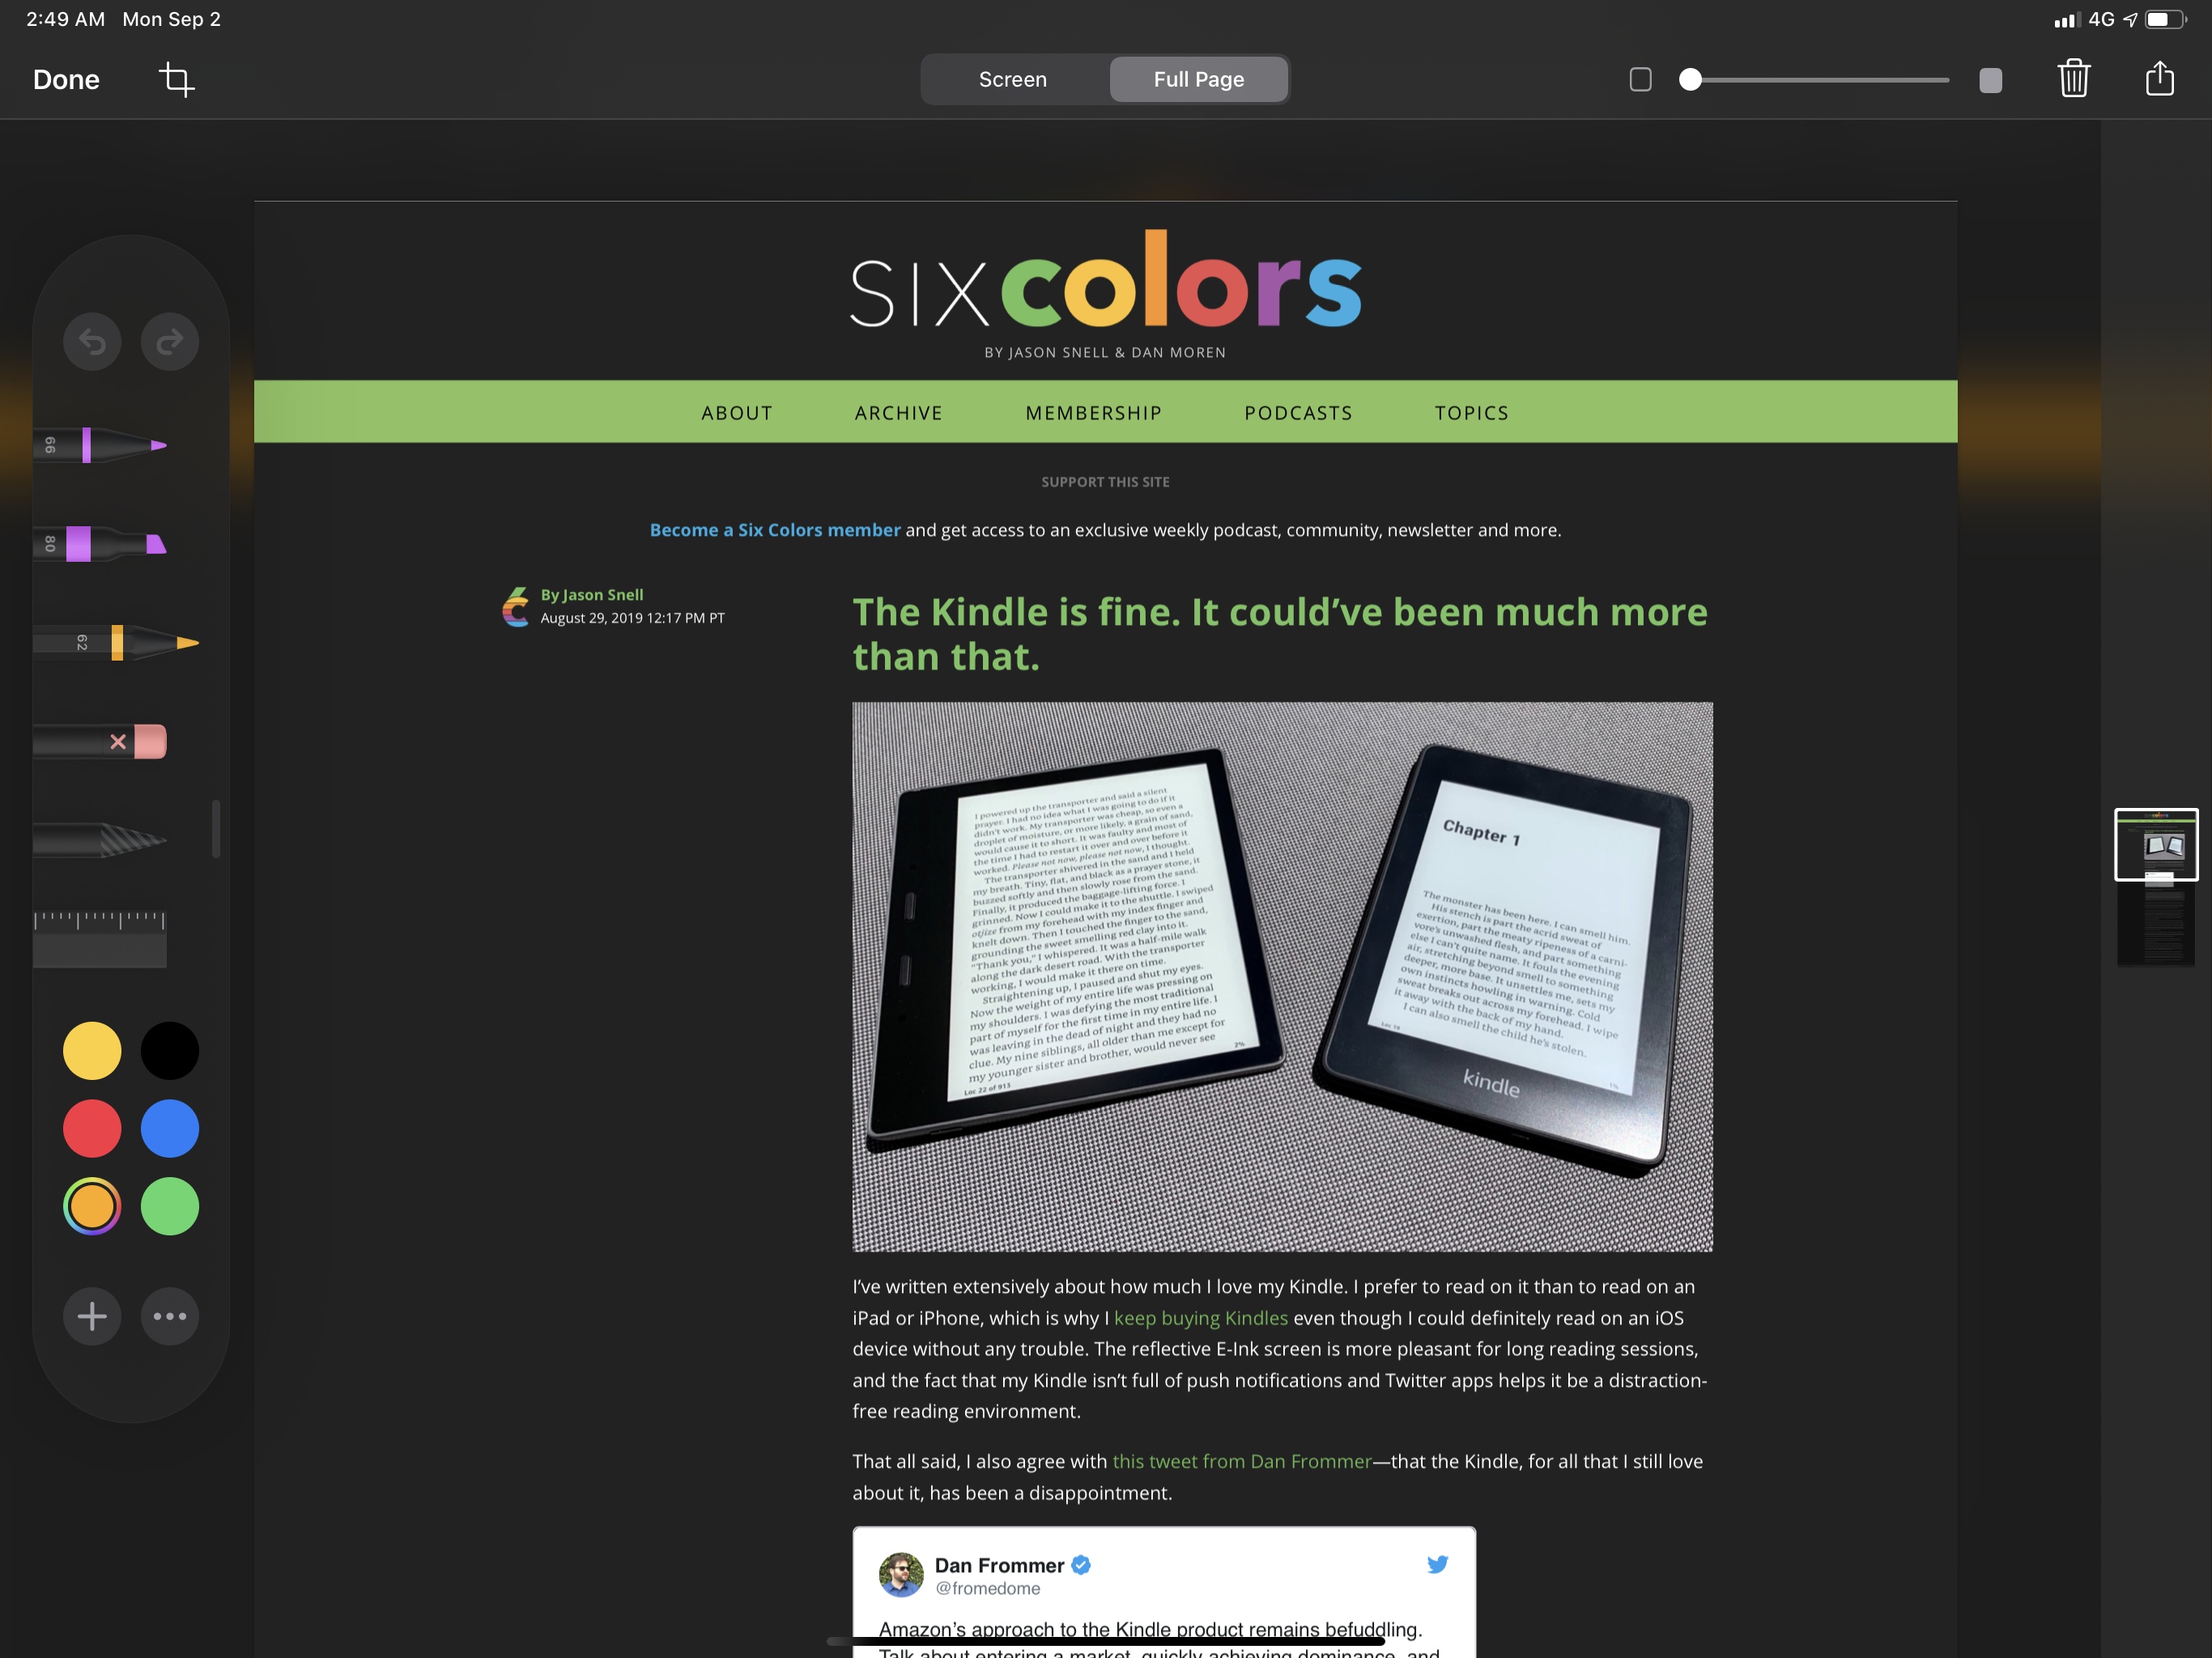
Apps that support full-page capture will offer a new button at the top of the screen in the screenshot editing UI.
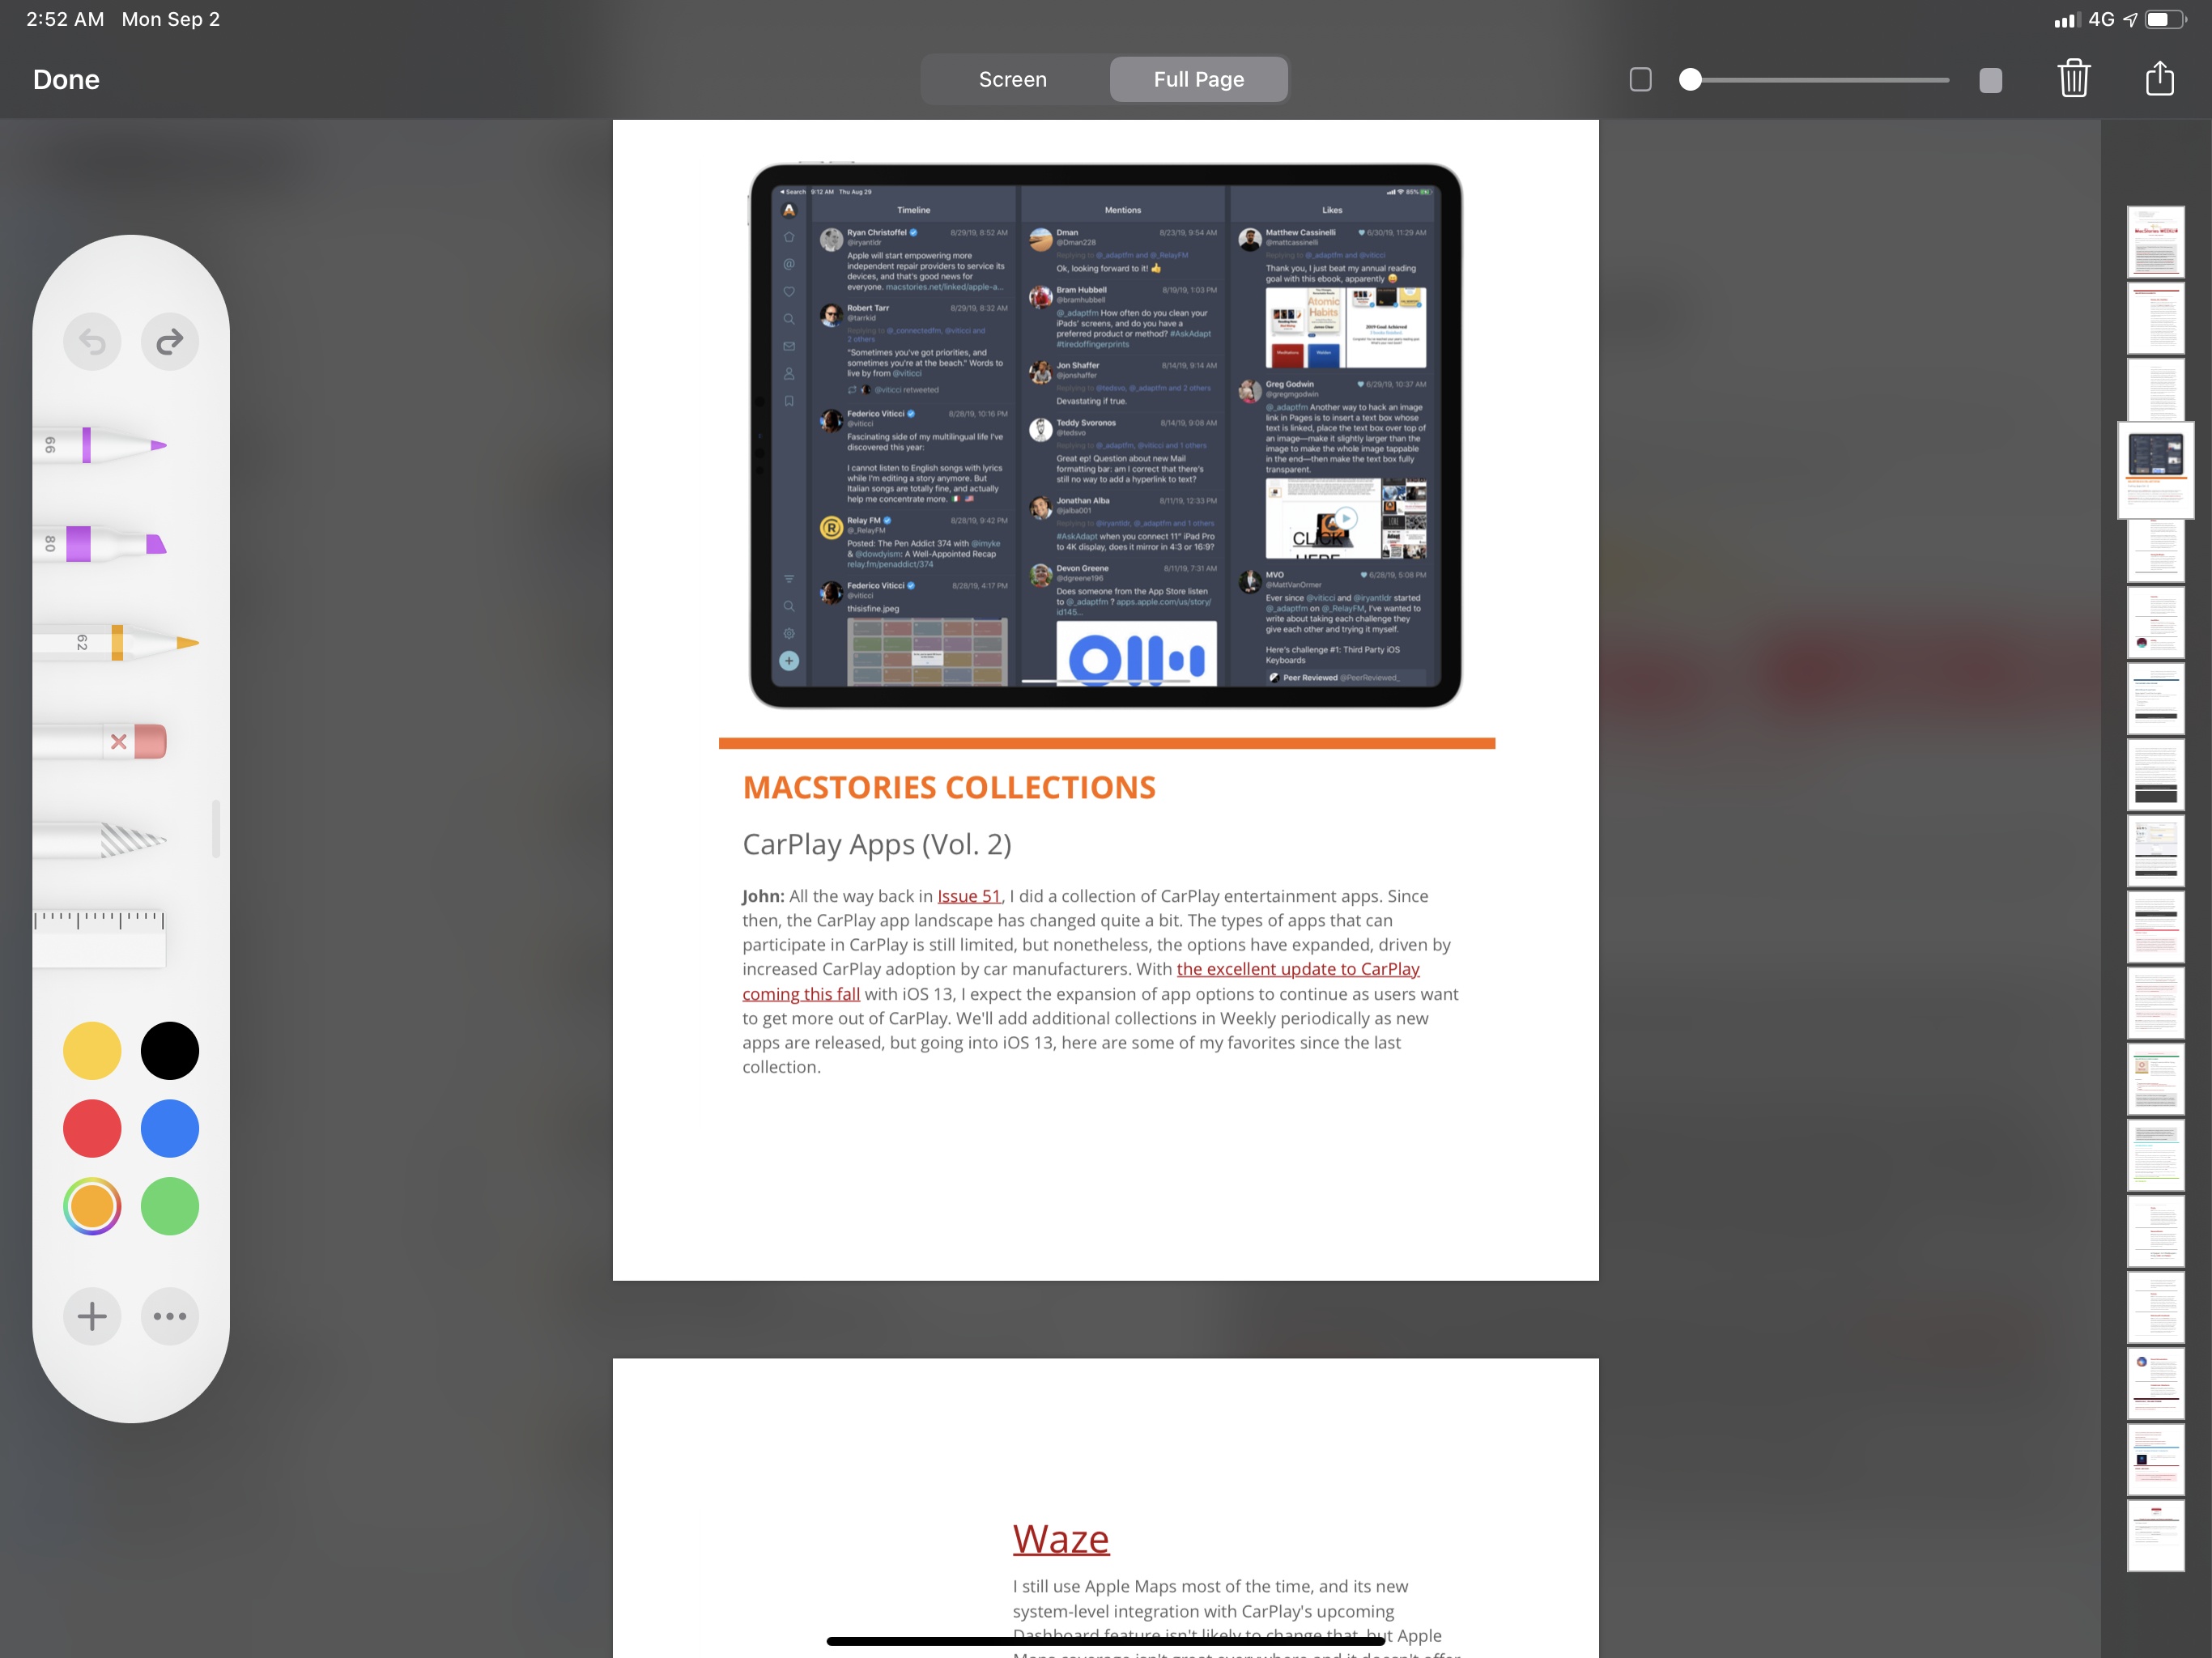
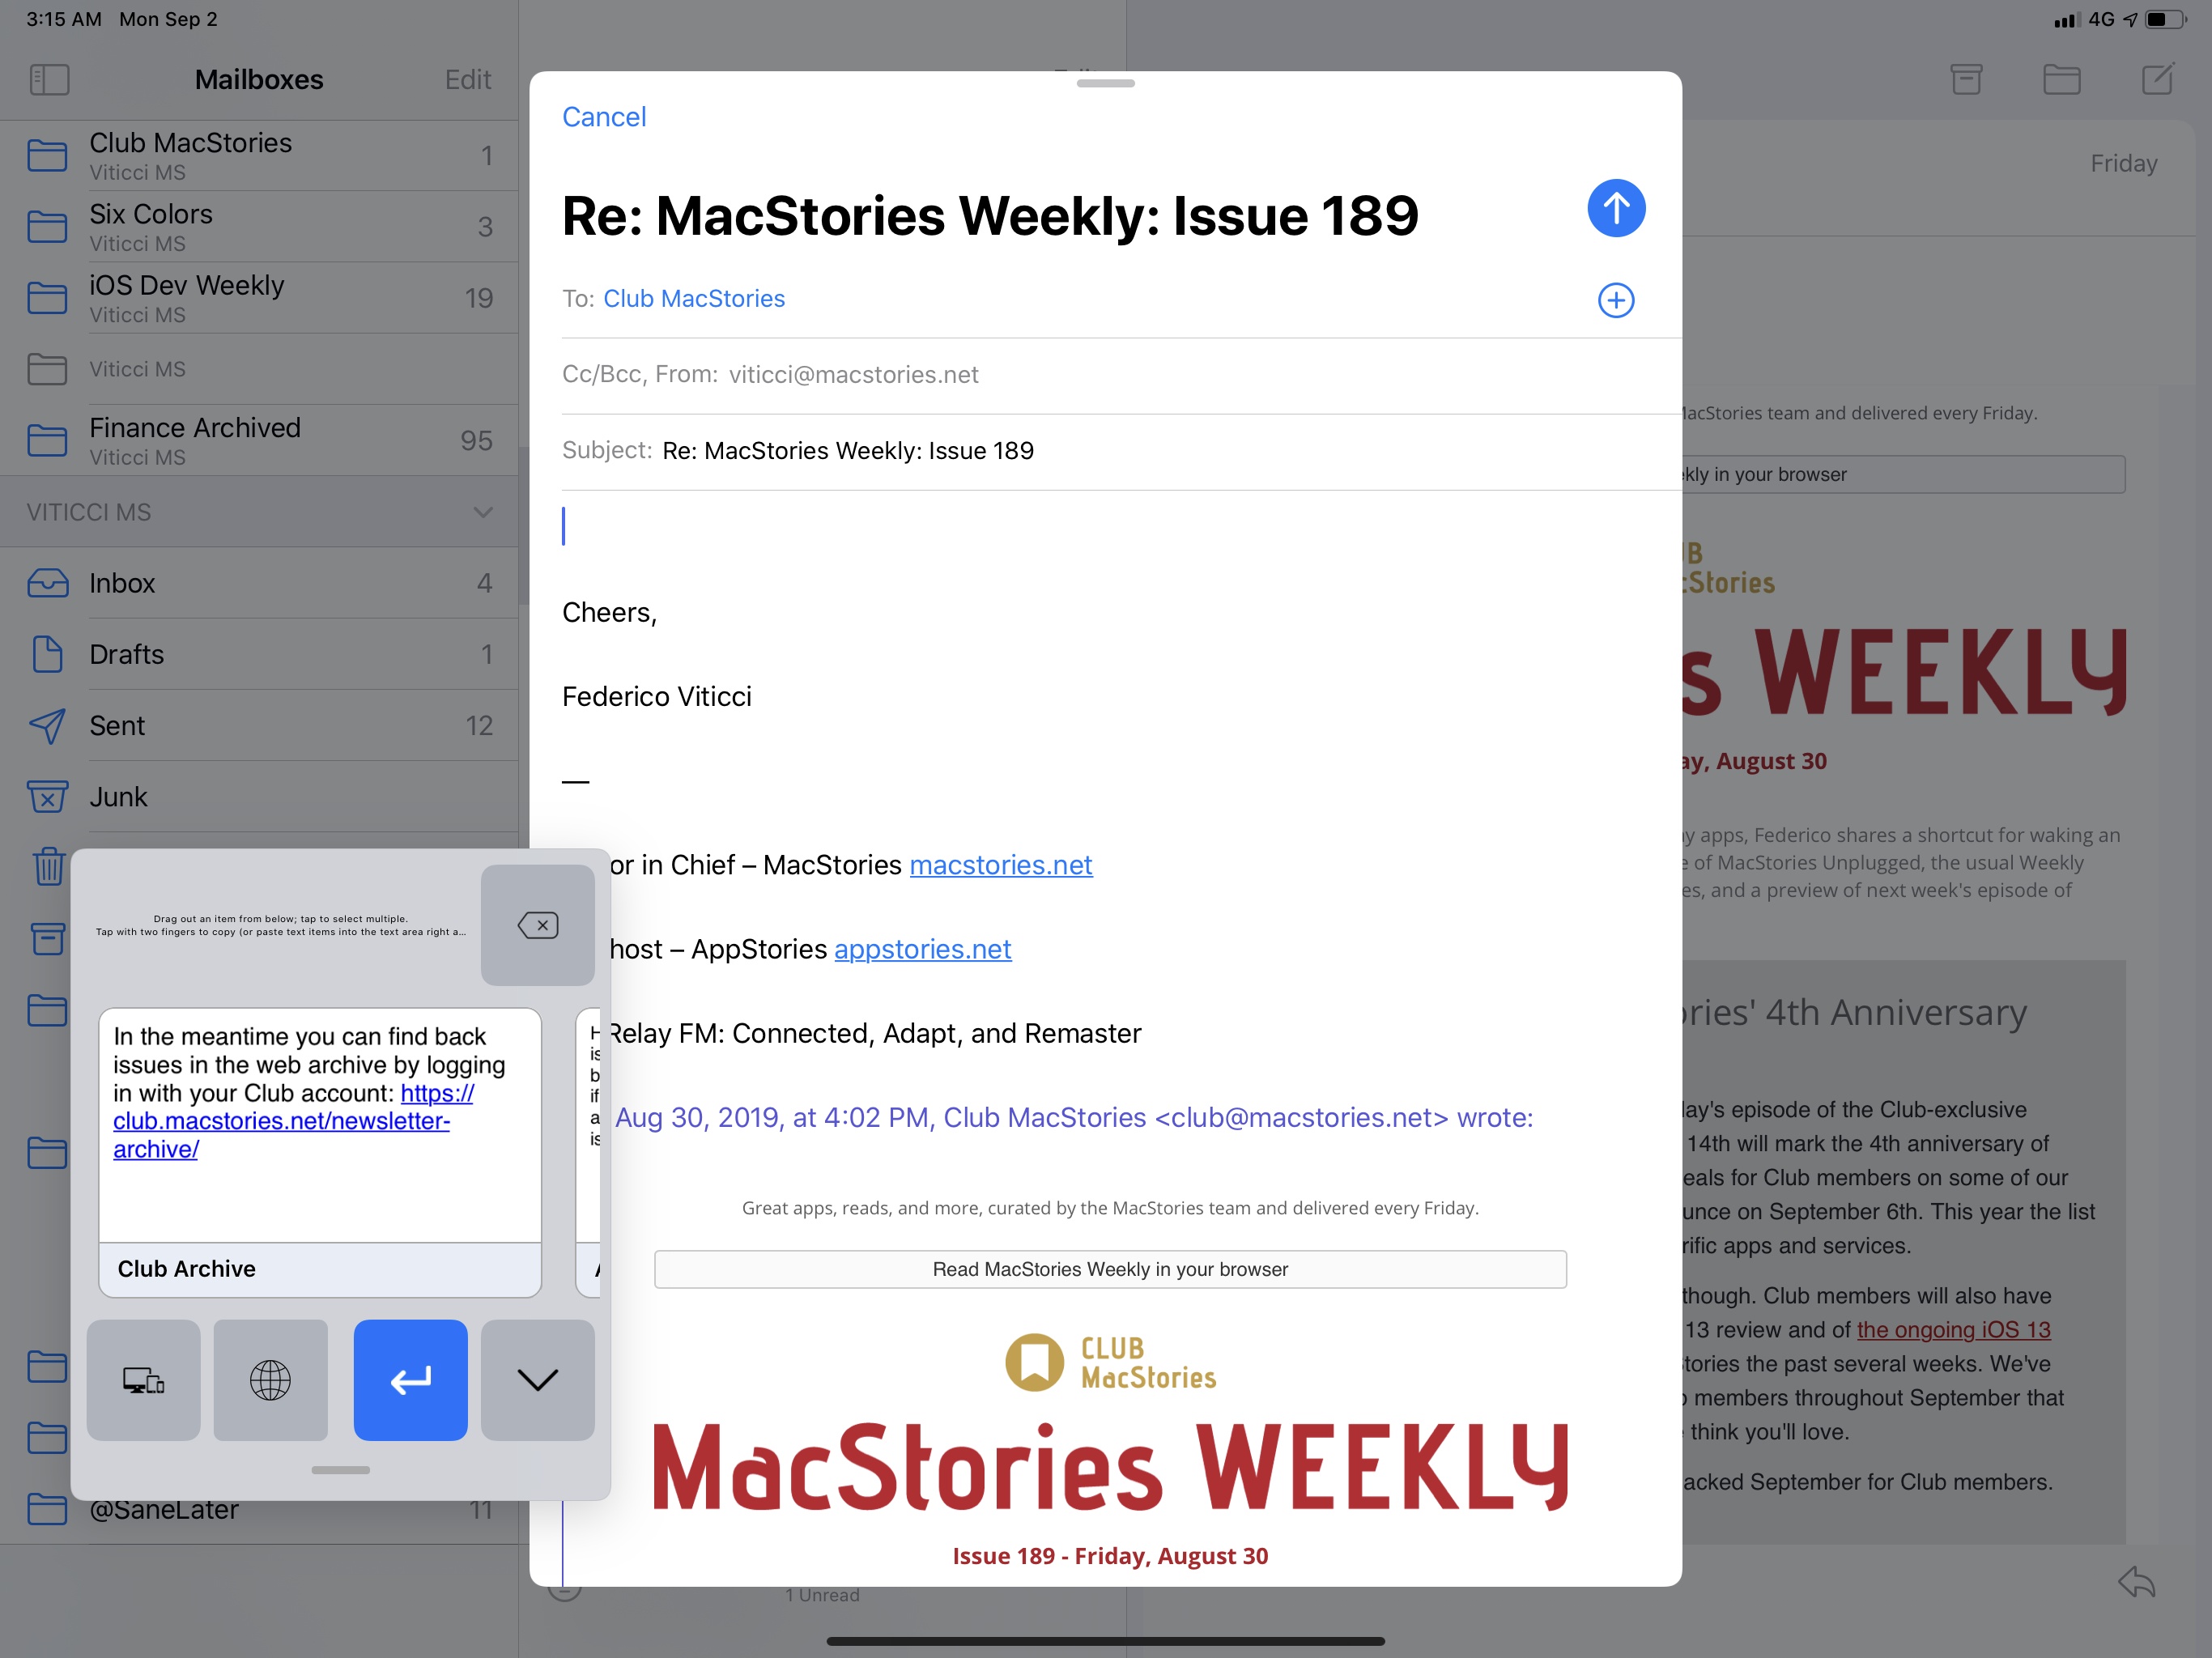
Or a full message in Mail, perfect for newsletters:
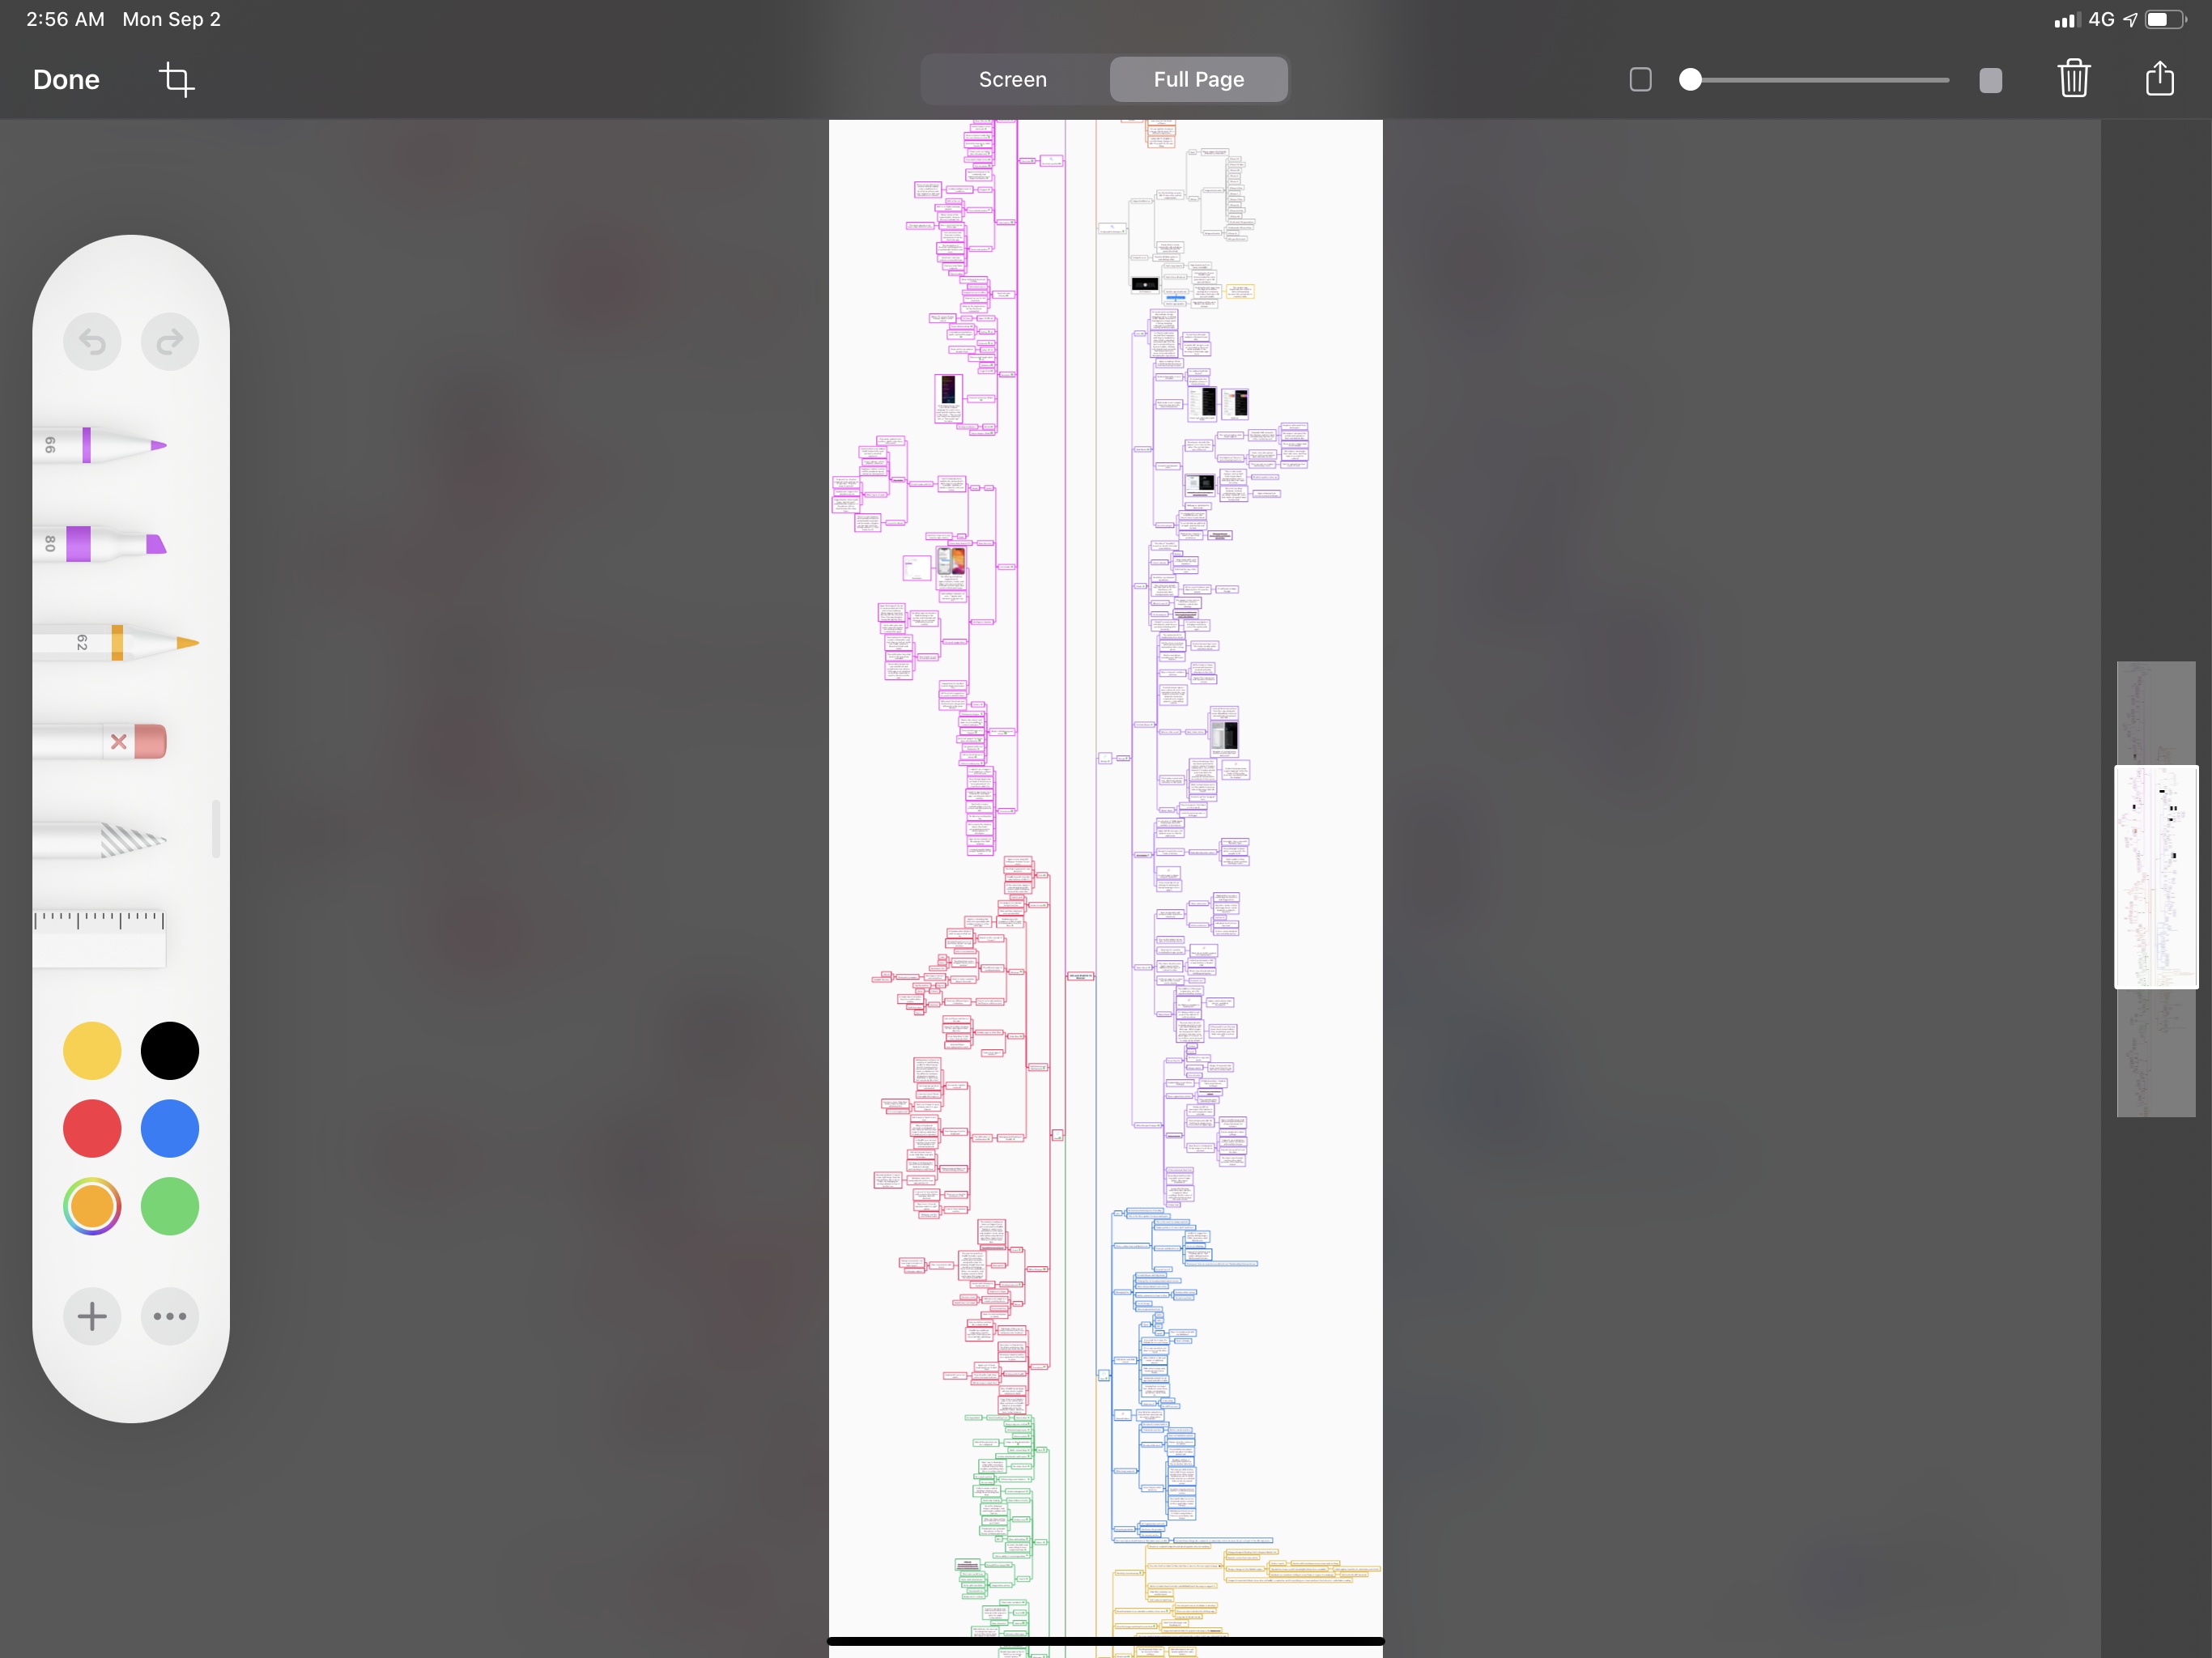
Full-page captures are automatically saved as PDF documents, which you’ll need to export to Files. Developers can also integrate with the full-page capture API. Here’s MindNode, for instance, with support for full-page capture to let you export a full version of a mind map, including content that isn’t currently displayed:
Capturing entire webpages in Safari and marking them up with the Pencil before sharing them with someone else on Messages or Slack has become one of my favorite uses of the Pencil. Full-page capture is also a great fit for Safari and research workflows – an area of the iPad experience that Apple has considerably refined this year.
Floating Keyboard
Well, this is an odd one.
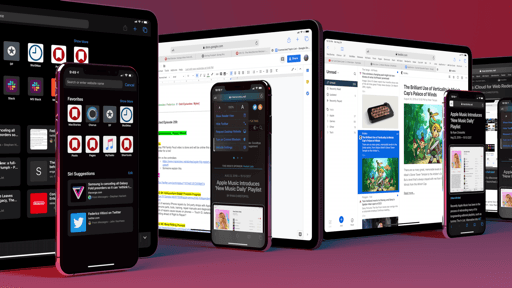
If you ever find yourself in a situation where you’d like to display a keyboard onscreen but feel like the default iPad software keyboard is too big, you can now pinch the keyboard (or long-press the keyboard dismissal button) to activate a floating keyboard mode. The floating keyboard is, quite literally, an iPhone keyboard floating around the iPad’s display. It’s sort of like Picture in Picture, but for the system keyboard.
The new floating keyboard of iPadOS supports slide typing.Replay
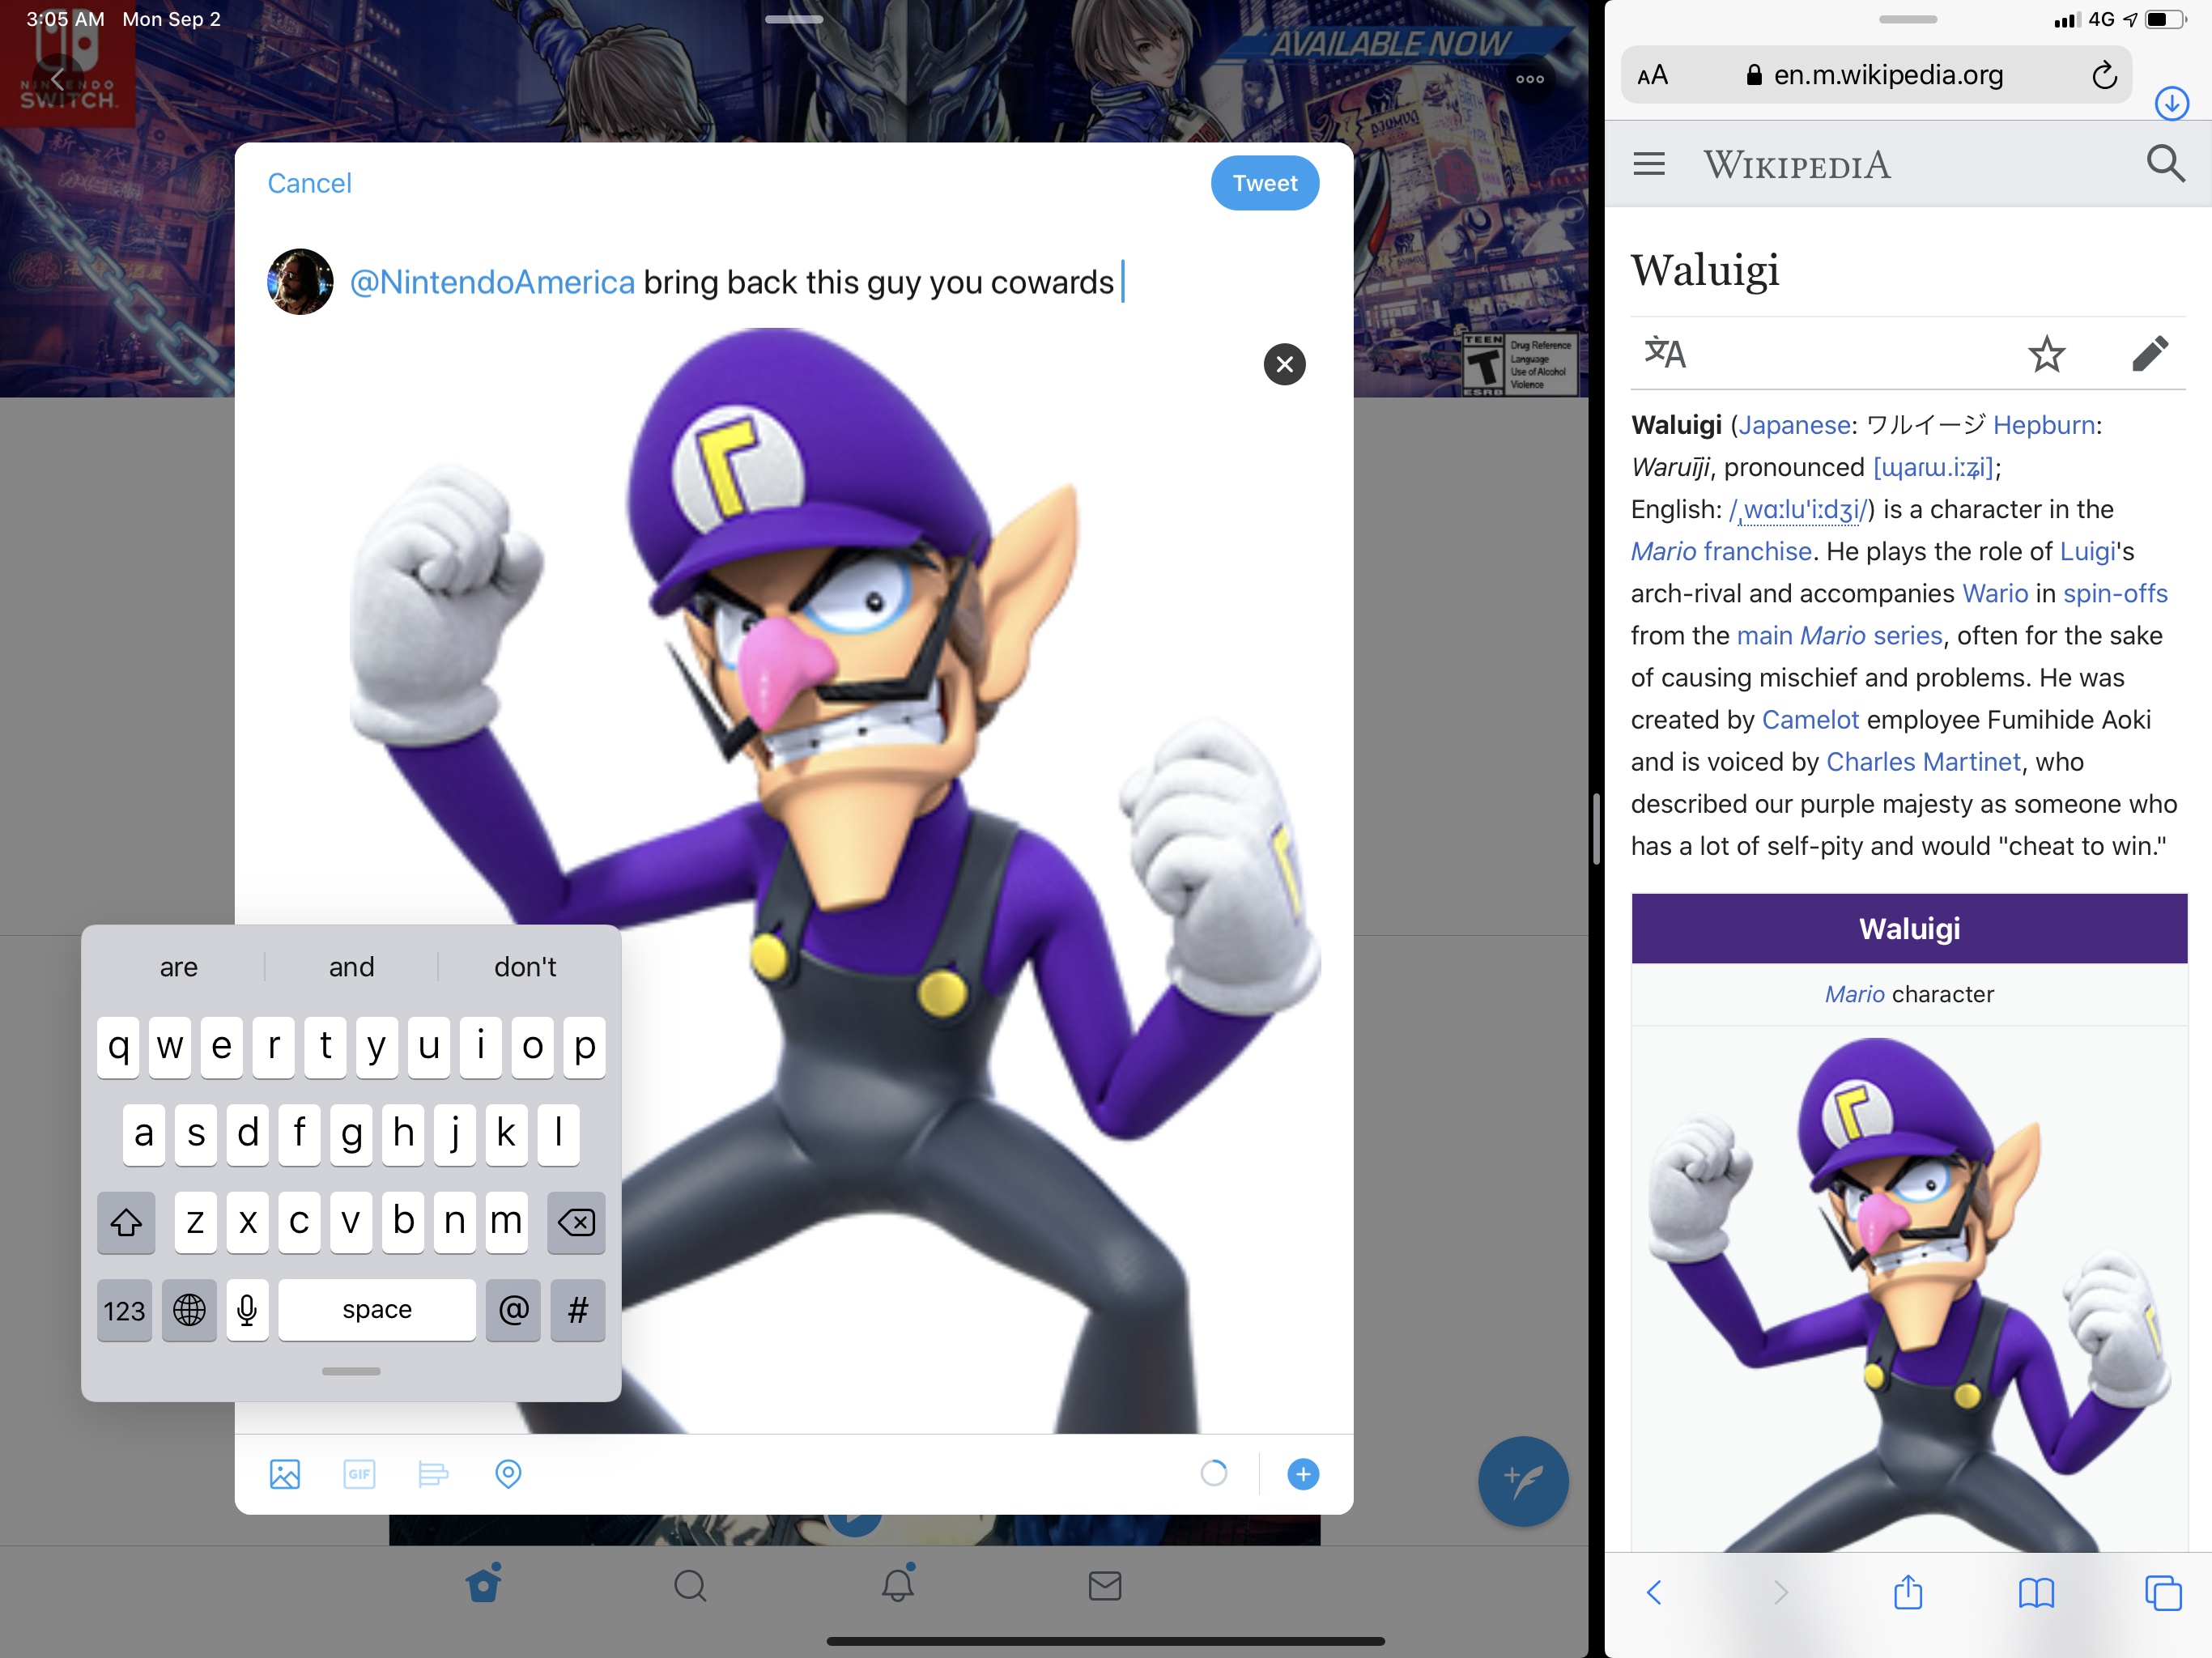
Let’s say you’re watching a political debate but also want to keep Twitter on the other side of the screen, but you also need to make sure you can share those hot takes of yours by issuing tweets in rapid succession. You probably wouldn’t want a full-size keyboard to cover those precious tweets and comments, right?28 With the floating keyboard, you can now maximize space for tweets and Safari while retaining the ability to fire off thoughts into Twitter’s political void for the world to consume.
On a more serious note, I’m guessing the floating keyboard was primarily designed for smaller iPads that can be held in portrait mode with one hand: the floating keyboard, unlike the full-size one, supports slide typing (a new iPhone feature in iOS 13), so you can hold the device and use your thumb to swipe-type. I don’t own one, nor was I able to test iPadOS 13 on it, but I’m guessing this should be quite comfortable on an iPad mini.
The floating keyboard can be placed anywhere onscreen (you can drag it or fling it around, like the Picture in Picture panel), but I think most people who are interested in it use a smaller iPad and will keep it near one of the display’s bottom corners.
Interestingly, the floating keyboard is not limited to the Apple software keyboard: it also works with third-party keyboards and uses their iPhone layouts if they’re part of a universal bundle. For example, here are Yoink and Gboard (both Universal apps) running as floating keyboards on my iPad Pro:

To use a custom keyboard in floating mode, you’ll have to make Apple’s keyboard floating first, then switch.
Again, I’m not sure why I’d want to enable this functionality on a daily basis if not for one-handed typing on a small iPad, but I still find it weirdly fascinating that Apple shipped this feature. Personally, I would have preferred to see a comeback of the split keyboard.
Mouse Support
I saved the most anticipated feature for last, even though Apple’s implementation may not be what you were expecting from it.
In iPadOS 13, you can connect USB or Bluetooth mice and trackpads to the iPad and use them to control and navigate its interface. This, however, is an Accessibility feature of the AssistiveTouch framework that allows users with motor impairments to use external pointing devices with their iPads. It’s important to stress this at the outset: Apple has not built native integration with mice and trackpads into UIKit at a system level; they have shipped an Accessibility feature that lets you use an external pointing device to control an AssistiveTouch-powered pointer. As I’ll explain below, this was Apple’s shortest path to enable external pointing devices this year, but it’s not as optimized or integrated as “real” mouse support could be in the future.
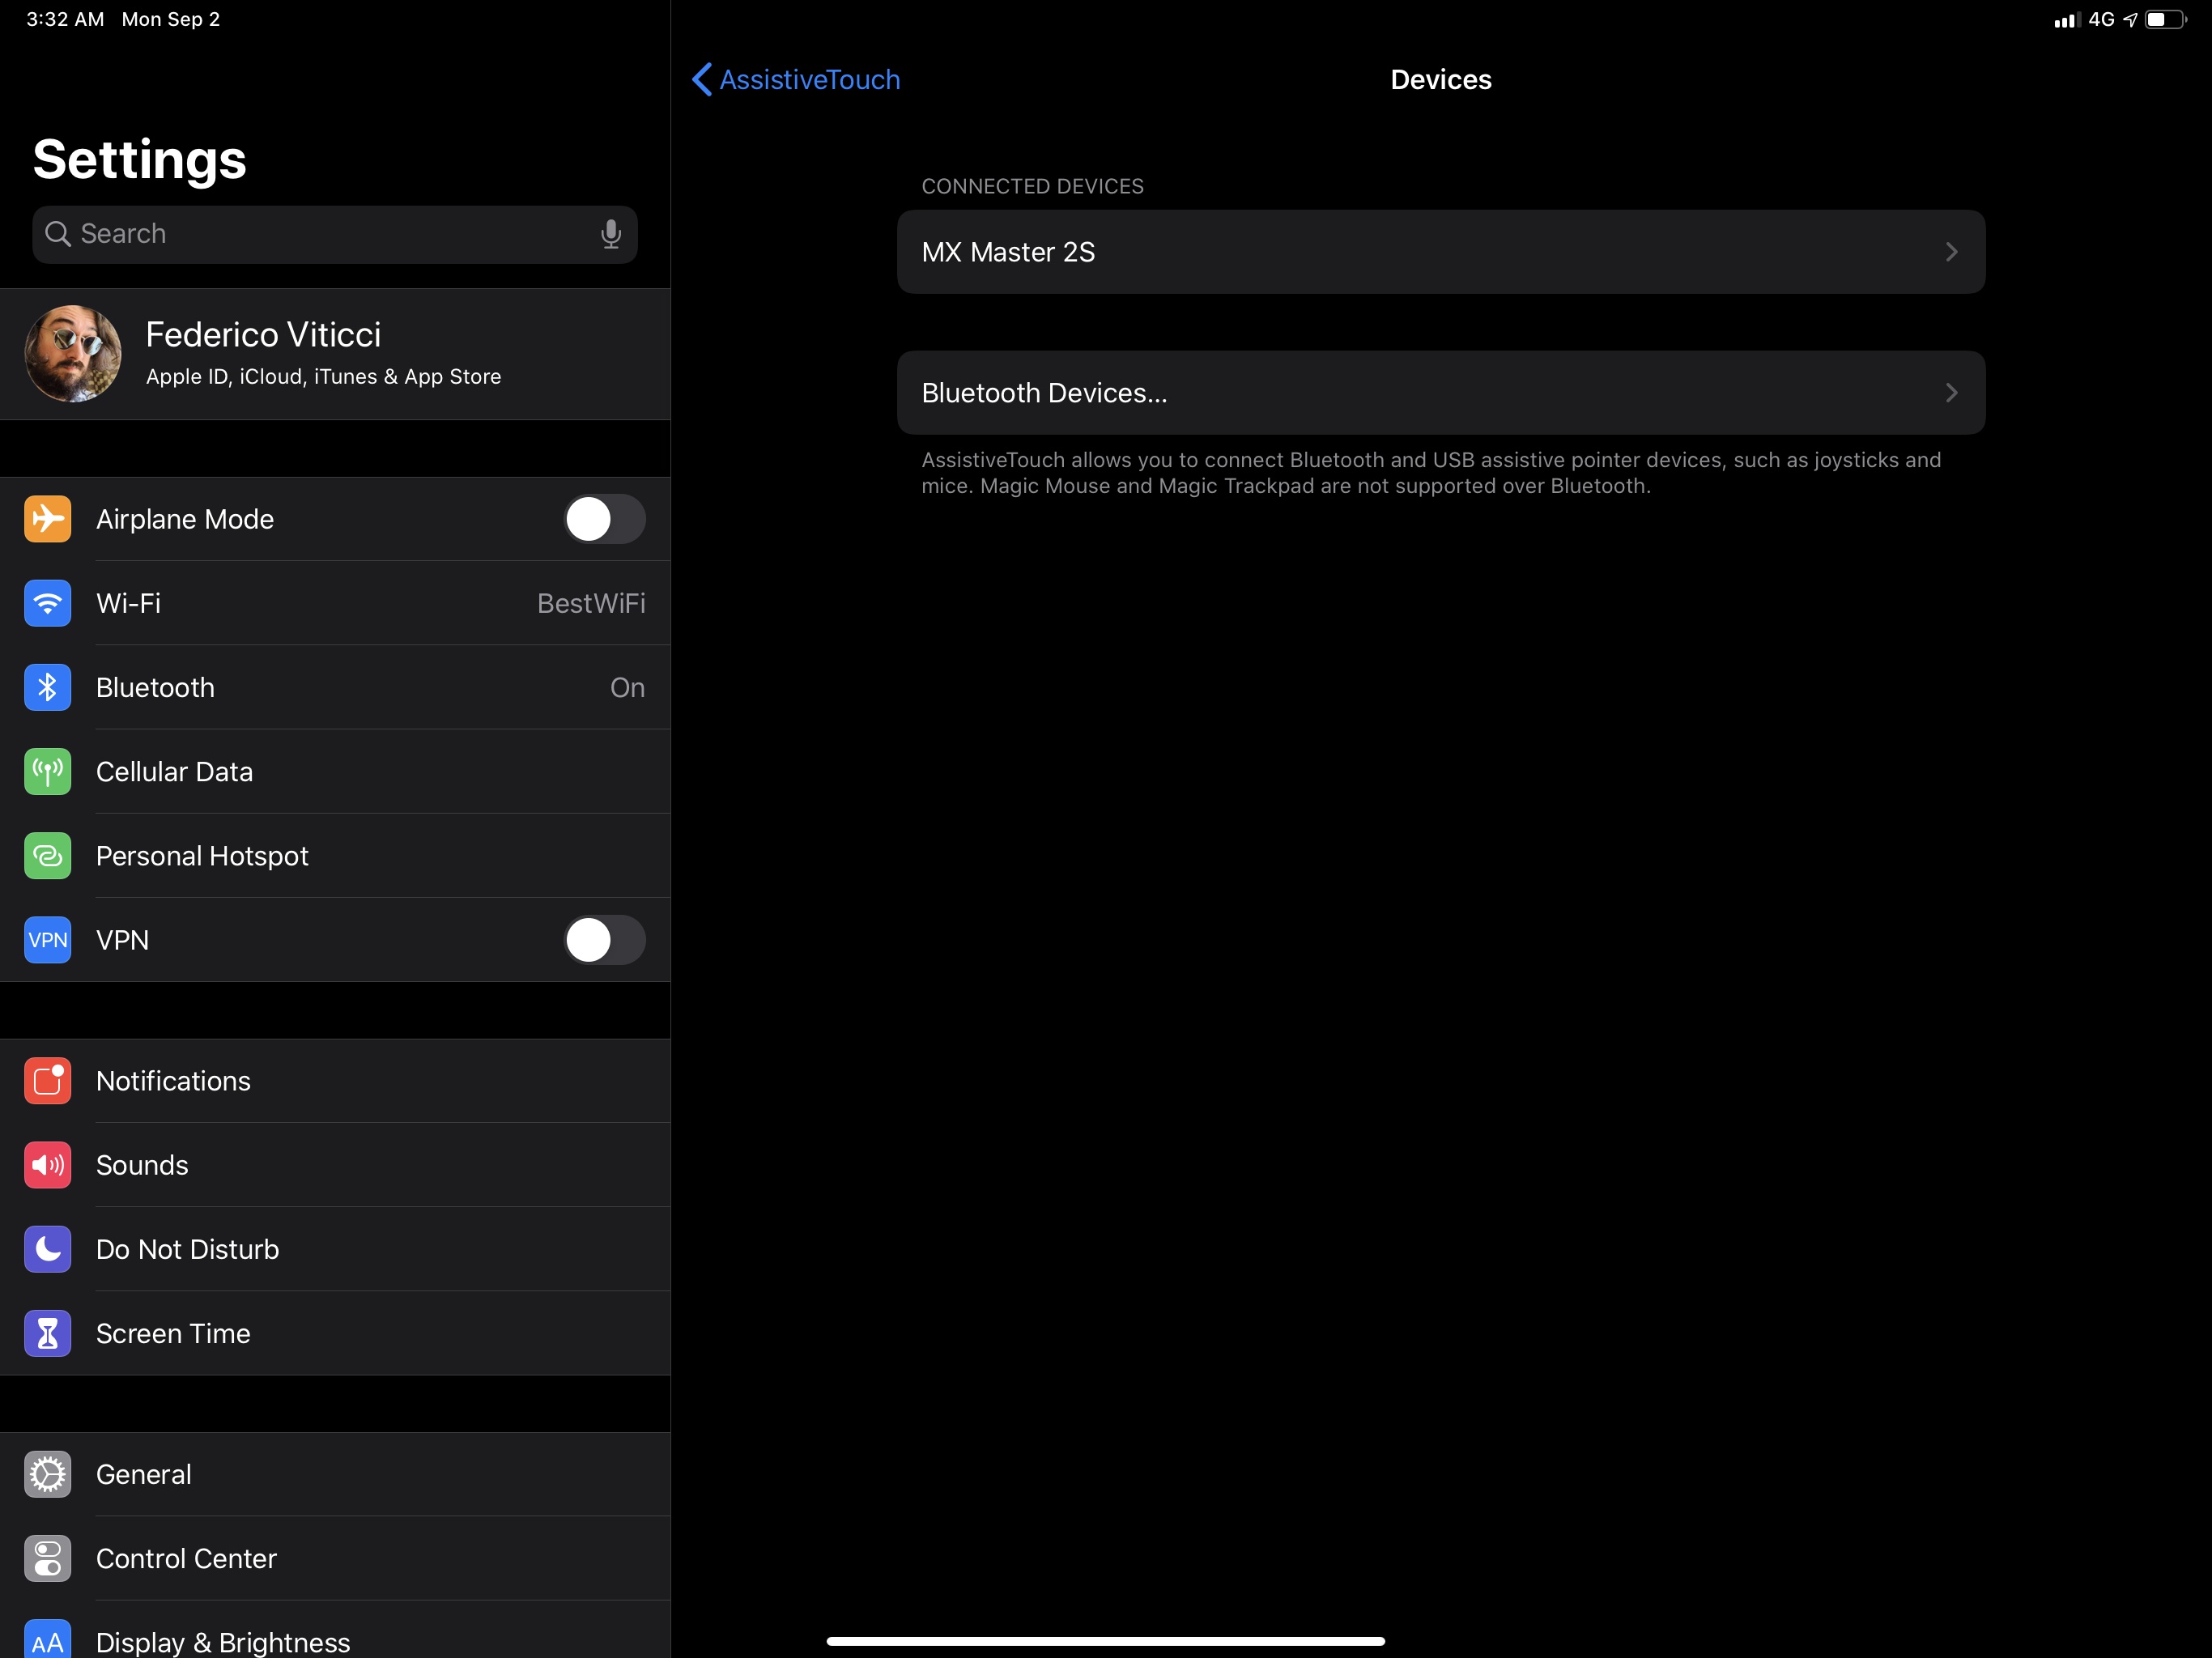
To start controlling your iPad with a mouse or trackpad, head over to Settings ⇾ Accessibility ⇾ Touch ⇾ AssistiveTouch ⇾ Devices, and make sure your external pointing device is showing up in the list. If you’re using a Bluetooth accessory, you’ll need to connect from Settings ⇾ Bluetooth first; otherwise, you can use the iPad Pro’s USB-C port, or a Lightning to USB adapter on older iPads, to plug in a wired mouse or trackpad and pair it with AssistiveTouch.
The AssistiveTouch pointer is not a new feature of iPadOS or iOS 13: it’s long been available as an Accessibility option to let users control the iOS interface with specialized hardware such as joysticks or control mechanisms installed on wheelchairs (which often cost hundreds of dollars). What’s new this year is that Apple is allowing users to turn any off-the-shelf USB or Bluetooth mouse into a pointing device. Even though Apple rightfully thinks of this feature as an Accessibility option for a specific niche of users, adding support for USB and Bluetooth has opened it up to all kinds of iPad users who have long been wishing for a way to turn their iPads into desktop workstations with an external pointing device, myself included. But because this feature still remains an Accessibility functionality, it’s important to remember that it won’t work like mice or trackpads do on desktop computers.
The first and most important difference between iPadOS and macOS is that UIKit is still designed and optimized for touch input. When you enable mouse support in iPadOS, you’ll notice that the system won’t react to the hover state of the pointer: if you hover over a button in a toolbar, you won’t see a tooltip; if you wait with the cursor over the edge of a document, you won’t see a scroll bar; in Safari, hovering over drop down menus of a webpage will not automatically expand and collapse them. This happens for two reasons: UIKit, the framework behind the iPad’s interface, has no idea of what “hover state” means; UIKit only understands touch input and if you “hover” with your fingers over the screen, well, you’re not touching it. The pointer controlled by a mouse or trackpad isn’t seen by iPadOS as a different control device: for the OS, it’s a virtual replica of your finger that “touches” interface elements even though you’re actually controlling it through external hardware.
So: if UIKit does not adapt to external pointing devices, hover state isn’t understood by iPadOS, and the pointer is considered a virtual finger, does mouse support even help the case of those who want the iPad to behave like a hybrid computer? Surprisingly, despite all these limitations and the feature’s Accessibility nature, the answer is yes.
To put it bluntly, controlling iPadOS 13 with a mouse is weird. If you’re used to working on a desktop computer, mouse support in iPadOS 13 is the uncanny valley of external pointing devices. You’ll find yourself performing interactions and looking at interfaces that were designed for direct manipulation but activating them from an external device – and it kind of feels like the real thing, but something’s off. Swiping on messages in Mail to reveal actions is strange to do with a mouse; instinctively, you’re going to perform a right-click to bring up a contextual menu, but iPadOS has no idea what a right-click is, so you’ll just settle for replicating a swipe gesture with the pointer instead. The more you expect an iPad with a mouse to behave like a Mac with a trackpad, the more your expectations will be subverted and you’ll be reminded that, yes, this feature is an Accessibility option for many, and a stopgap solution for some of us at the moment.
Take opening Control Center as another example: it’s very natural to touch the screen in the upper right corner and swipe down to reveal it. With a mouse, you first have to assign one of its buttons to the ‘Single Tap’ action, then head over to the upper right corner of the display, click and hold the button (so iPadOS thinks you’re “tapping” the screen), then move the mouse down. From text selection (try grabbing the selection handles!) to drag and drop, there are dozens of instances where mouse support in iPadOS 13 manifests itself for what it is: an Accessibility feature that some power users are going to repurpose for something beyond its intended use case.
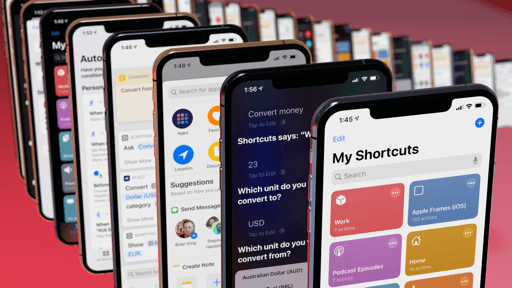
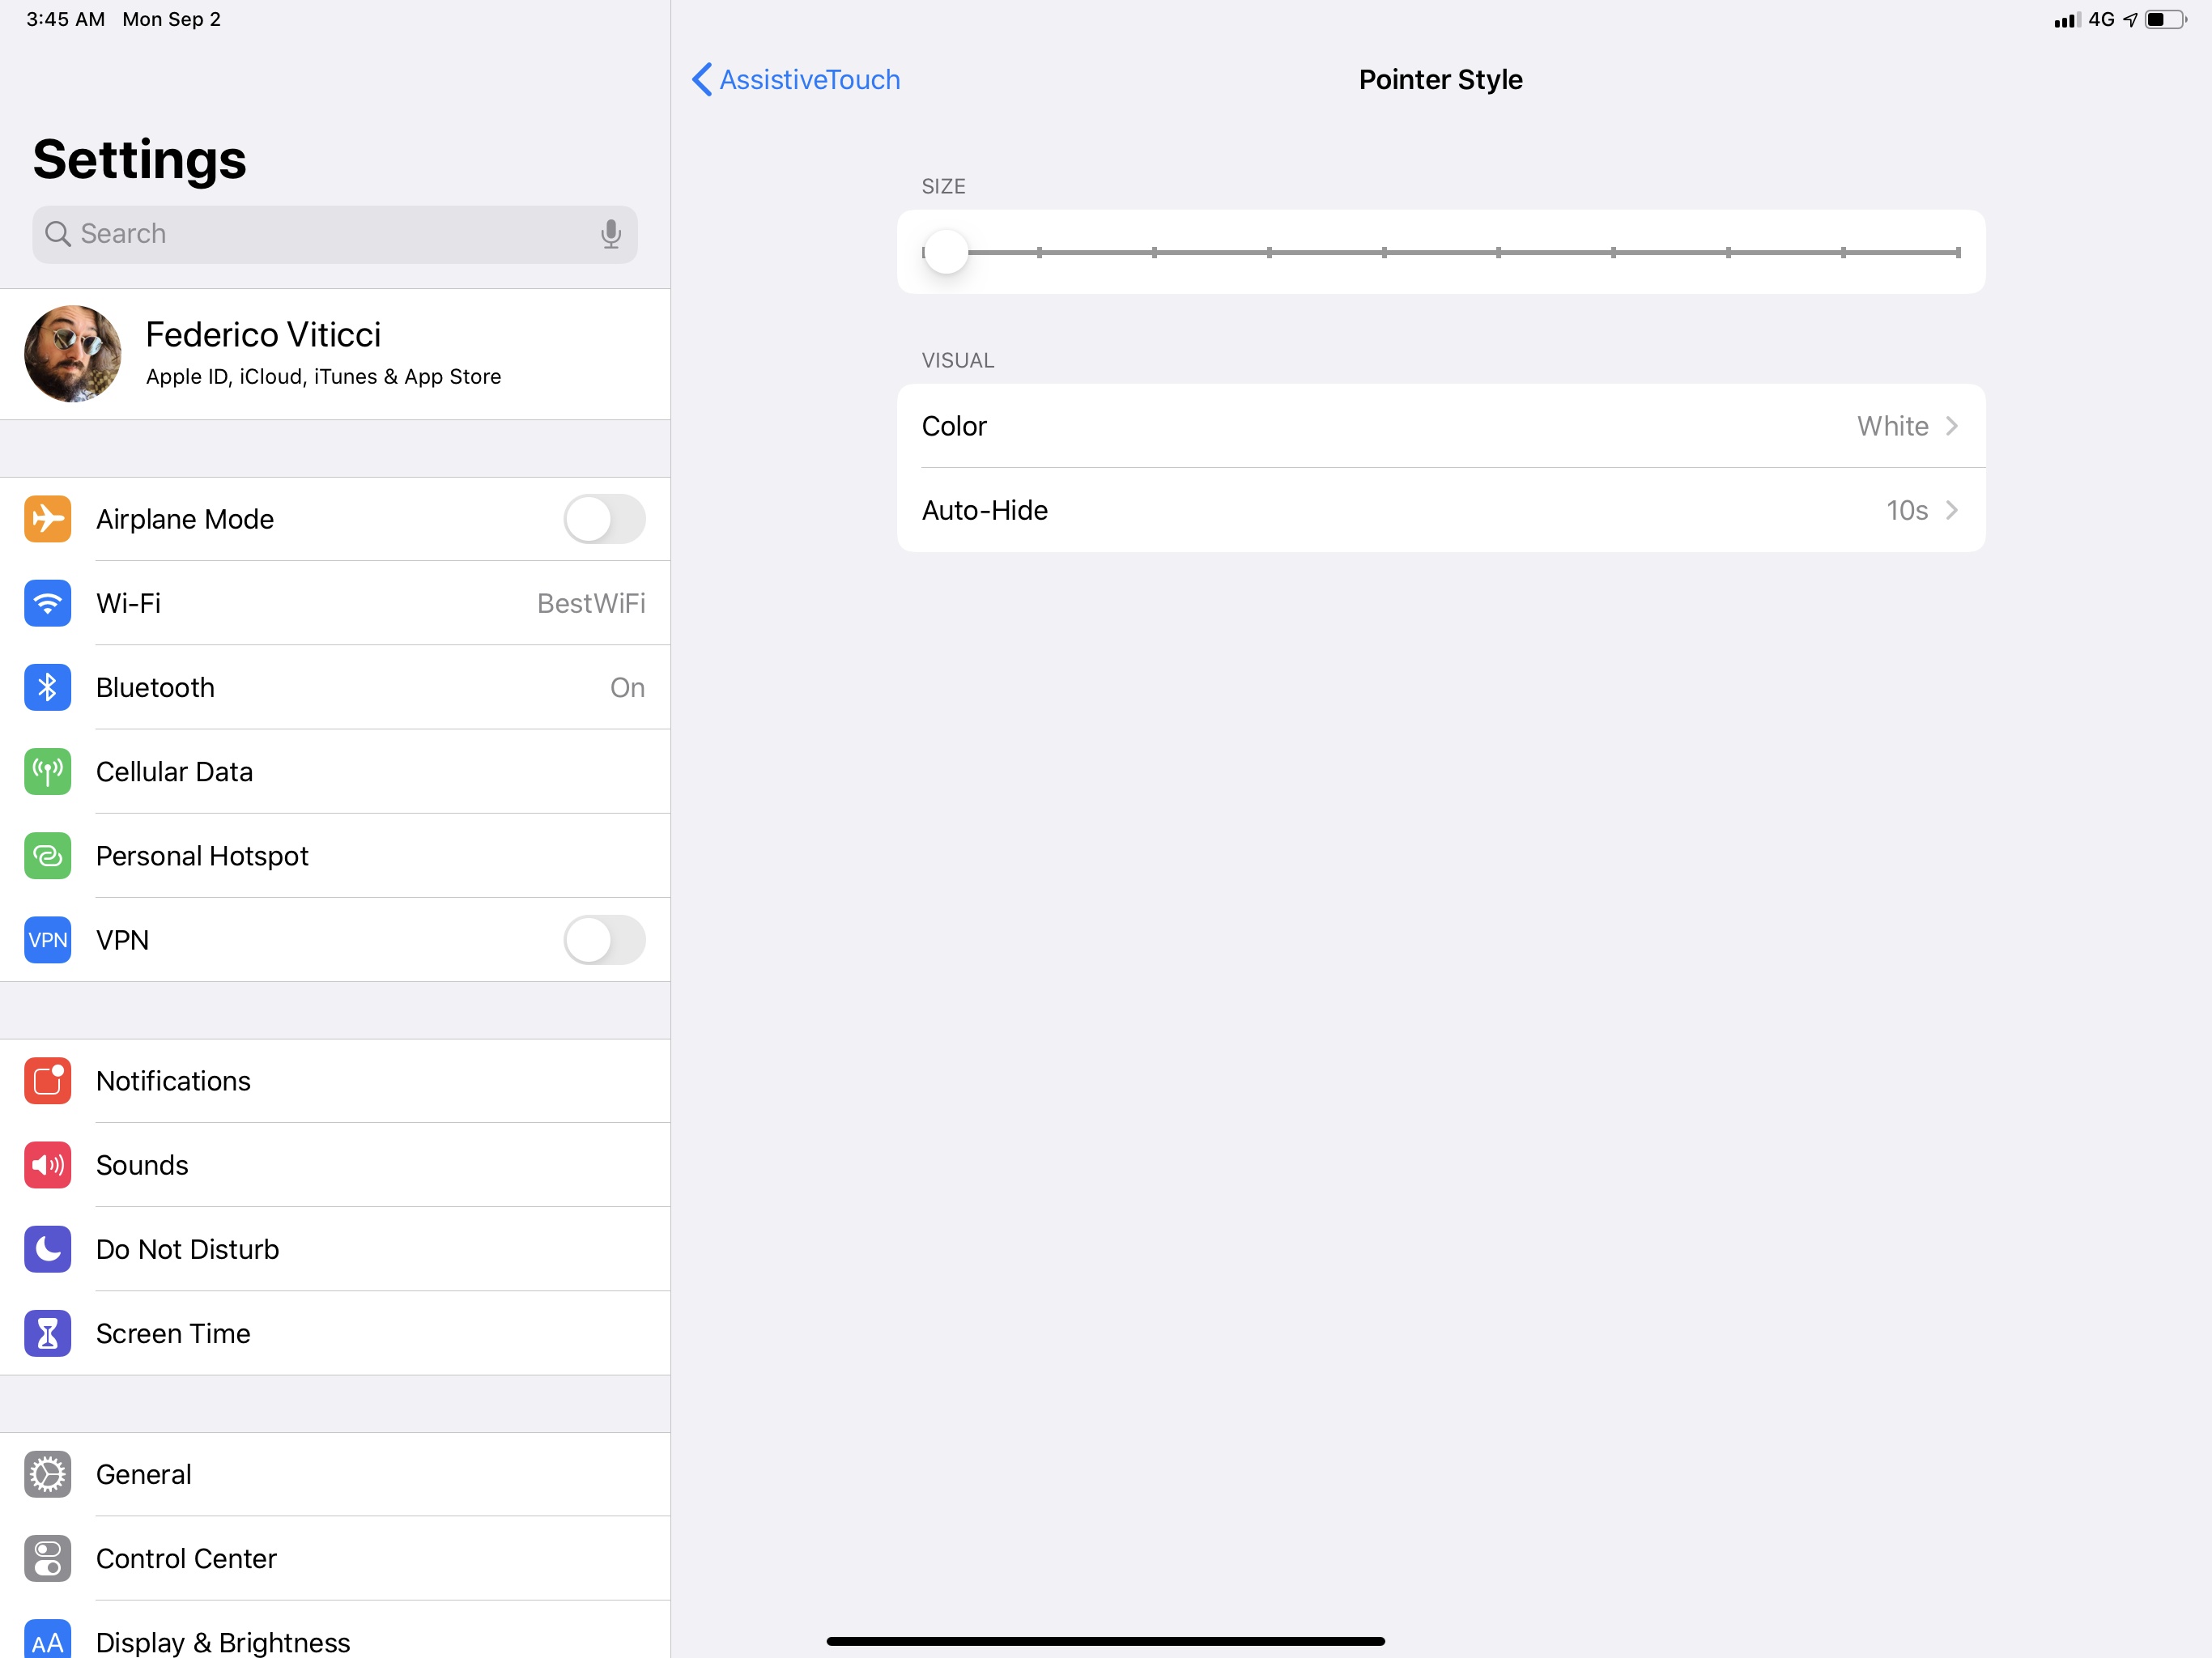
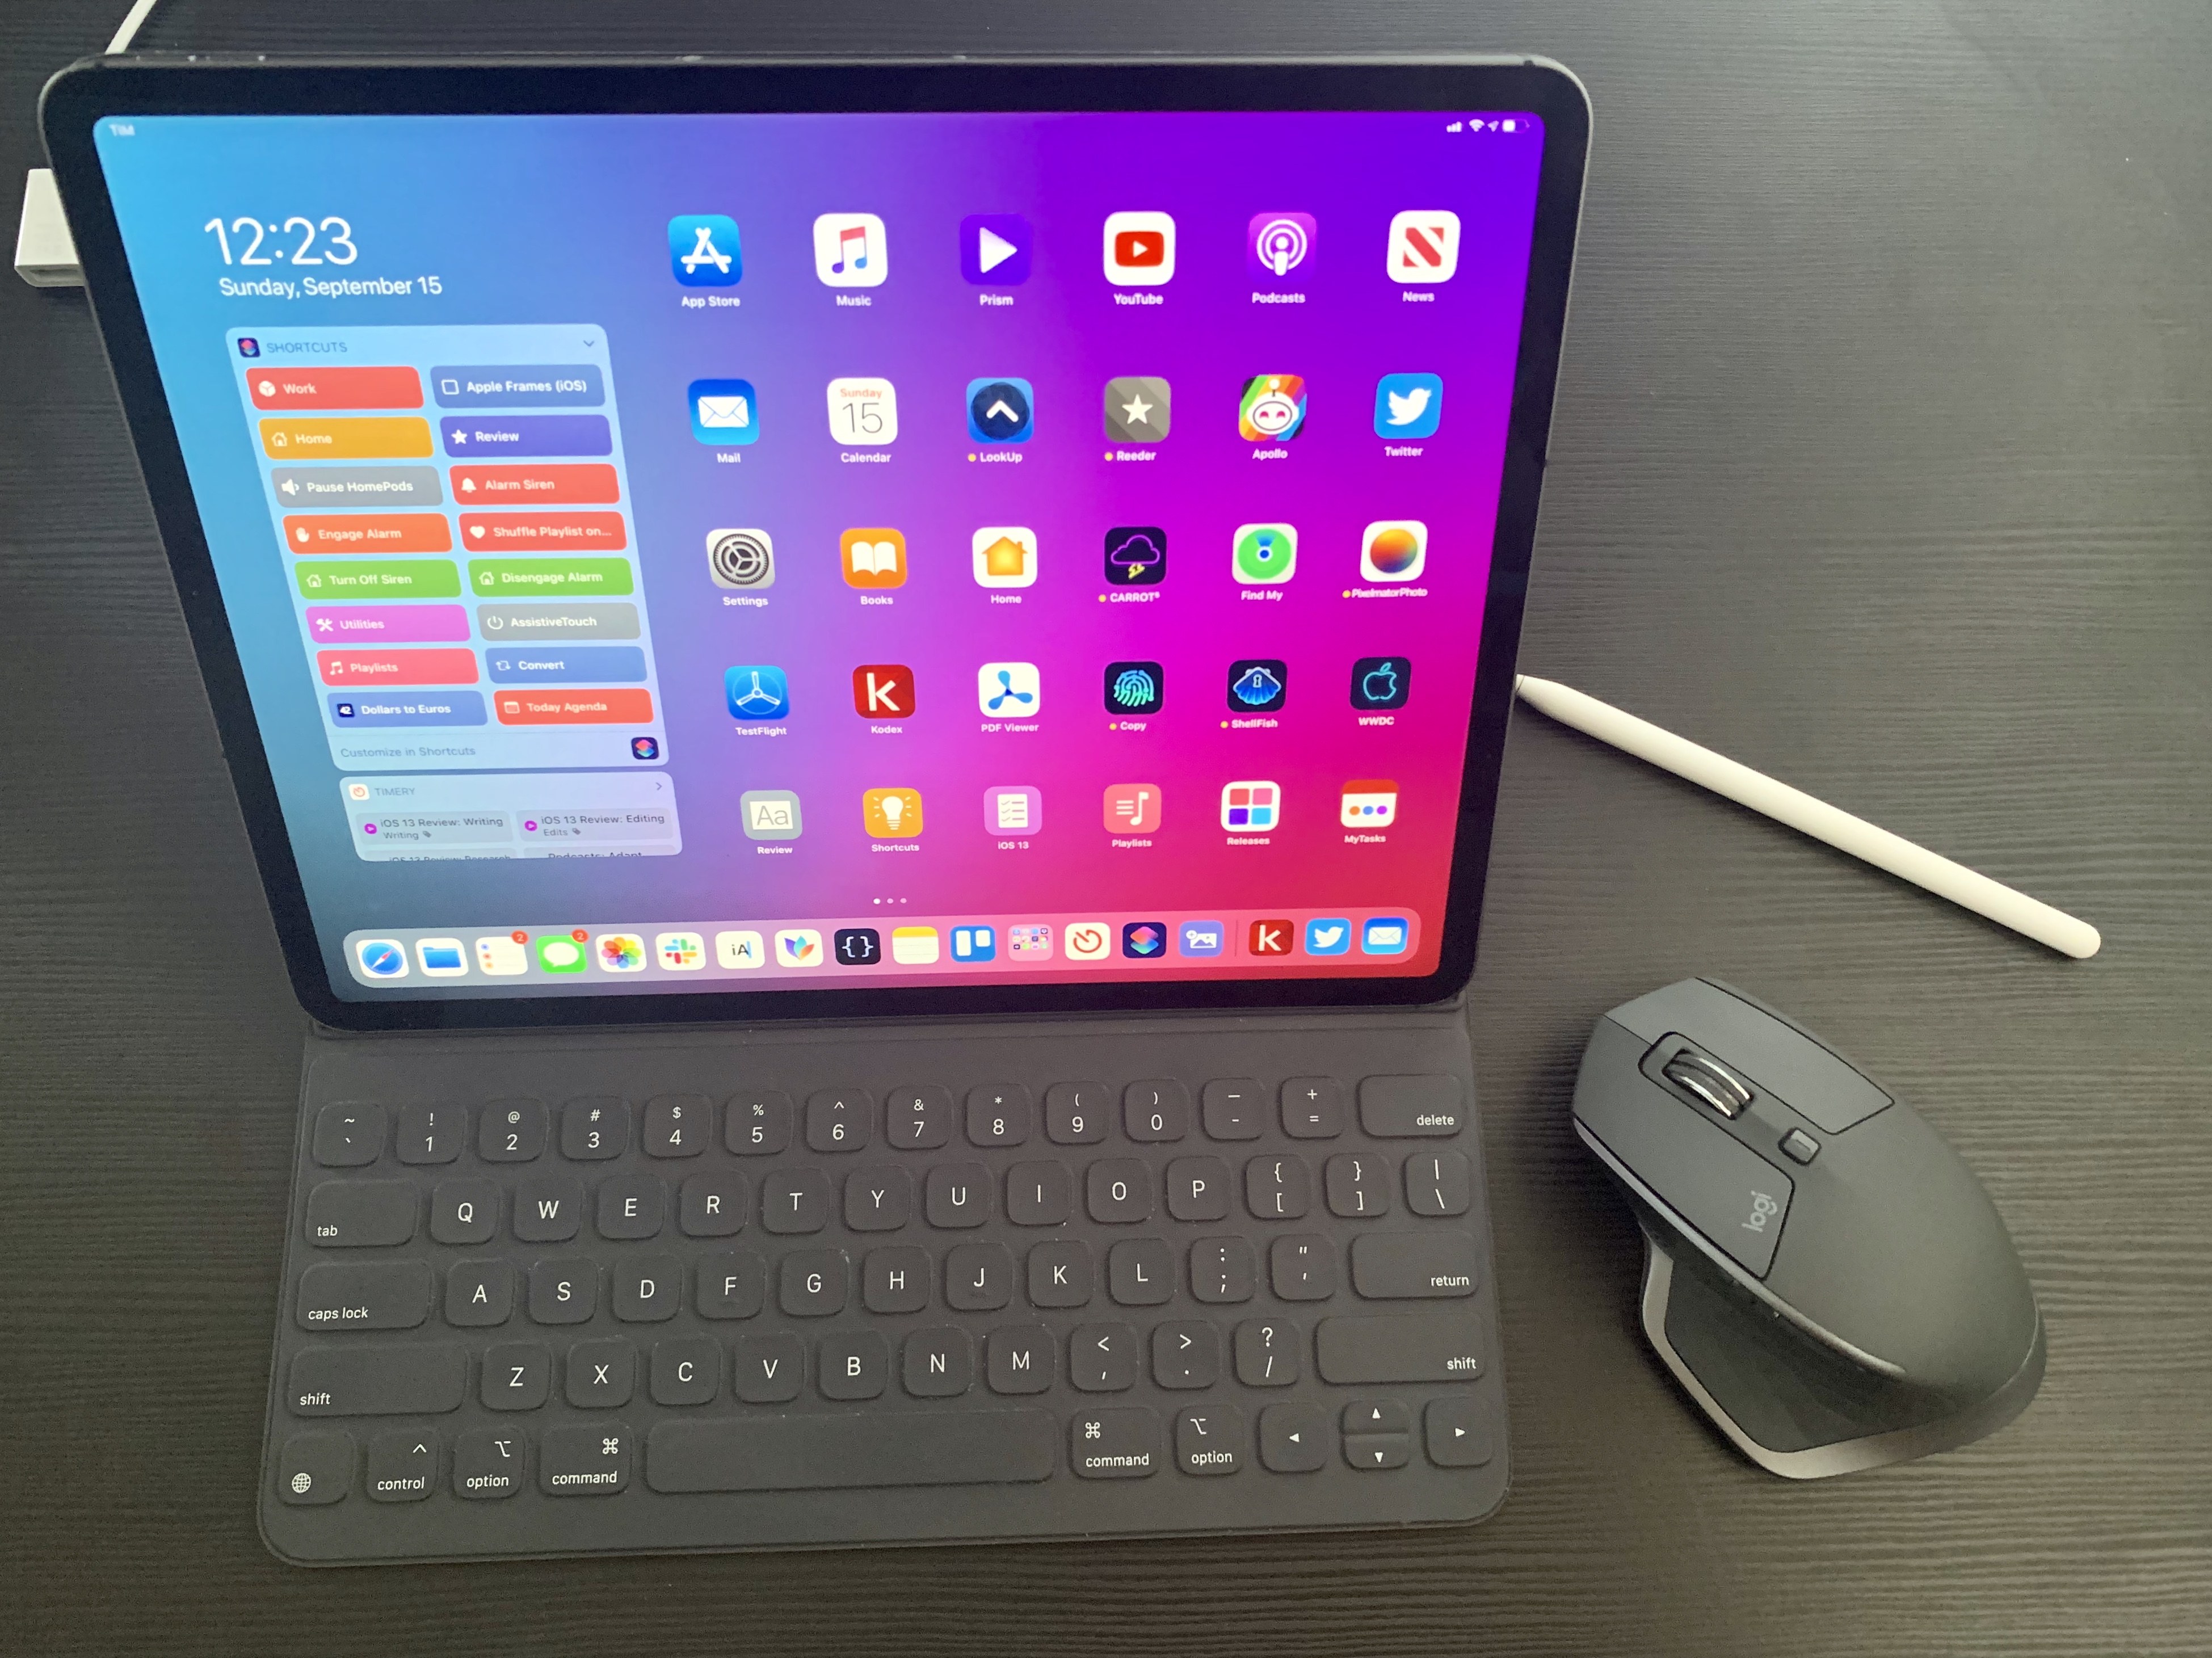
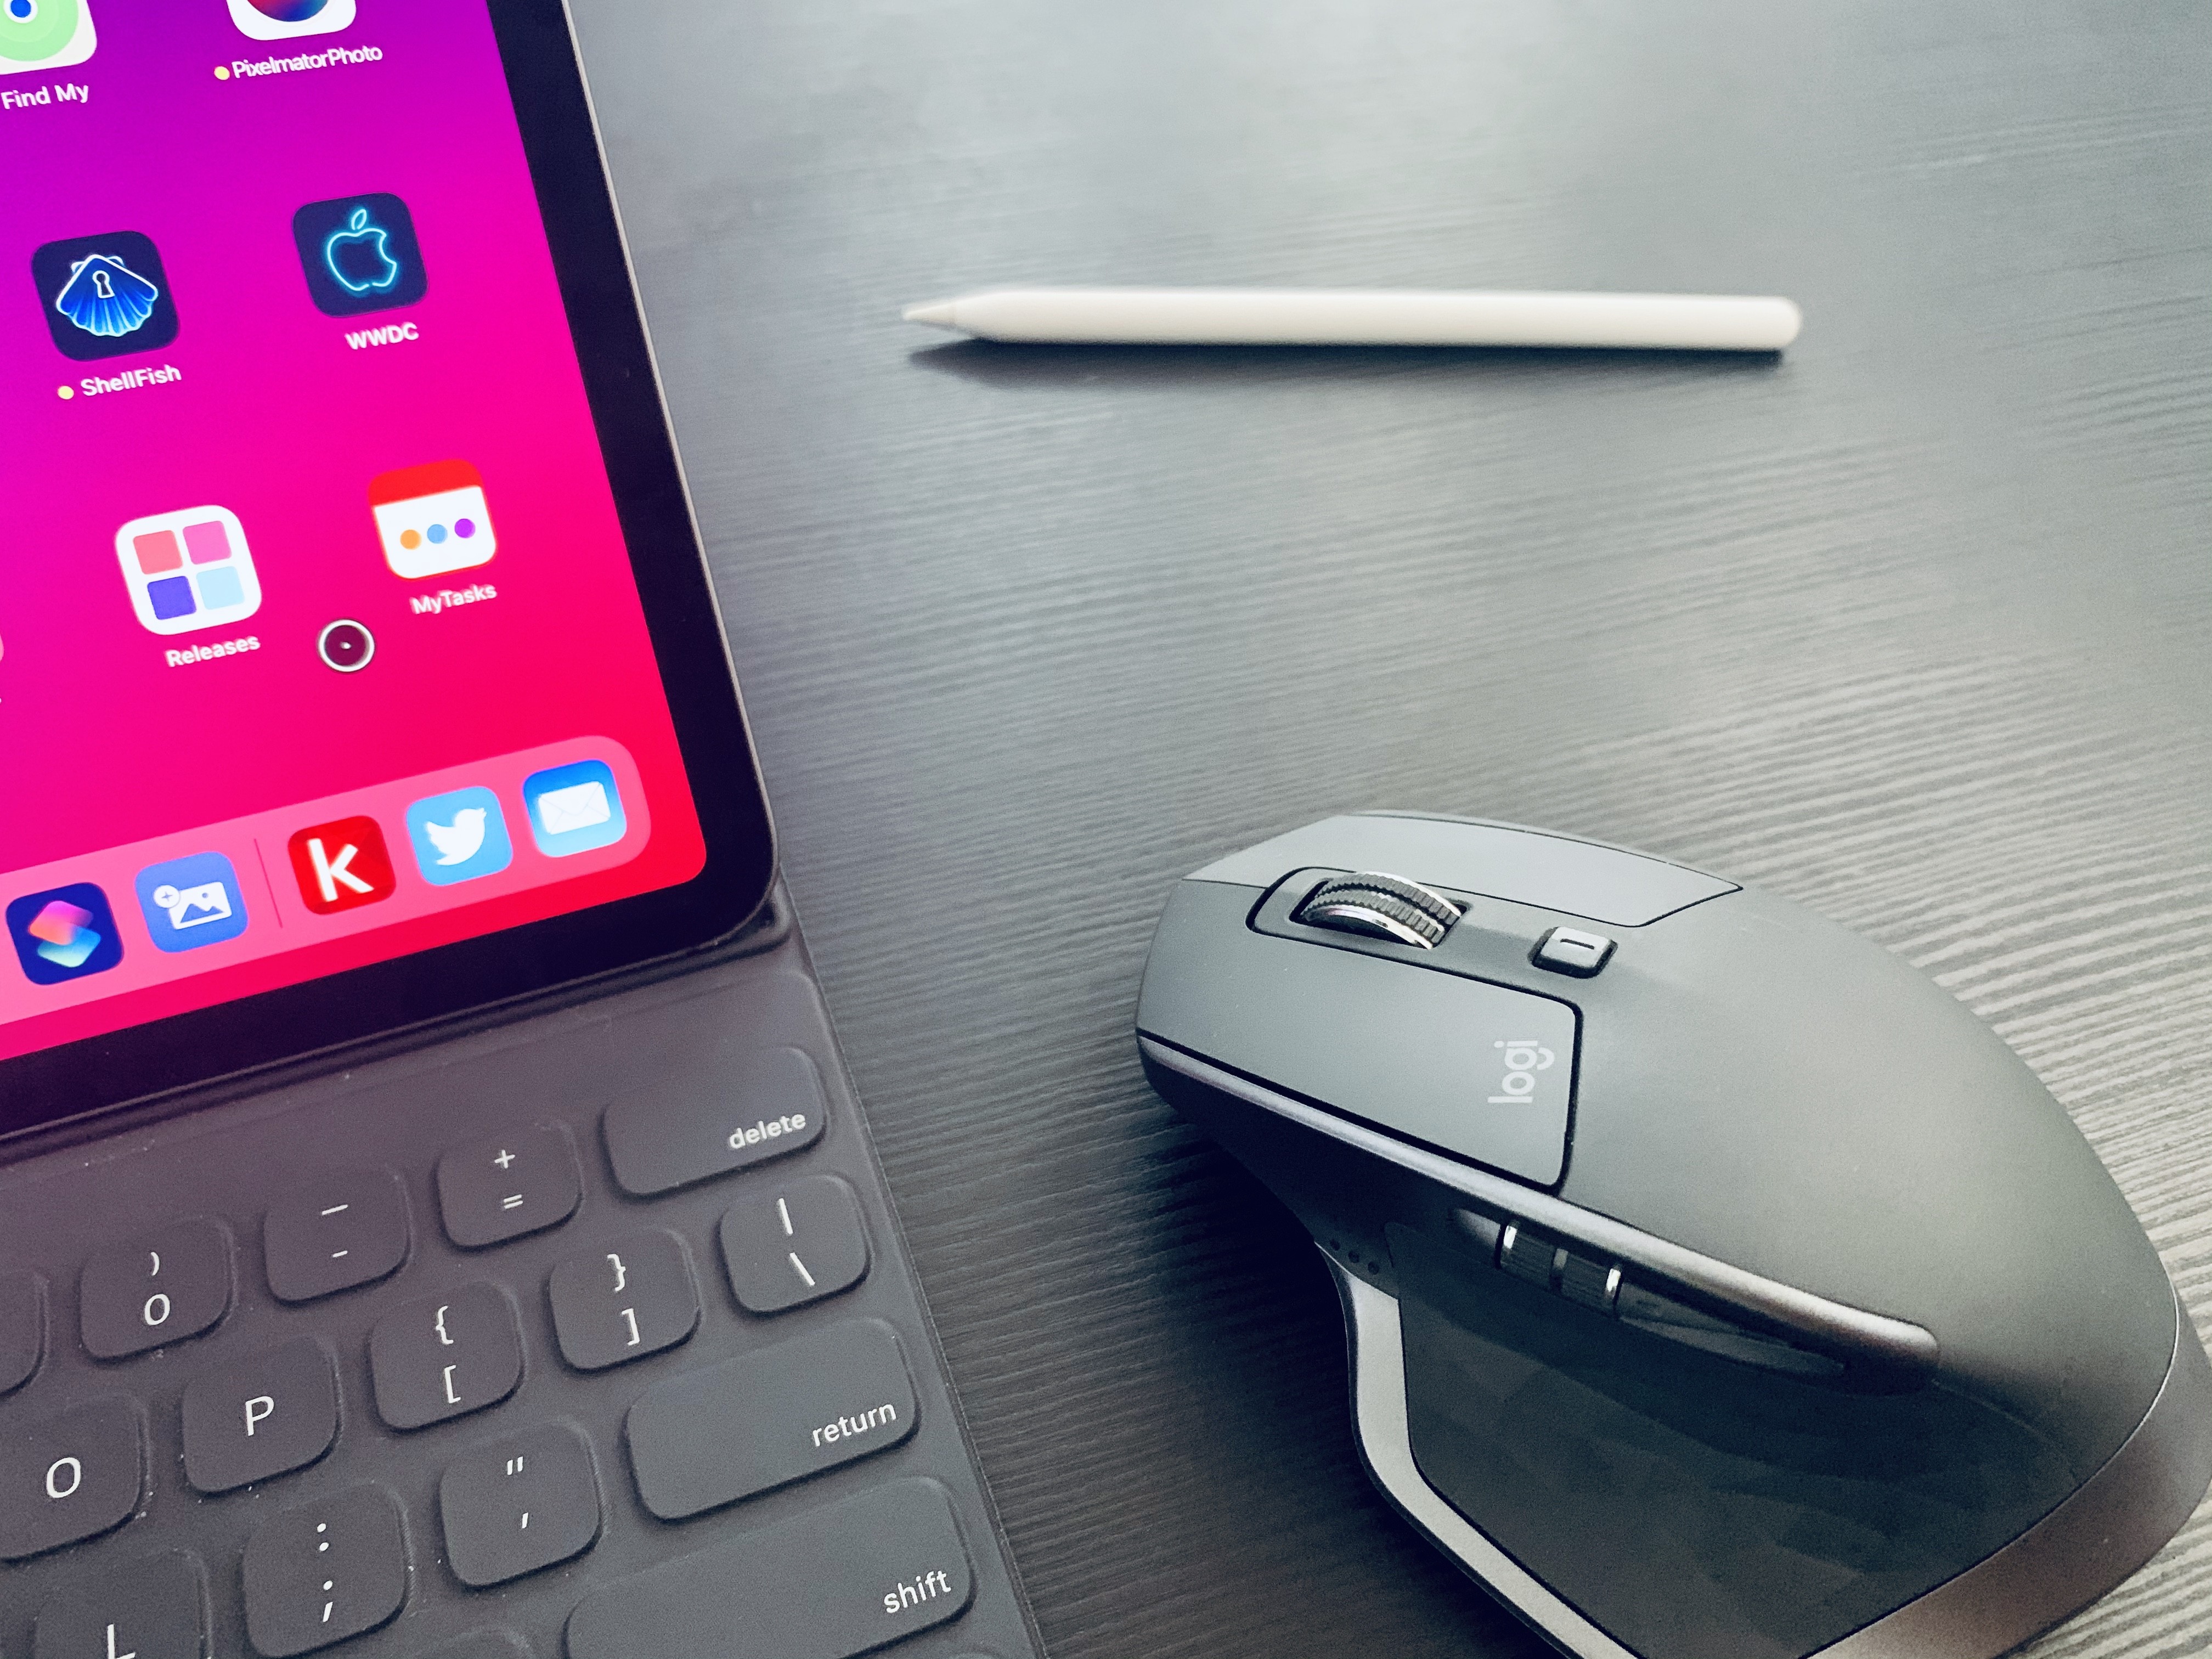
Still, despite all of this, the ability to connect a mouse to my iPad Pro has allowed me to use it in a multiplicity of configurations without having to touch the screen. Earlier this year, I bought a Logitech MX Master 2S mouse and applied a series of adjustments to the AssistiveTouch settings to optimize the experience for someone who doesn’t have motor impairments but just wants to control iPadOS with a mouse. First, I made the pointer smaller, changed its color, and set auto-hide to 10 seconds:
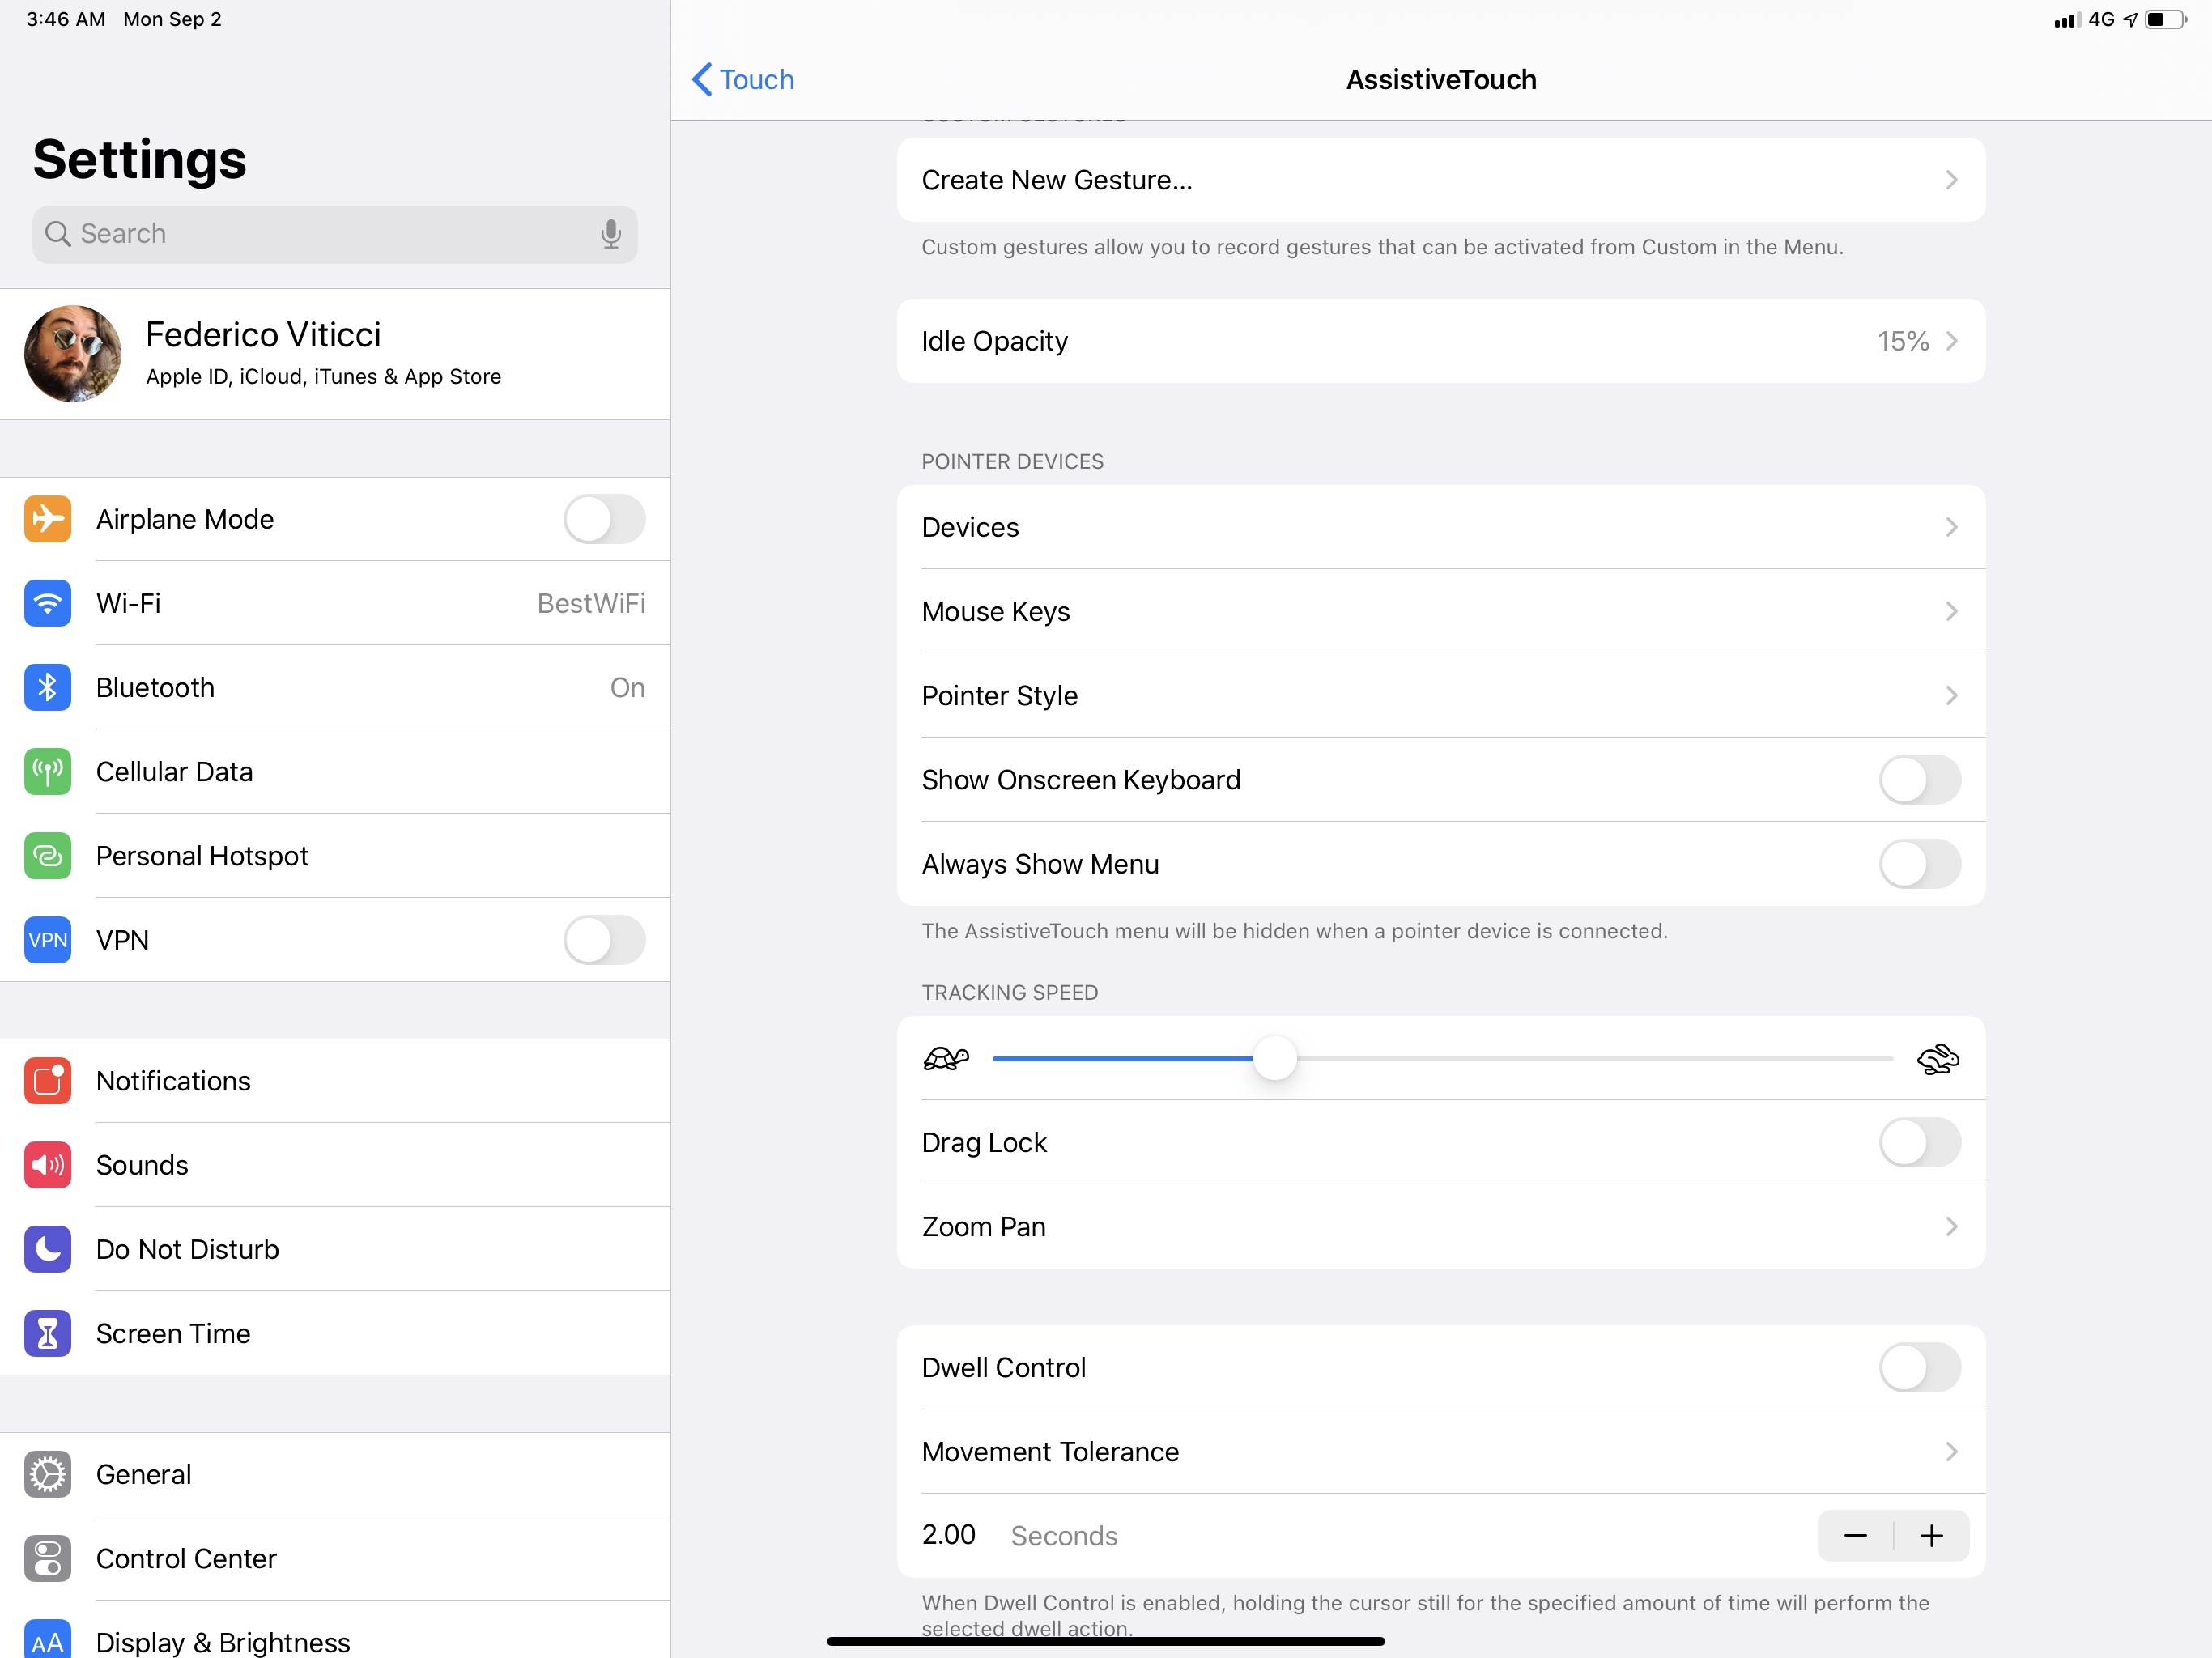
Then, I disabled the ‘Always Show Menu’ option so that the main AssistiveTouch menu would stay hidden by default and adjusted the pointer’s tracking speed to a level I was comfortable with:
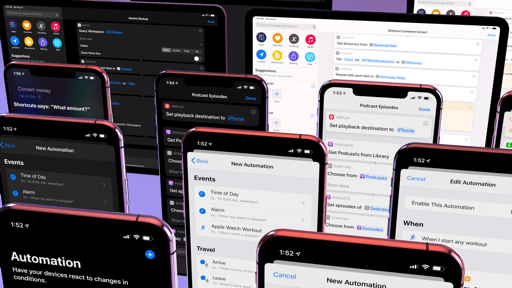
Lastly, because the MX Master 2S has a total of five configurable buttons, I assigned each of them to a different system action under Devices ⇾ MX Master 2S:
- Button 1: Single-Tap
- Button 2: Home (I can double-click it to open the app switcher)
- Button 3: Long press
- Button 4: Open Control Center
- Button 5: Toggle the dock
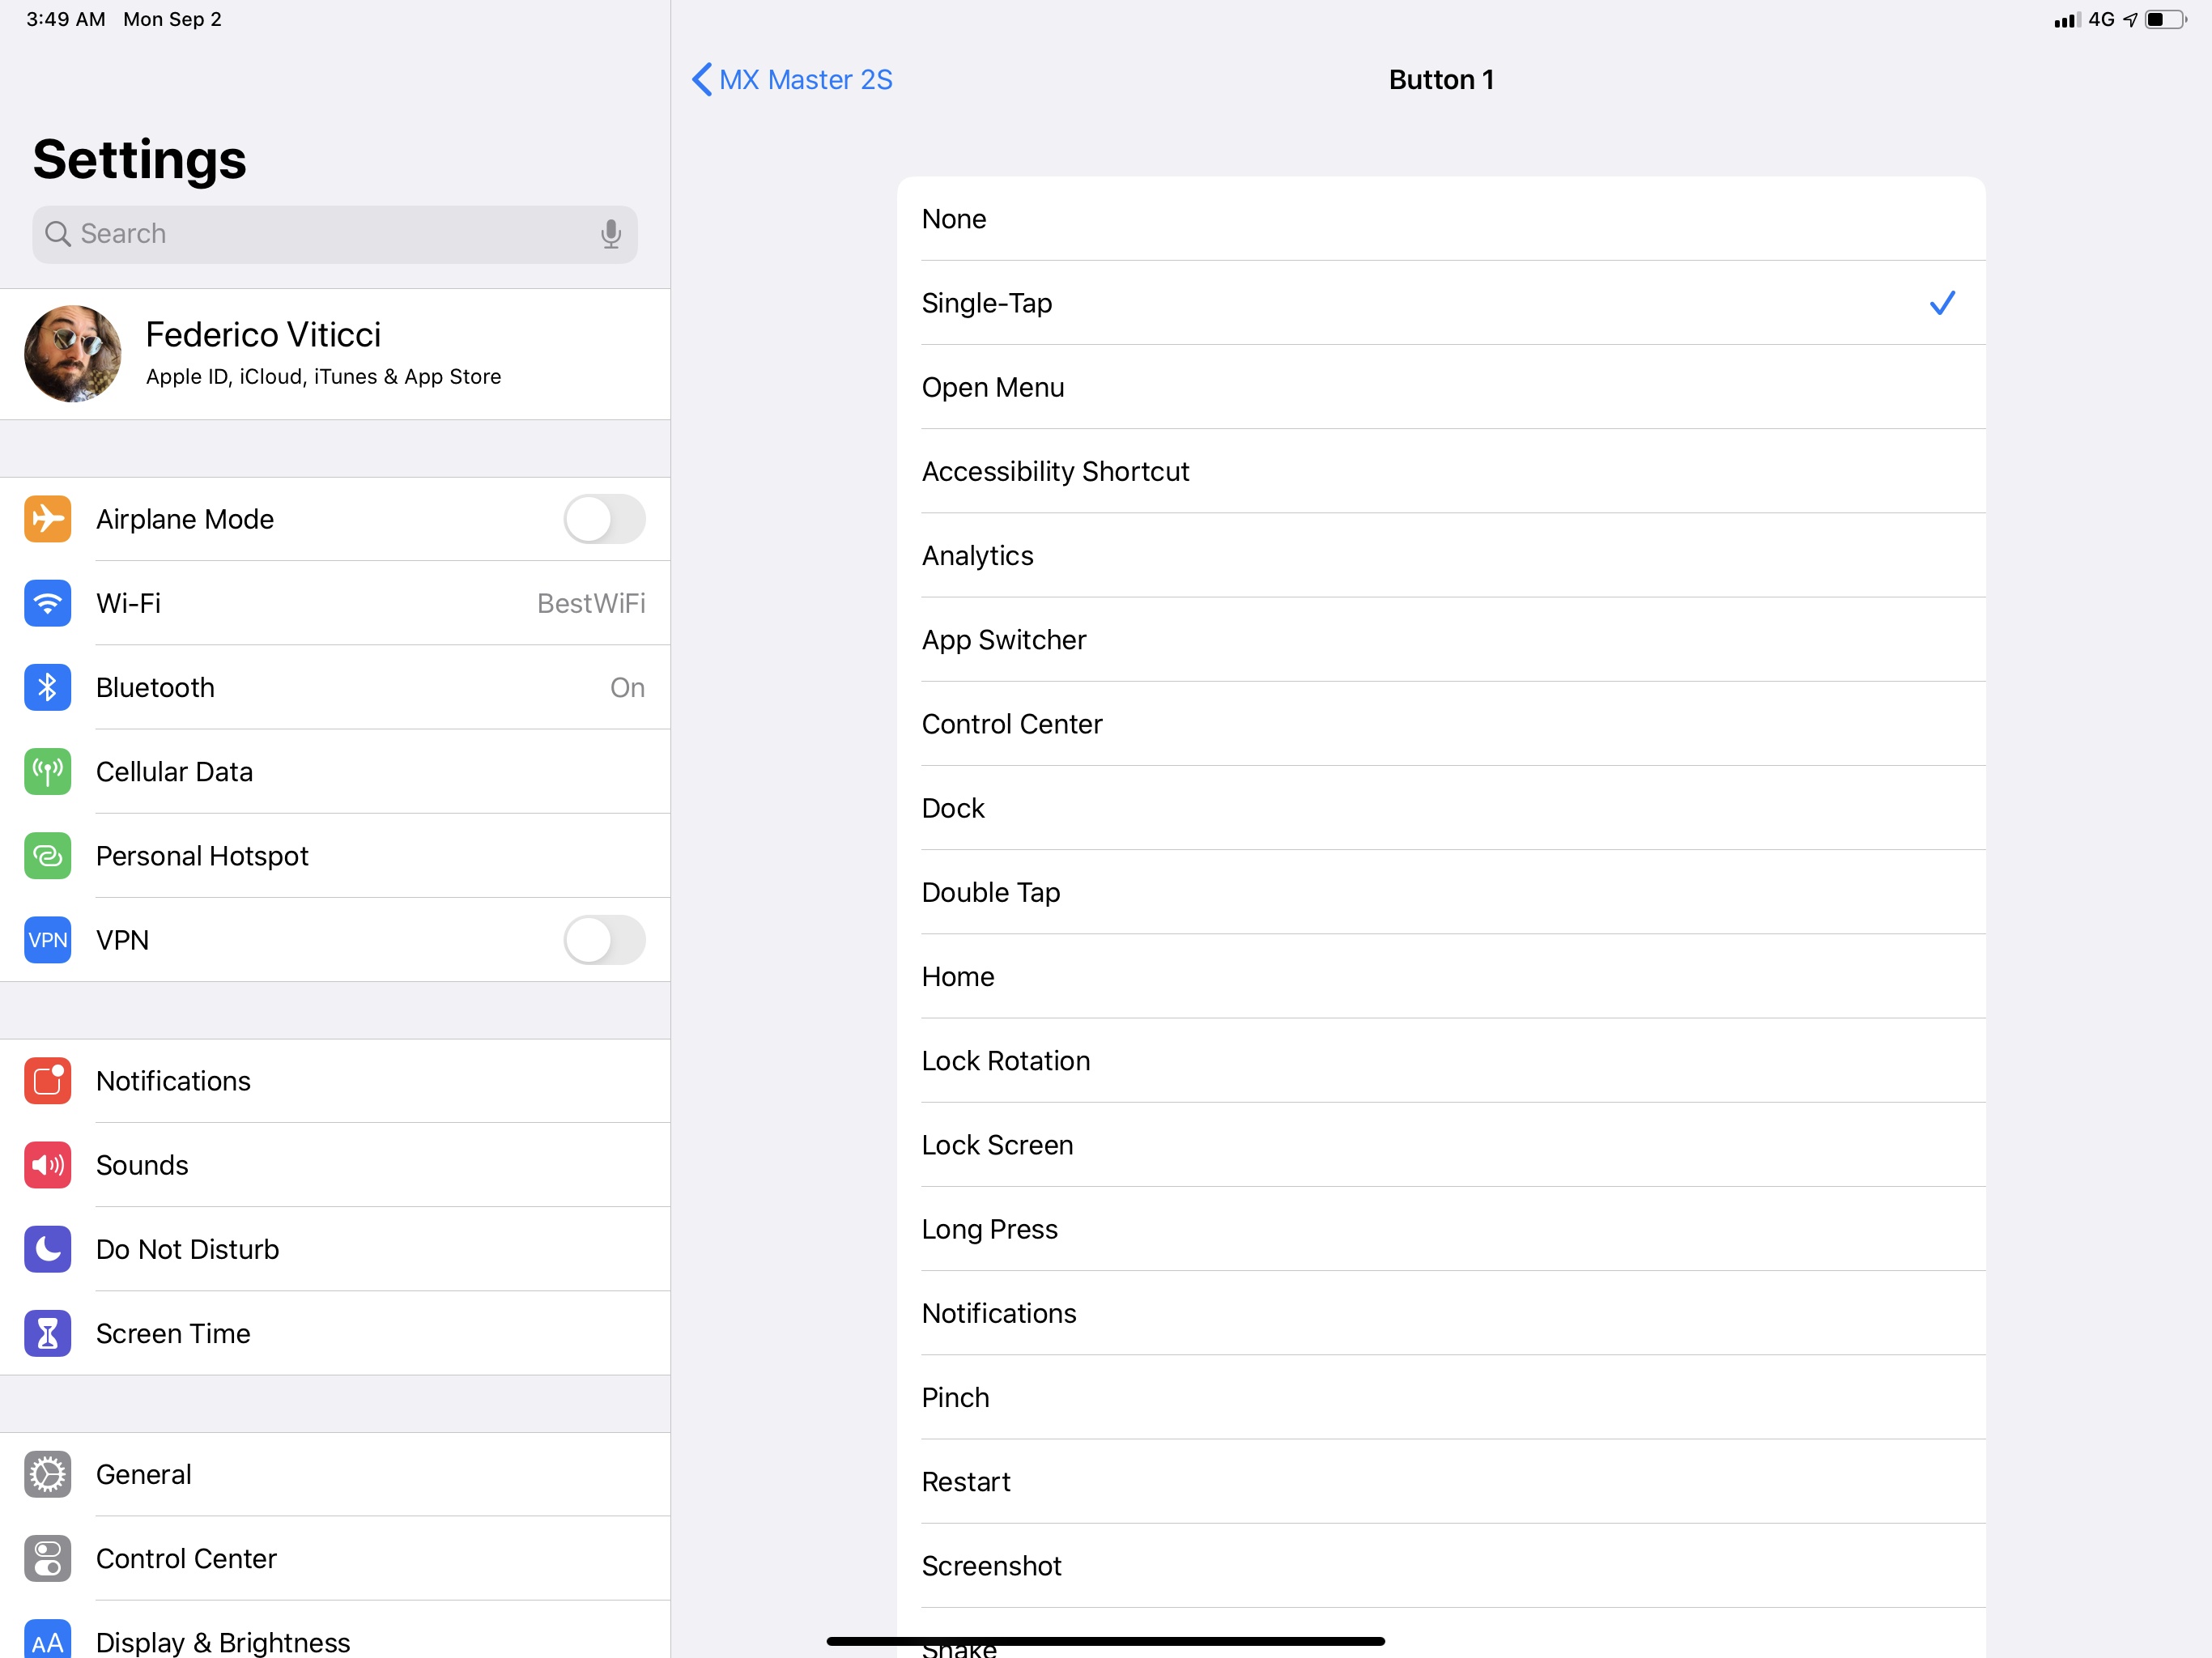
There’s a long list of built-in system actions to choose from when configuring custom mouse buttons.
Thanks to programmable buttons, I was able to configure the MX Master 2S so that accessing certain system features is easier when using a mouse. Now when I’m working at my UltraFine 4K display, or if I have the iPad Pro propped up with a vertical stand, I no longer have to lift my hands off the keyboard to touch the screen, which makes the whole experience faster and more suited for a workstation setup. I’ve enjoyed the ability to scroll long documents with the scroll wheel, and I’ve even gotten used to selecting long chunks of text with the pointer. I wouldn’t say that I’m as fast or as proficient at using an iPad Pro with a mouse as I am with multitouch, but I’m getting better and, most importantly, my hands stay on my desk at all times now.
Apple may keep saying that support for USB and Bluetooth external pointing devices was primarily designed with Accessibility users in mind, and I believe them, but the die is cast: now that all users have seen that it can be possible to control the iPad’s interface with a mouse or trackpad, they’ll want to do it. It’s too late to pretend those requests and potential use cases don’t exist; we have to wonder when Apple will build proper support for pointing devices at a system level in UIKit.
Sooner or later, Apple will have to face another reality: that in addition to needing a file manager and multiple windows, advanced iPad users have also been plugging their tablets into external displays or placing them in stands or conjured setups the company couldn’t even imagine. And they would like to control iPadOS’ interface with a pointer. What Apple has shipped in iPadOS 13 is a great addition to AssistiveTouch, but it is a stopgap solution that falls short in several other ways. If Apple wants to continue down the path of the iPad as a hybrid computer that can transform into different types of machines, mouse support will have to go beyond an Accessibility setting.
- Look, I'm really trying to imagine a valid use case here. ↩