The reviews are in, and it looks like my initial impressions from last week’s press releases hold up pretty well.
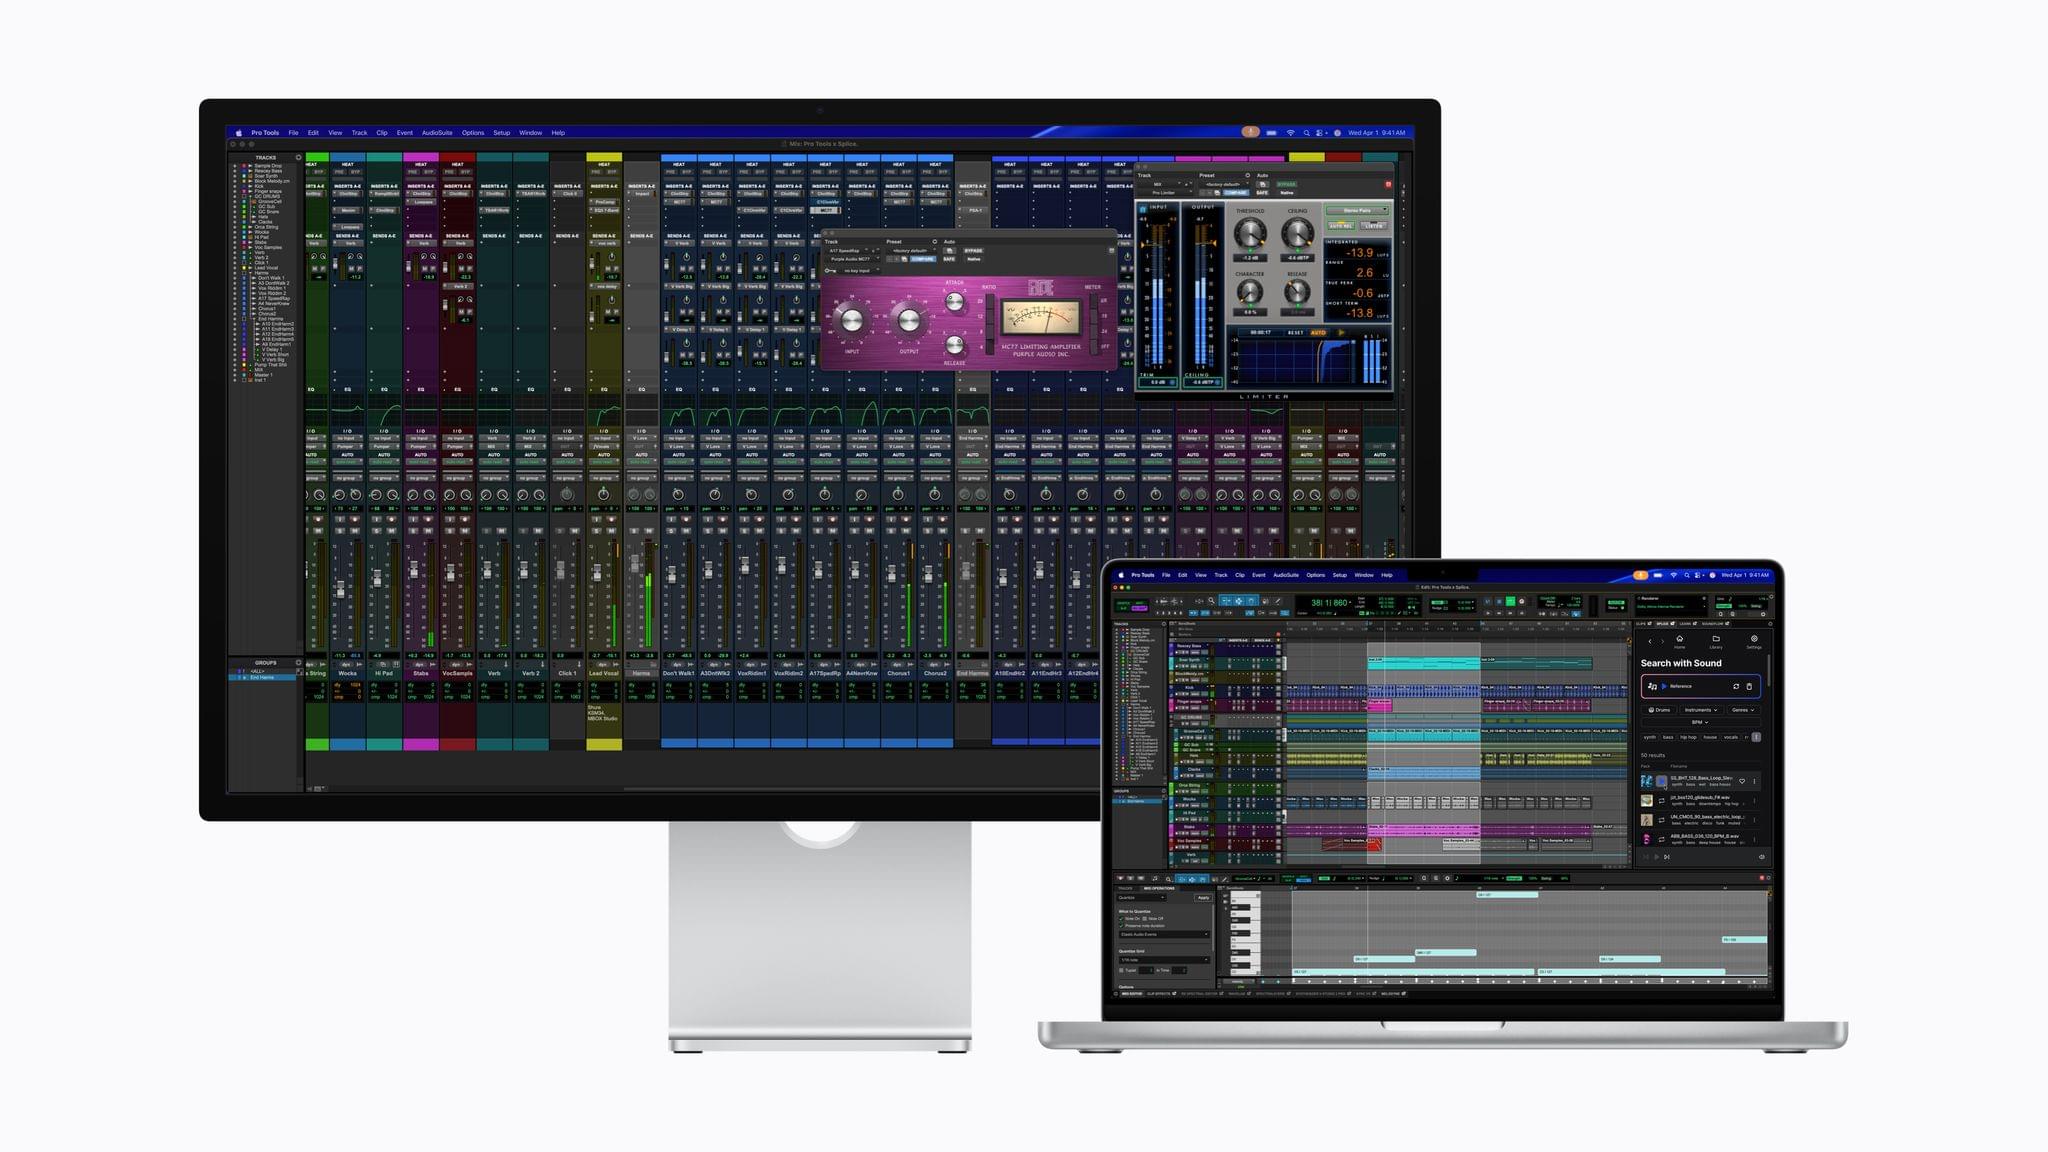
The M5 MacBook Pro
What was clear to me from what Apple said is that the M5 MacBook Pro is an especially nice upgrade, even from the M4 models. As Jason Snell put it on Six Colors:
The pace of Apple silicon progress is breathtaking, not just at the base level that powers the MacBook Air and iPad Pro, but up here at the level of bespoke chips designed for Apple’s most powerful systems.
Jason reviewed a MacBook Pro with an M5 Pro (18-core CPU, 20-core GPU) chip, which he reported is overall 23% faster than his personal M4 Max laptop. Even with its 32 GPU cores, Jason’s M4 Max was only 14% faster than his M5 Pro MacBook Pro review unit, which has just 20 GPU cores. I’ve noticed similar GPU improvements between my M1 Max Mac Studio and the M4 Pro Mac mini. I’m working on a story about my recent tests, which show that even the last-generation M4 Pro can run circles around the M1 Max’s GPUs. It’s astonishing.
What I find remarkable about this is that it has allowed Apple to embrace both ends of the computing spectrum at once. The longevity and capabilities of prior generations of Apple silicon chipsets allow for laptops like the MacBook Neo, which by all accounts is a champ at tackling day-to-day workloads. At the same time, the M5 Max exists, which is the sort of chipset that AI workflows and other pro use cases demand. The spread of capabilities has never been wider, which is great for users who can dial in exactly what they need better than ever.
Cameron Faulkner at The Verge was a little less enthusiastic:
People who bought the last-gen MacBook Pros aren’t missing out on a ton, save for the incredibly fast read/write SSD speeds. But if you bought the M2 Max three years ago and you’re already pushing it to its limits, the M5 Max looks like a significant upgrade.
I can’t disagree that if you have an M4-series MacBook Pro, you already have a powerful laptop that most people don’t need to upgrade, but buying decisions aside, I don’t think you can downplay 2× faster SSDs and significantly faster CPUs and GPUs. Given the right workload, those factors matter.
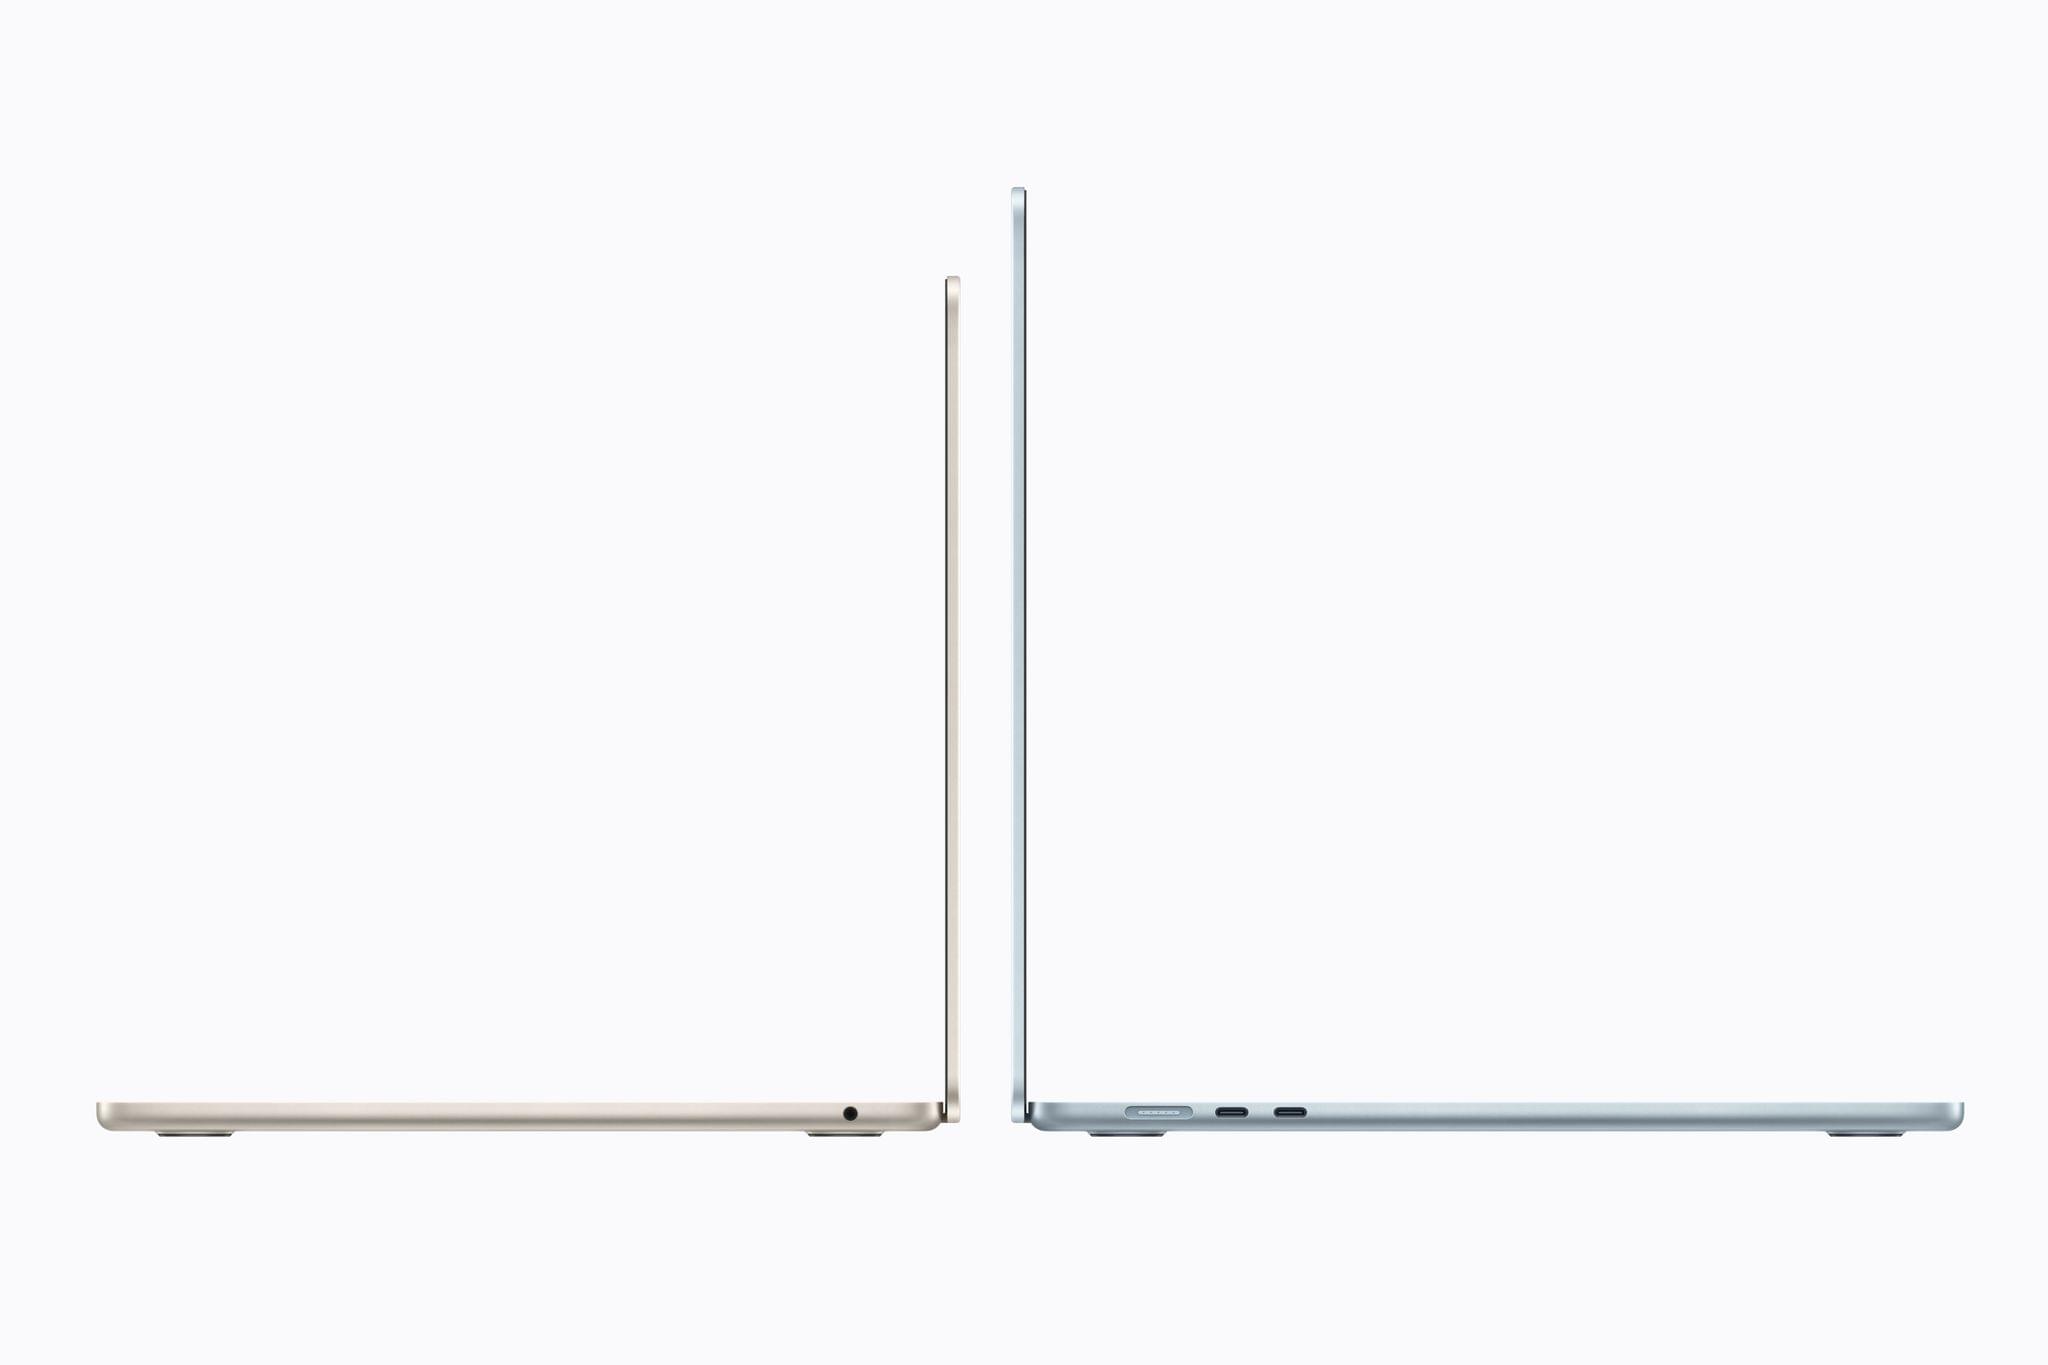
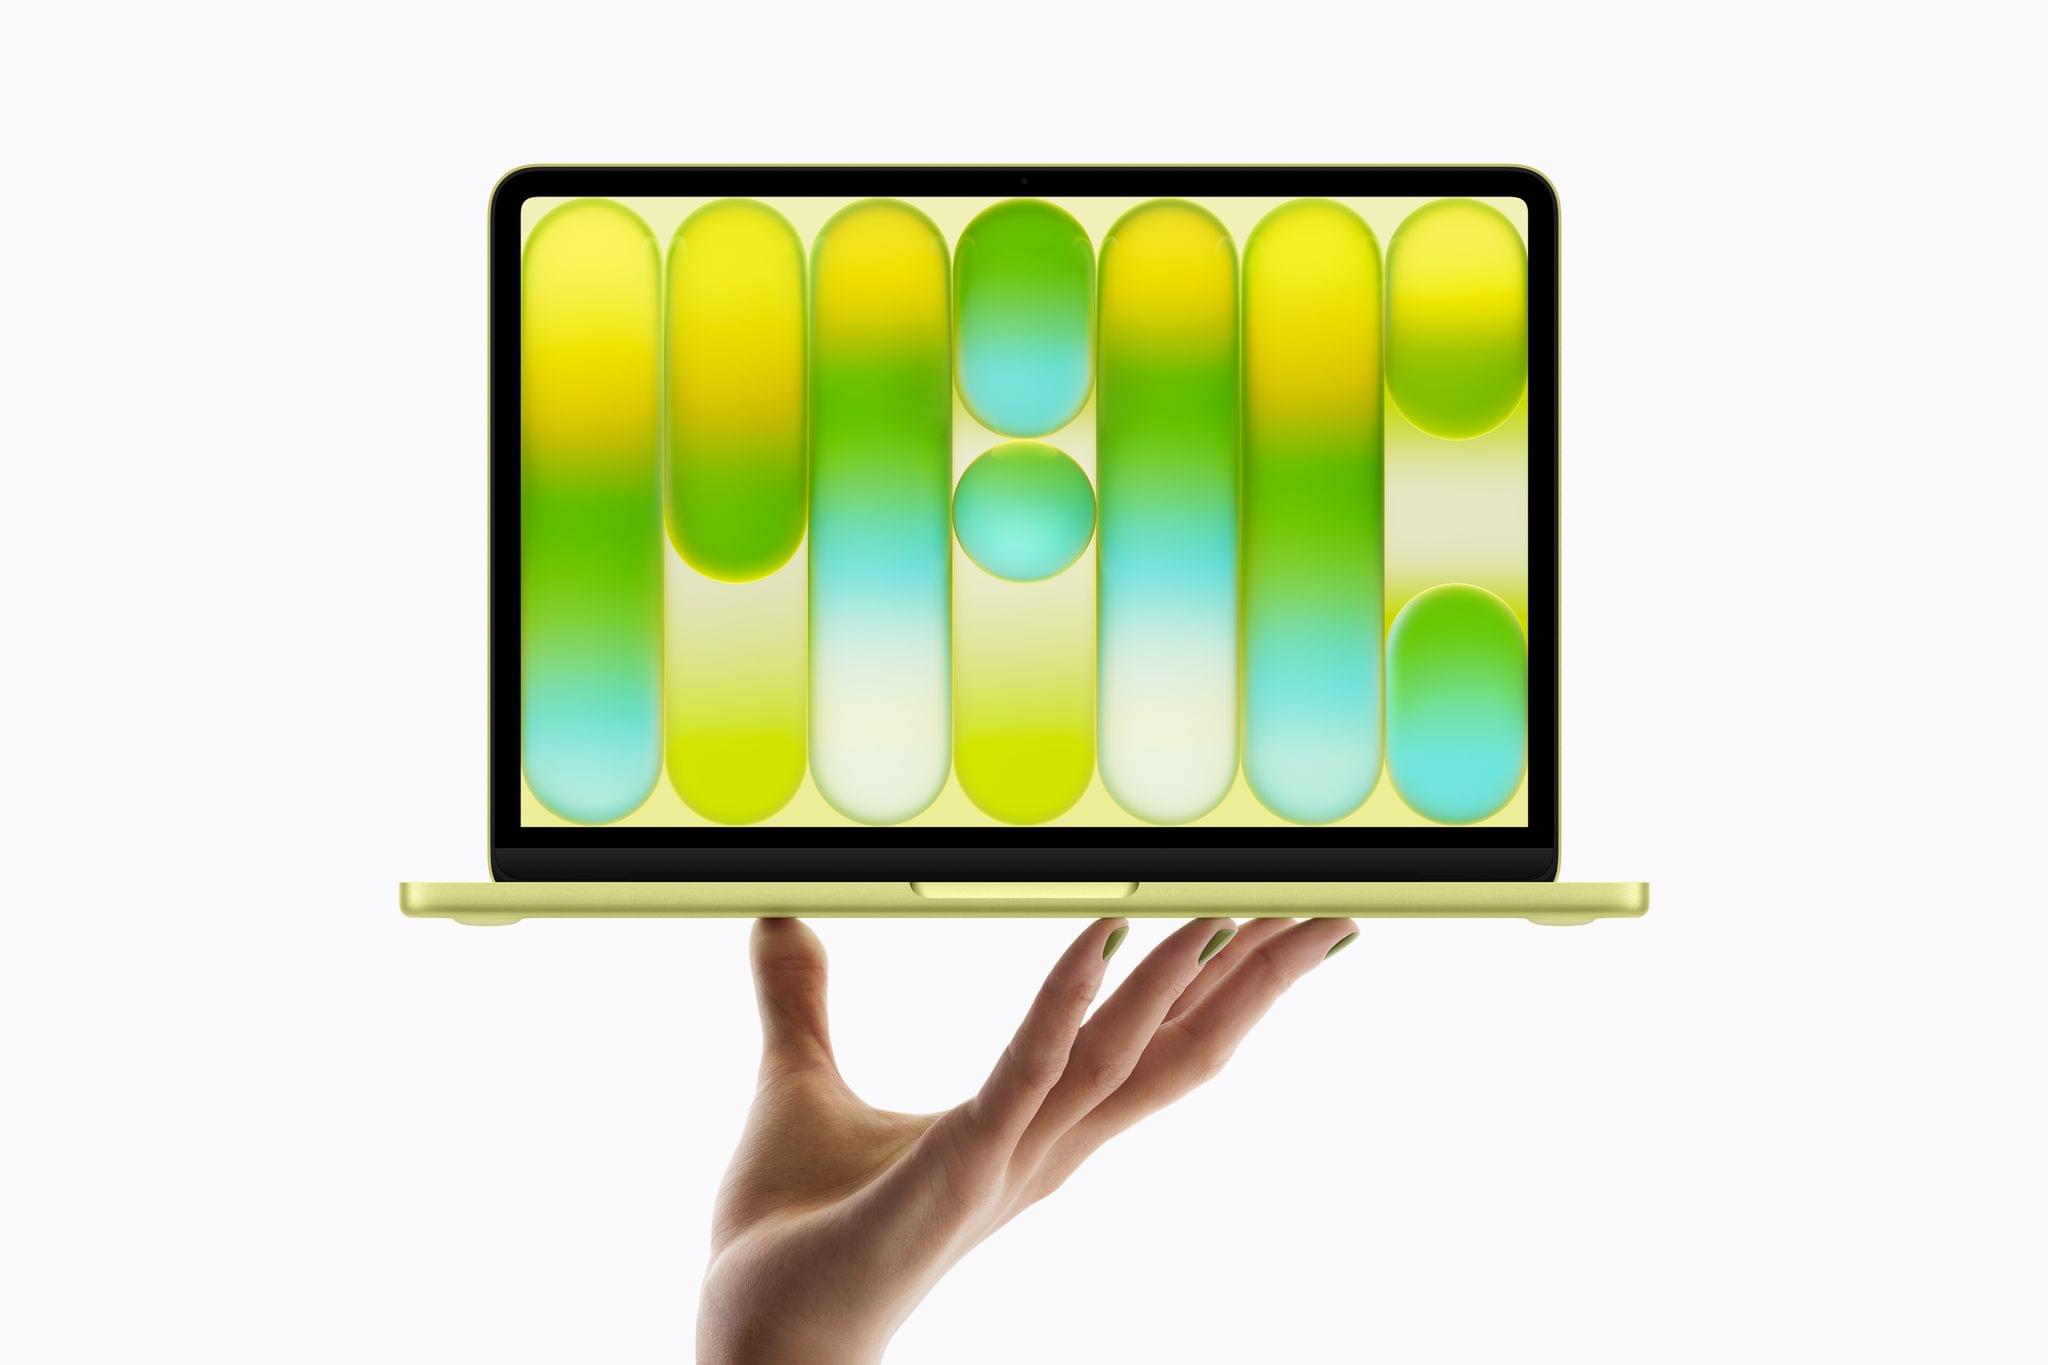
The M5 MacBook Air
In many ways, I find the M5 MacBook Air just as exciting. It’s not as powerful as the M5 MacBook Pros, but I’m intrigued by the 15” model. I’ve been using a 14” MacBook Pro for quite a while, and it has convinced me that I’m not interested in going back to a 13” laptop.
What interests me most about the 15” MacBook Air is using it as a companion to my desktop Mac Studio. The reality is that when I’m away from my desk, I rarely need the power of a MacBook Pro or Mac Studio. Instead, most of what I do on a laptop can be accomplished with the Air, connecting via Screen Sharing to my desktop Mac as needed for heavier workloads.
As Dan Moren put it at Six Colors:
The Neo may vie for the title of Apple’s bestselling Mac, but it’s got its work cut out for it: the crown remains the MacBook Air’s to lose and if you come at the king, you better not miss.
For Dan, the SSD performance was a highlight coming in at a 125% improvement over the M4 Air for read speeds and 219% of the M4 Air for write speeds, using Blackmagic’s disk testing tool. That’s better than what Apple claimed in its press releases and the sort of difference that will have practical impacts when working with large files.
I also found Lance Ulanoff’s perspective on the Air interesting:
The M5 brings the level of performance we’ve previously seen in the MacBook Pro — I had trouble finding anything the laptop couldn’t do.
Consistent with what Jason Snell said of the M5 MacBook Pro, it’s the pace of progress that’s so astonishing. What the MacBook Pro could do yesterday, the M5 Air can do today.
Based on these reviews, I expect the Air will continue to be the best overall laptop in Apple’s lineup for most people. I’m intrigued by the Neo and love what the Pro can accomplish, but the Air sits in a sweet spot that makes it a great value even though it’s no longer the lowest-priced laptop Apple makes.
With these new laptops arriving on customers’ doorsteps and in stores today, I’m sure we’ll hear more firsthand accounts of their capabilities soon. From where things stand today, though, Apple’s laptop lineup has never looked better.