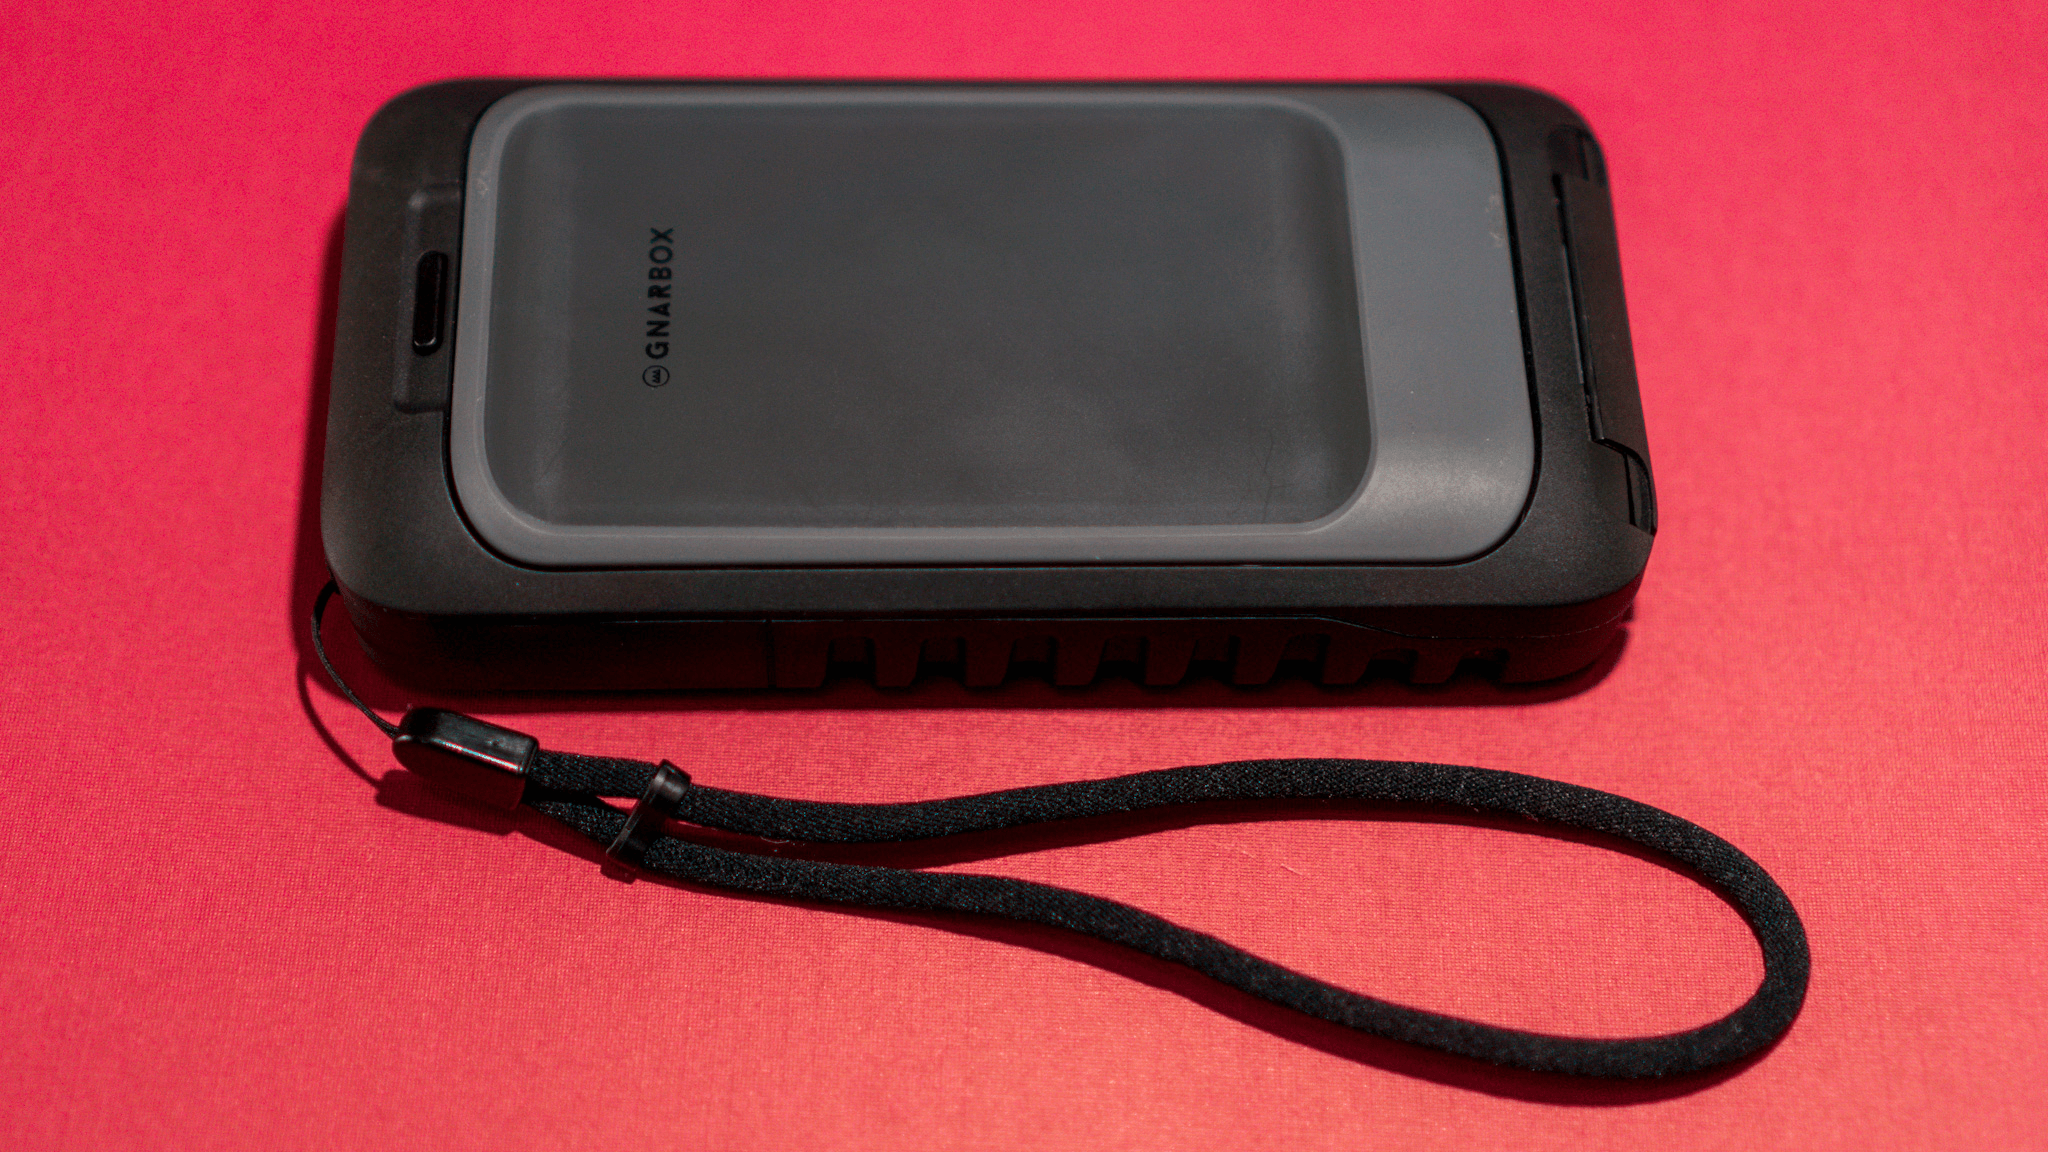
The Gnarbox 2.0 is ruggedized, portable SSD storage designed with photographers and videographers in mind. I’ve tried lots of different portable storage solutions in the past, and what distinguishes the Gnarbox is its ability to operate as a standalone device and as an accessory to a computing device. The mix of fast, rugged storage, an onboard operating system, wired and wireless connectivity, and complimentary software isn’t cheap. The entry-level Gnarbox is $499. However, the Gnarbox offers both the peace of mind of in-the-field backups and image and video pre-processing, making it a compelling choice for anyone who captures lots of photos and video while away from their main computing device.
Versatility and reliability are what you’re buying when you get a Gnarbox. I’ve tried other WiFi-enabled backup solutions, including Western Digital’s My Passport Wireless SSD, but in the weeks that I’ve been using a 256GB Gnarbox 2.0 that the company sent for testing, I’ve found that it’s built better, is more capable, and is easier to use than any other portable storage I’ve tried.
Hardware
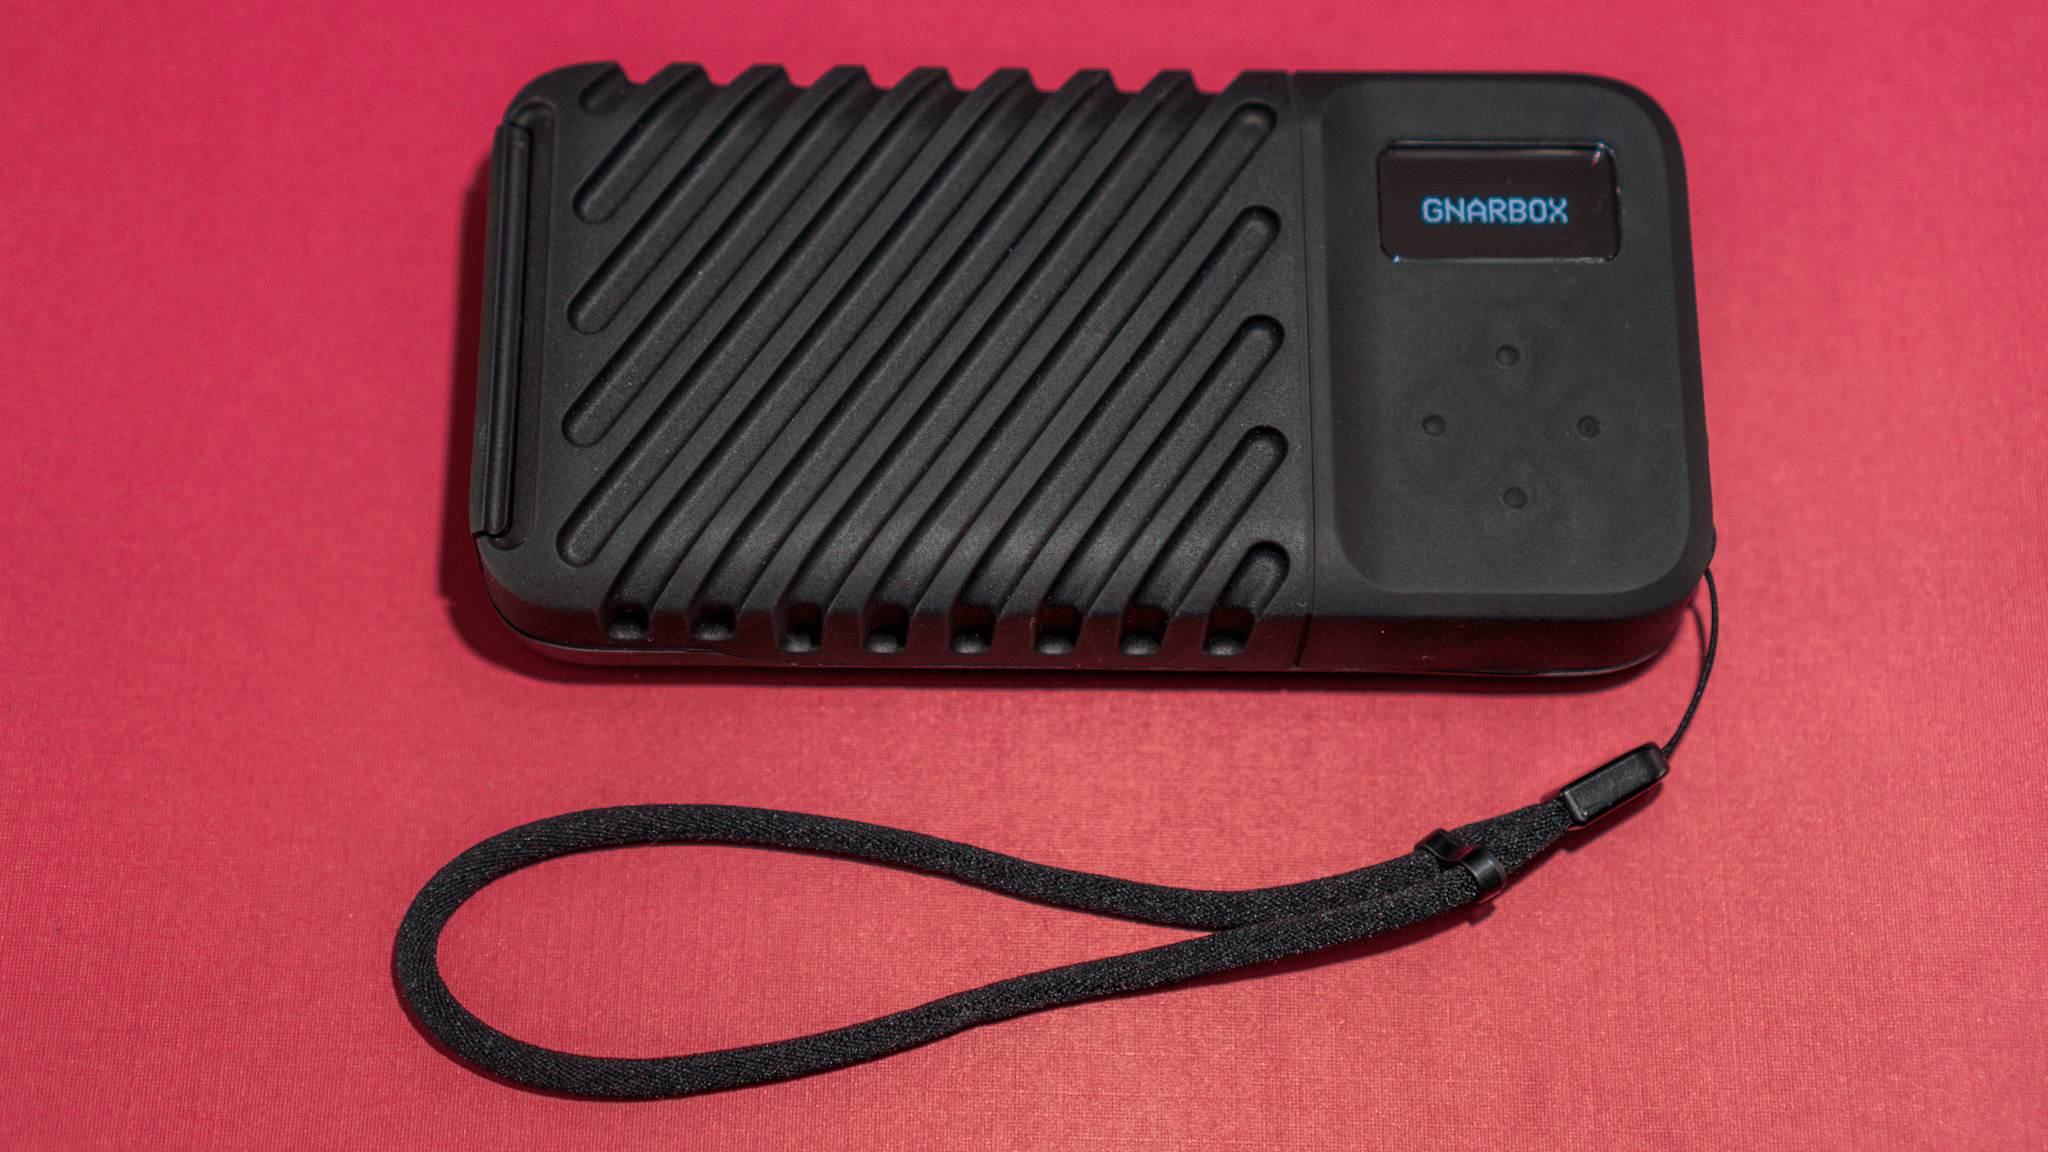
To understand the flexibility of the Gnarbox, which comes in 256GB, 512GB, and 1TB capacities, it’s best to start with the hardware because this device is more than just a fast, external SSD. The Gnarbox is its own little computer complete with Intel CPU and GPU, WiFi networking, a removable, rechargeable battery, and several ports all in a package that fits comfortably in one hand.
The Gnarbox is very close to the footprint of an iPhone 11 Pro Max but thicker at 6 x 3 x 1.16 inches. The device weighs in at .8 pounds (375g), which is a little chunky compared to some portable storage solutions, though understandable given the rechargeable battery and ruggedized casing.
The Gnarbox features an Intel Quad-Core, 2.40GHz CPU with a 4-core Intel HD Graphics GPU. There is 4GB of RAM on board and support for 802.11ac WiFi too. The Gnarbox can also be connected to a router directly using a USB-C to Ethernet adapter and Ethernet cable for the fastest possible network transfers.
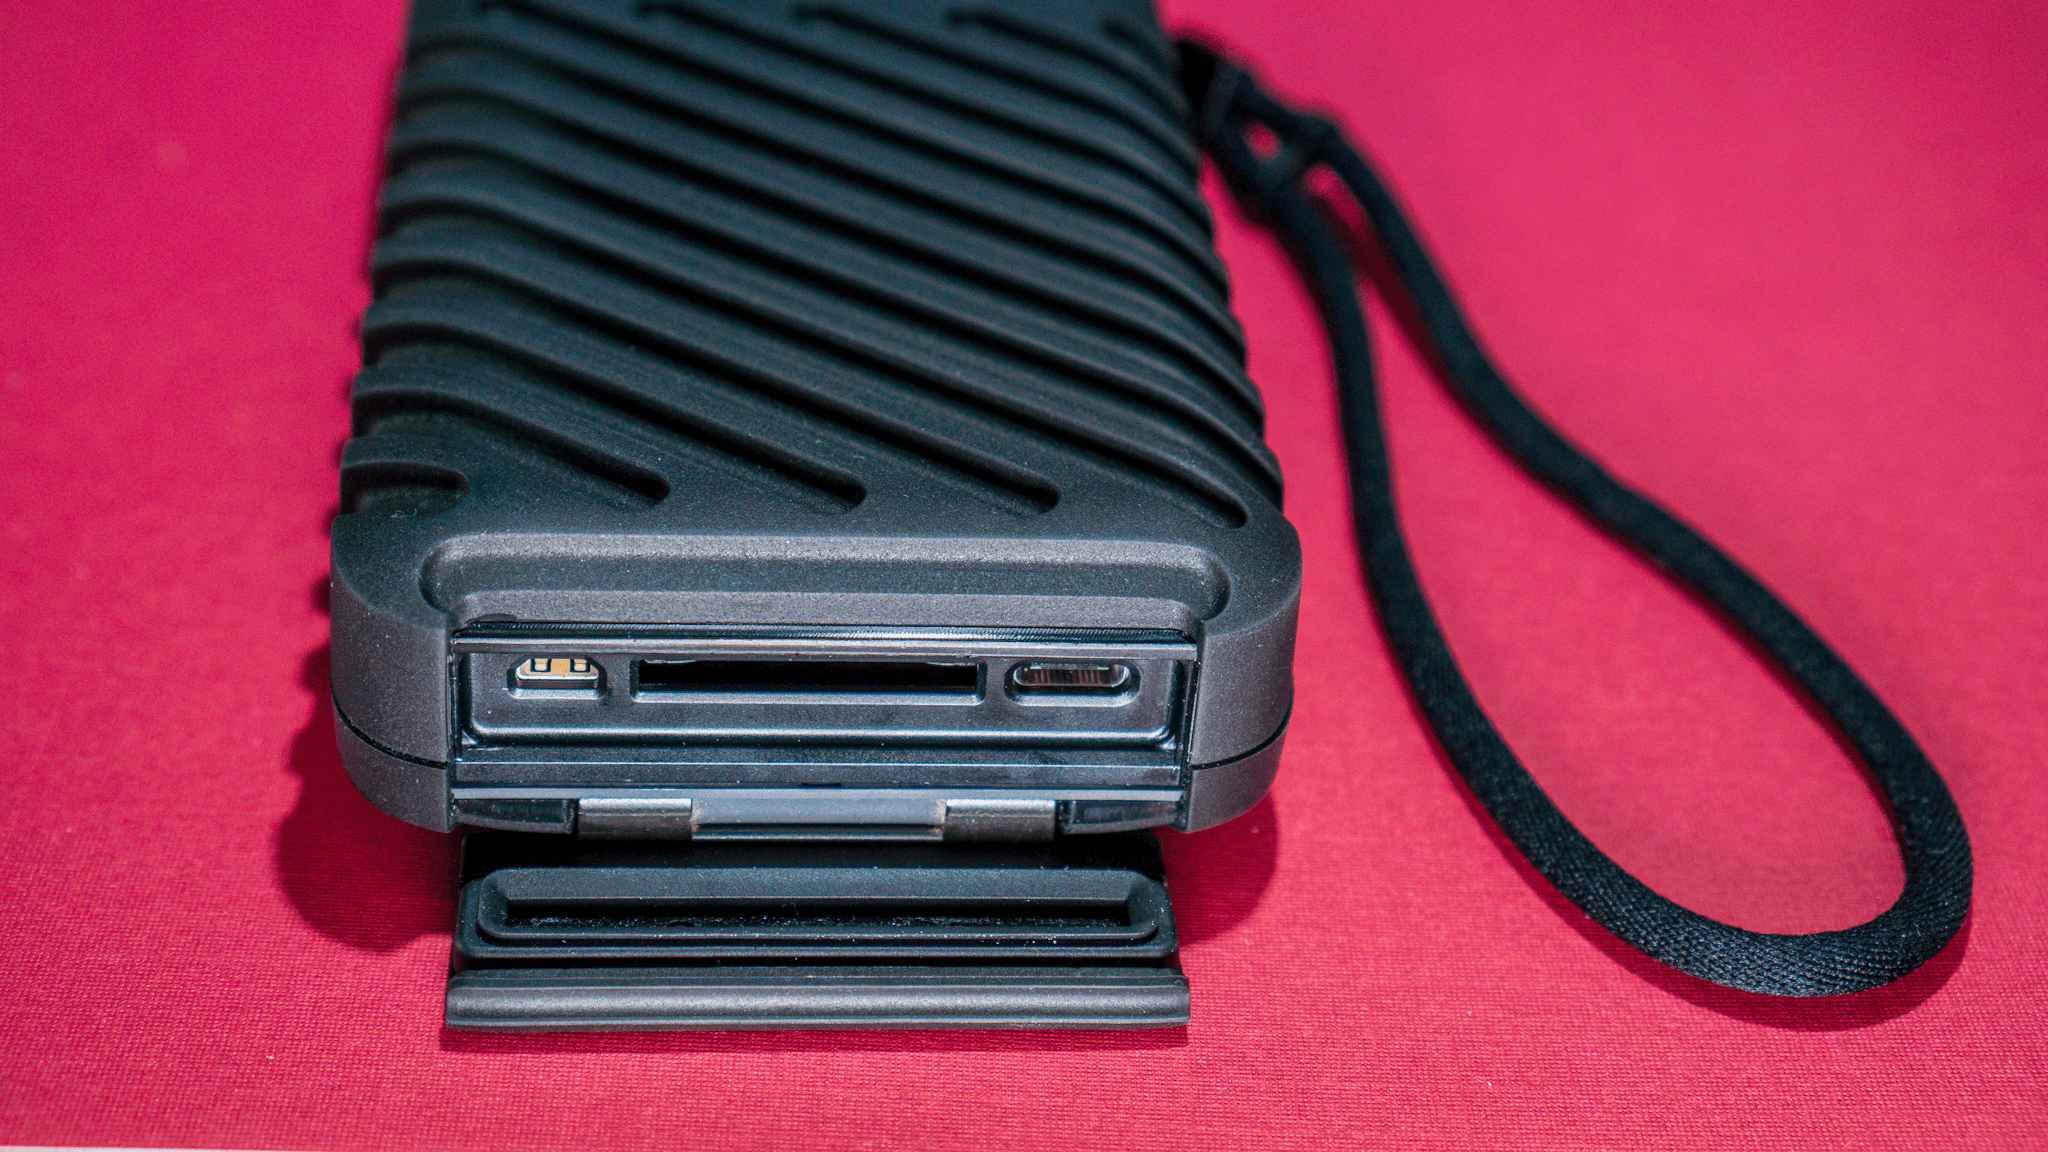
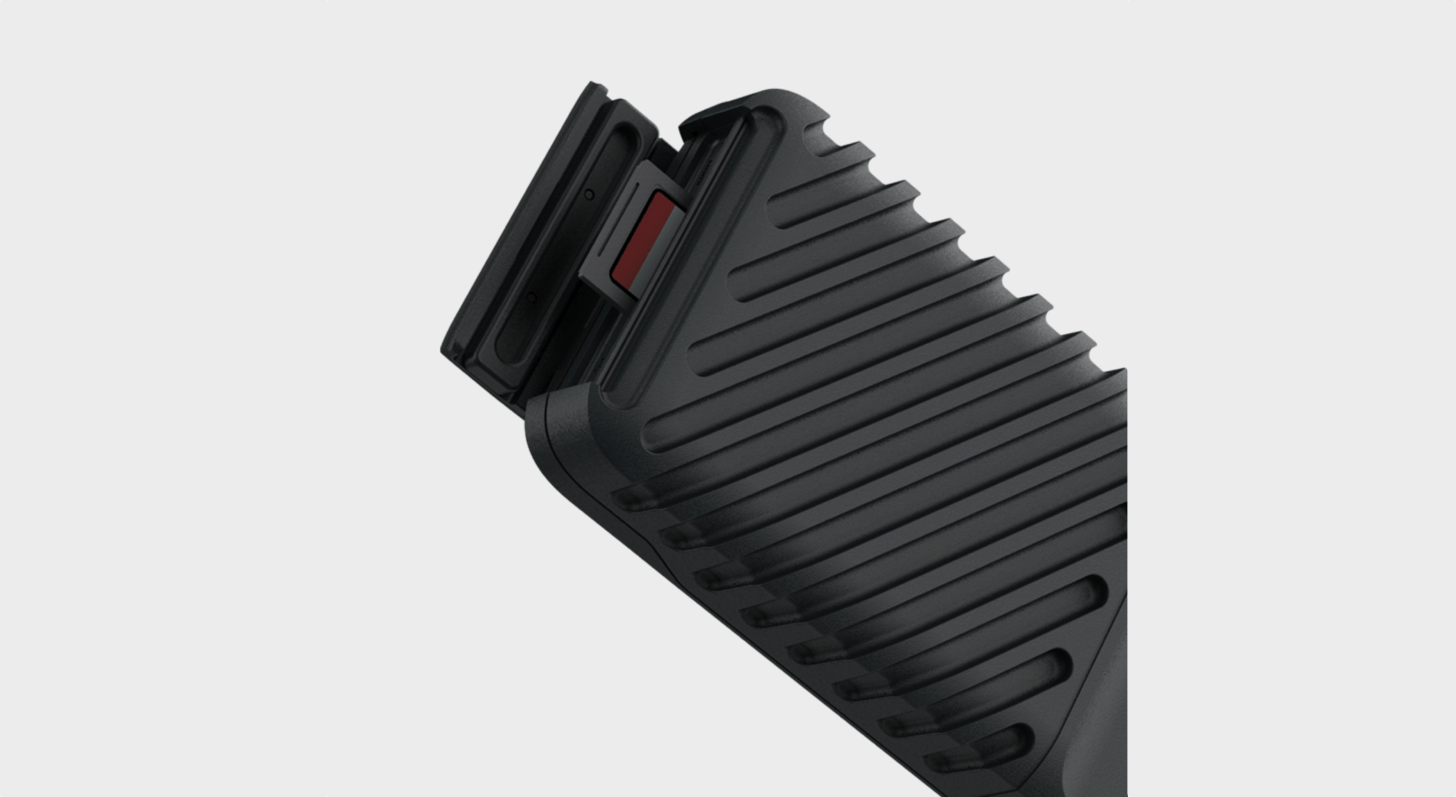
Micro HDMI for external monitors (left), an SD card slot (center), and a USB-C port for connecting other storage for backup (right).
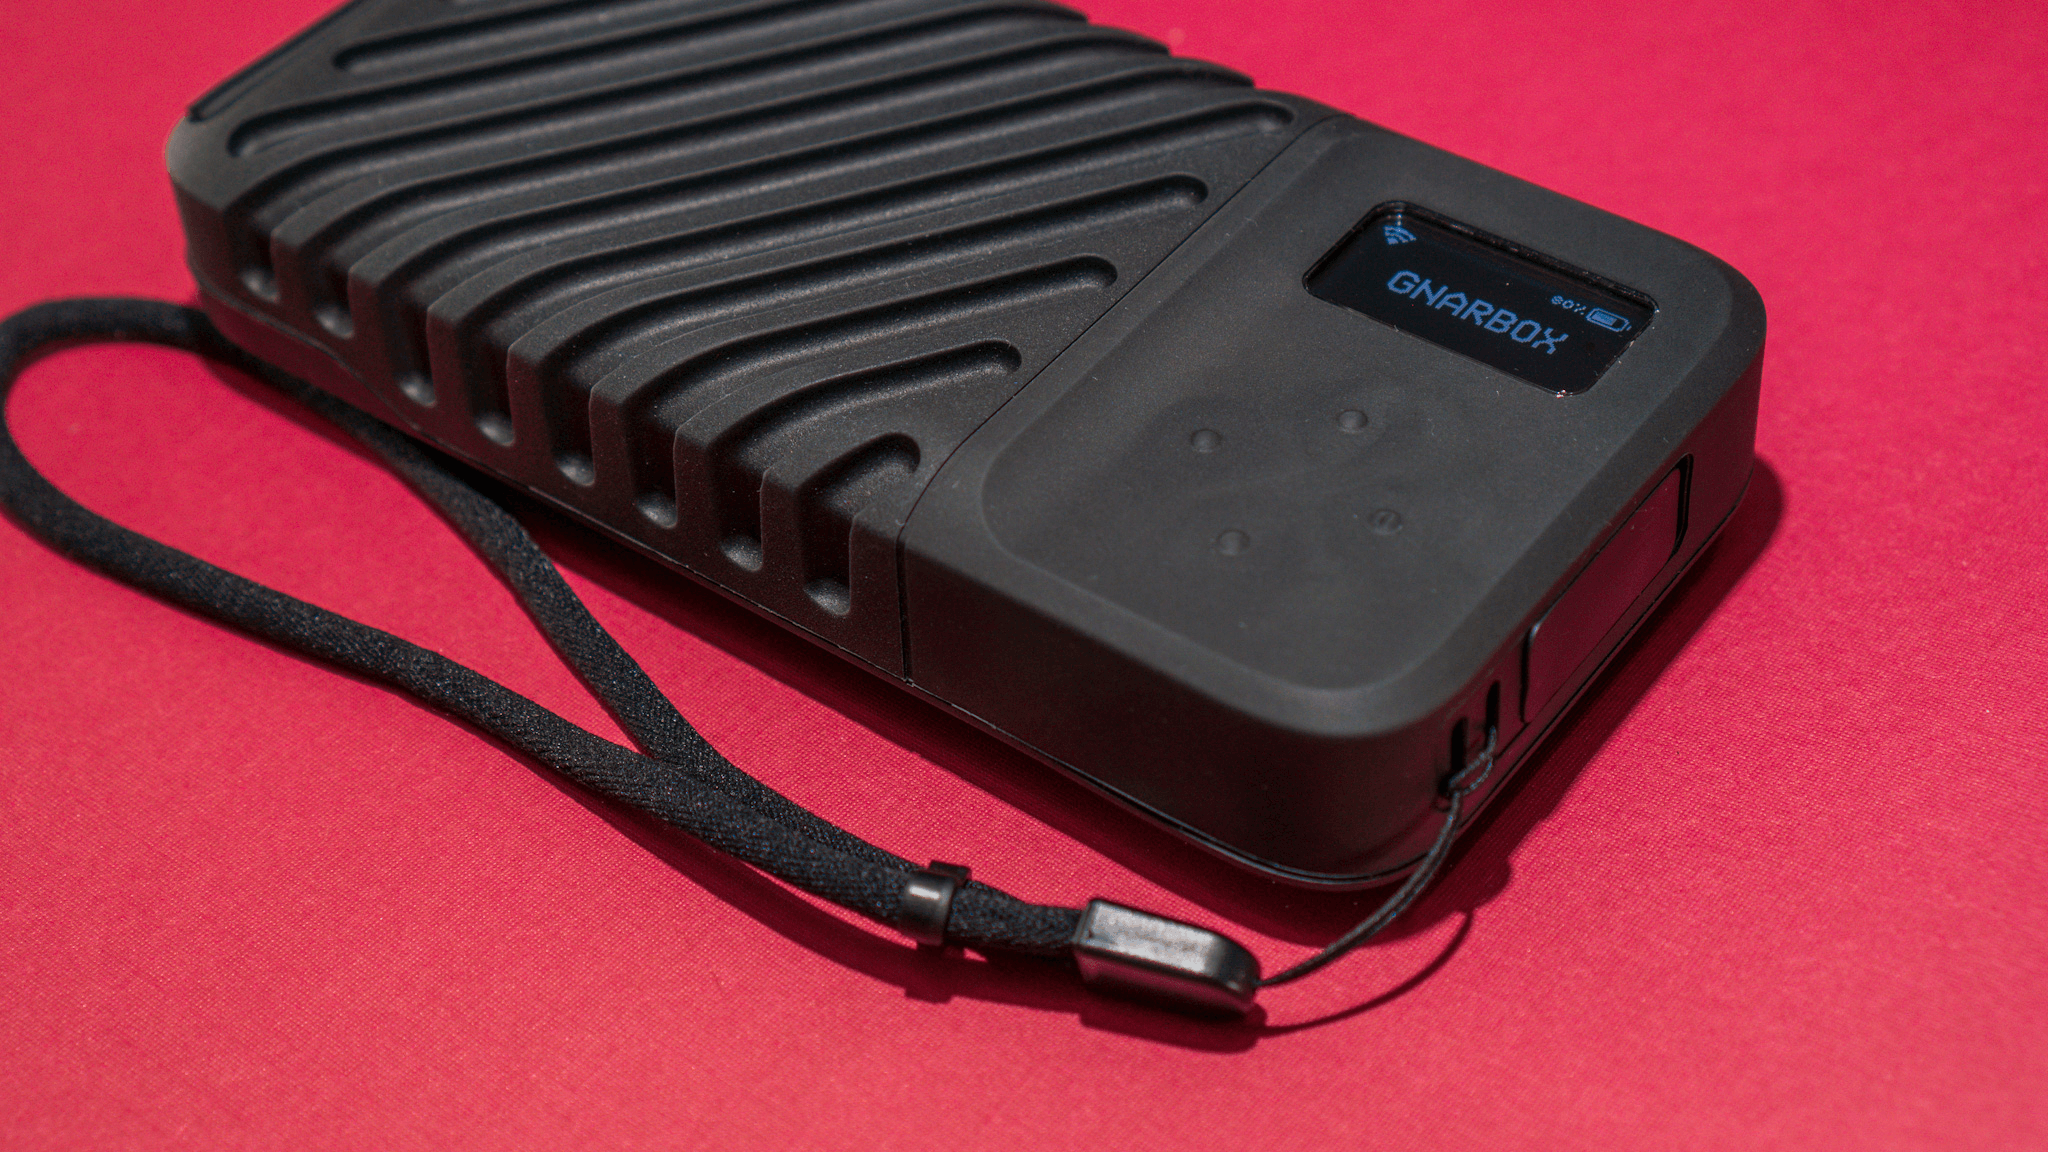
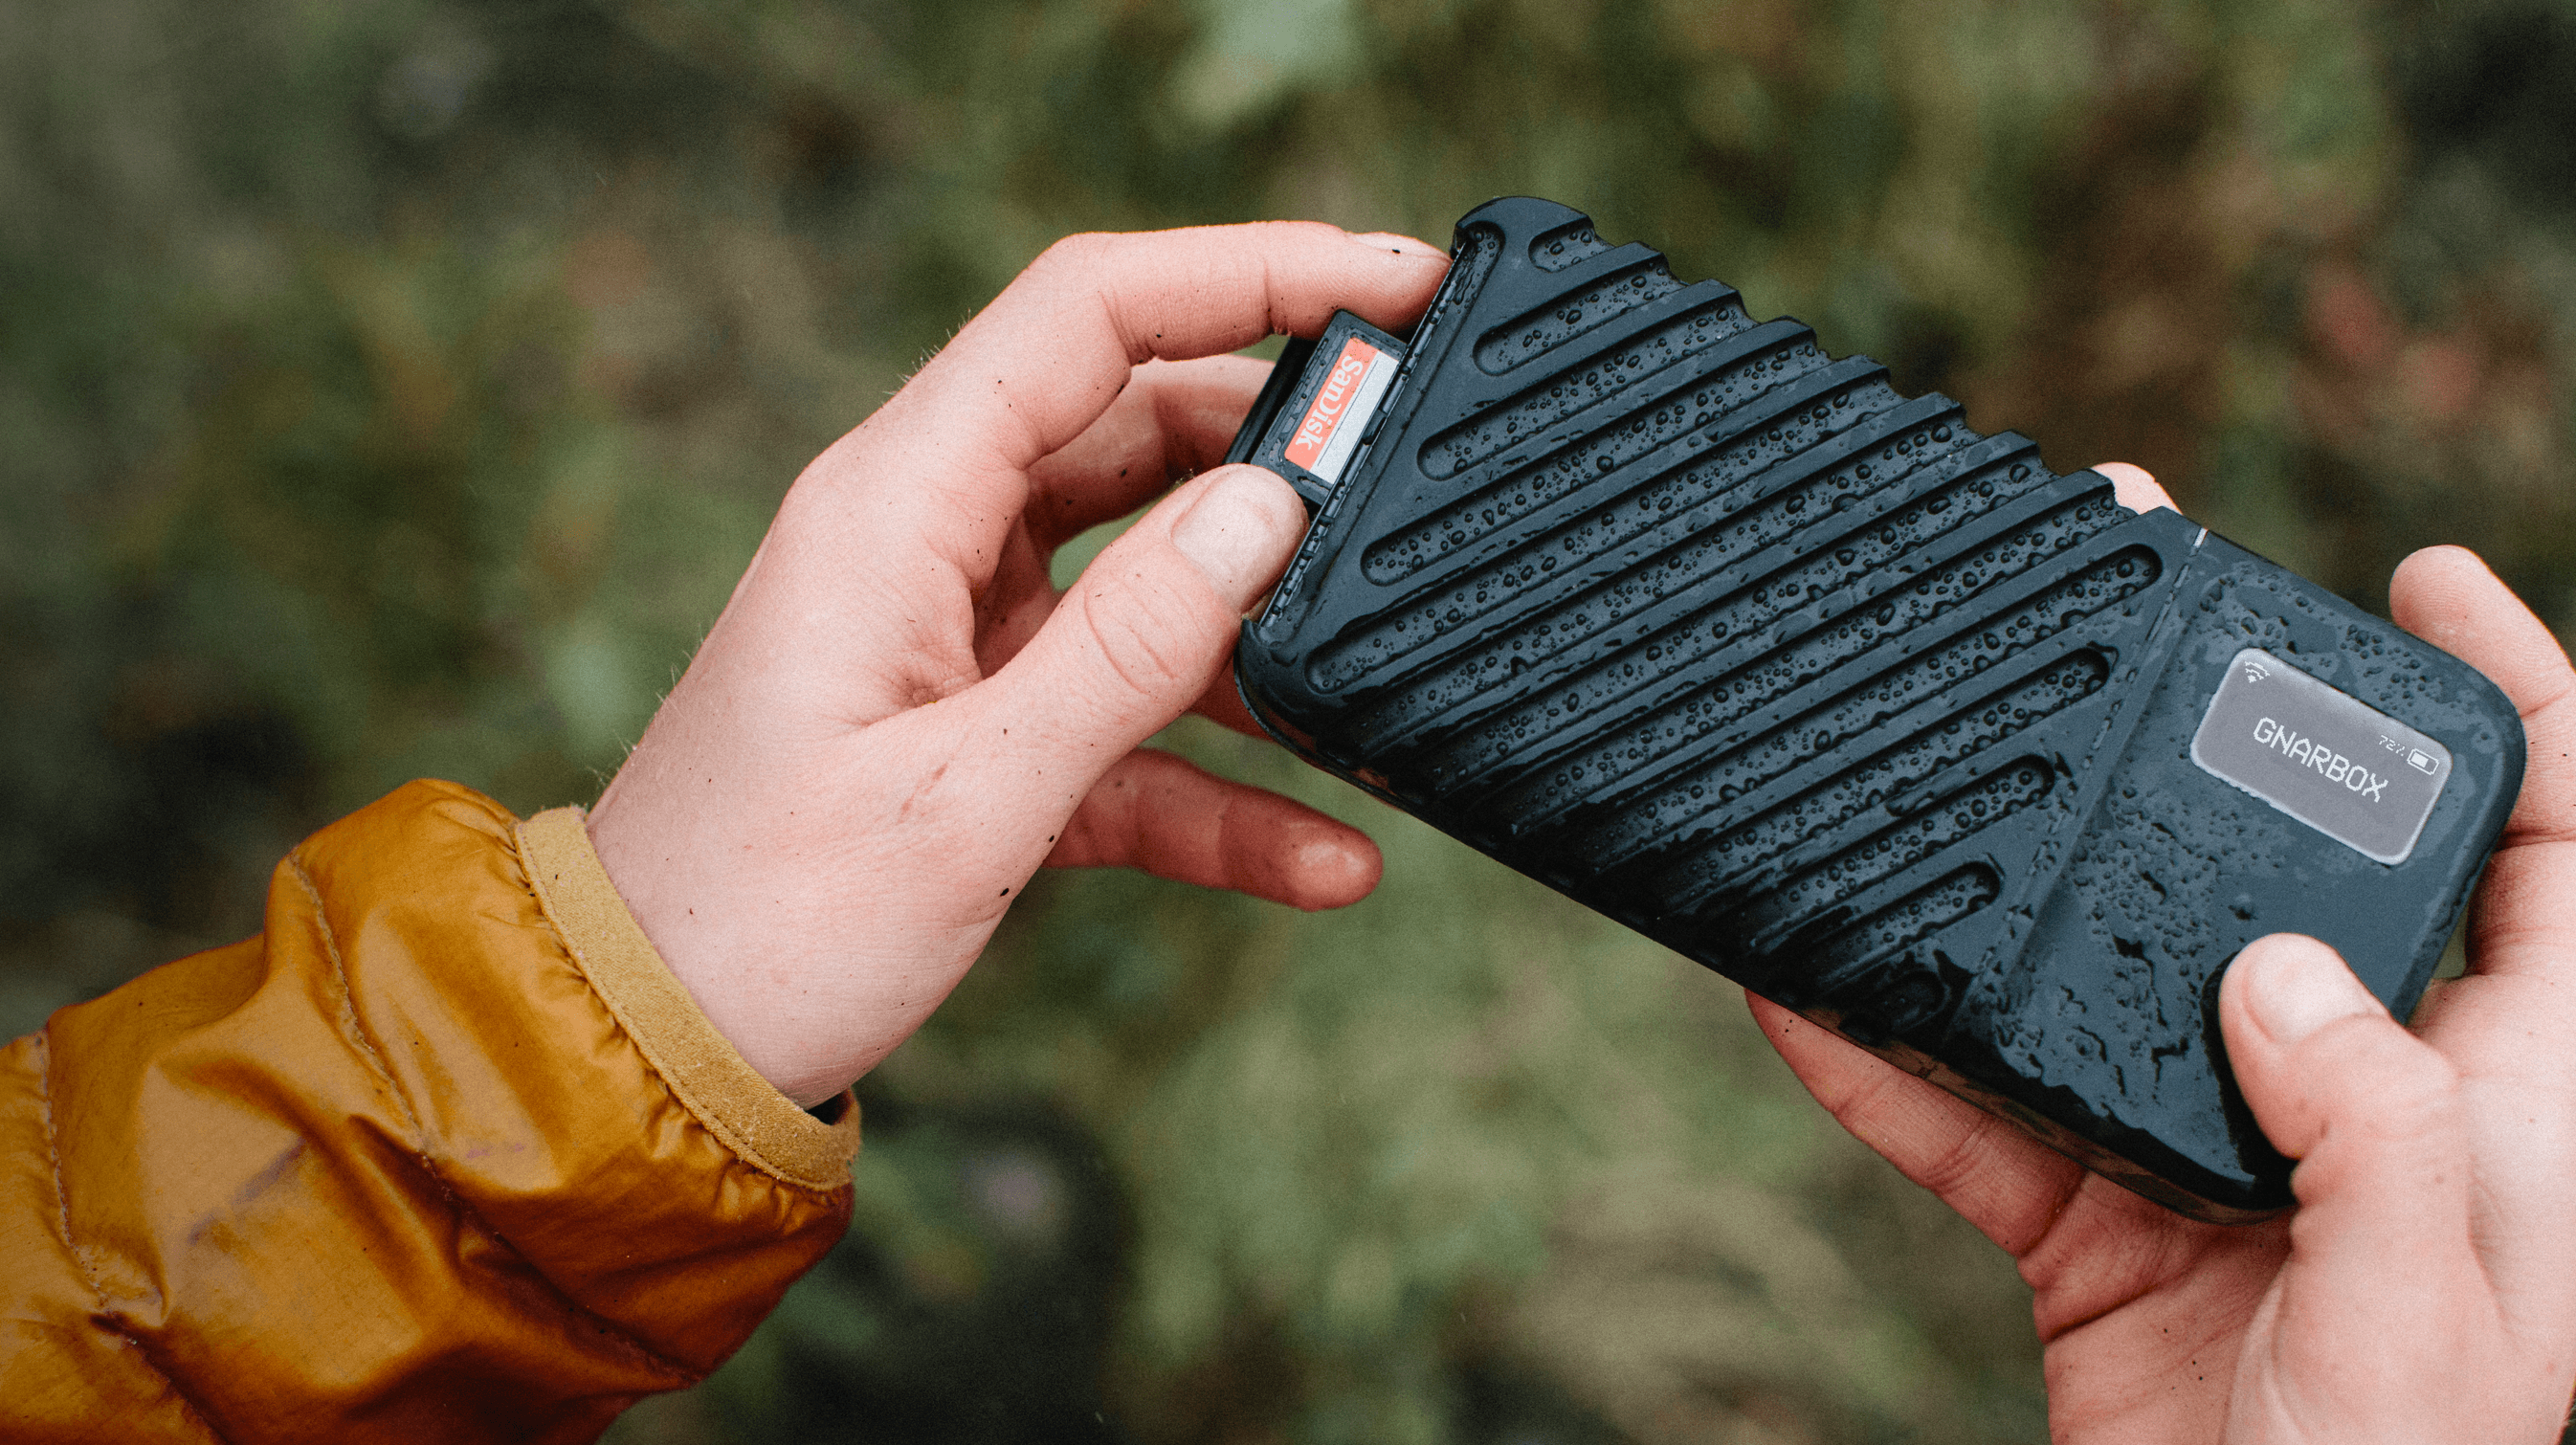
The device has two USB-C ports, one SD card reader, and one Micro HDMI port, which are protected by covers that prevent water and dust from getting inside thanks to rubber gaskets covering each bank of ports. Likewise, the exterior of the drive is rubber-encased aluminum designed to protect against drops.
Gnarbox says its SD card reader can transfer data at 75MB/sec. Over USB-C, transfers are rated at 350MB/sec. Gnarbox also sells accessory readers that connect to the Gnarbox via USB-C and combine SD and microSD card slots with an XQD, CFast 2.0, or CF card slot.
The Gnarbox’s 3000 mAh battery is removable and hot-swappable if the device is connected to a power source.
On the back of the device is a removable 3000 mAh removable battery that charges via a 35W charger included in the box and can be hot-swapped if the Gnarbox is connected to a power source. Gnarbox rates the battery life at 3-5 hours, which I didn’t scientifically test, but it feels about right based on my use. Extra batteries and a dual-battery charger are available separately.
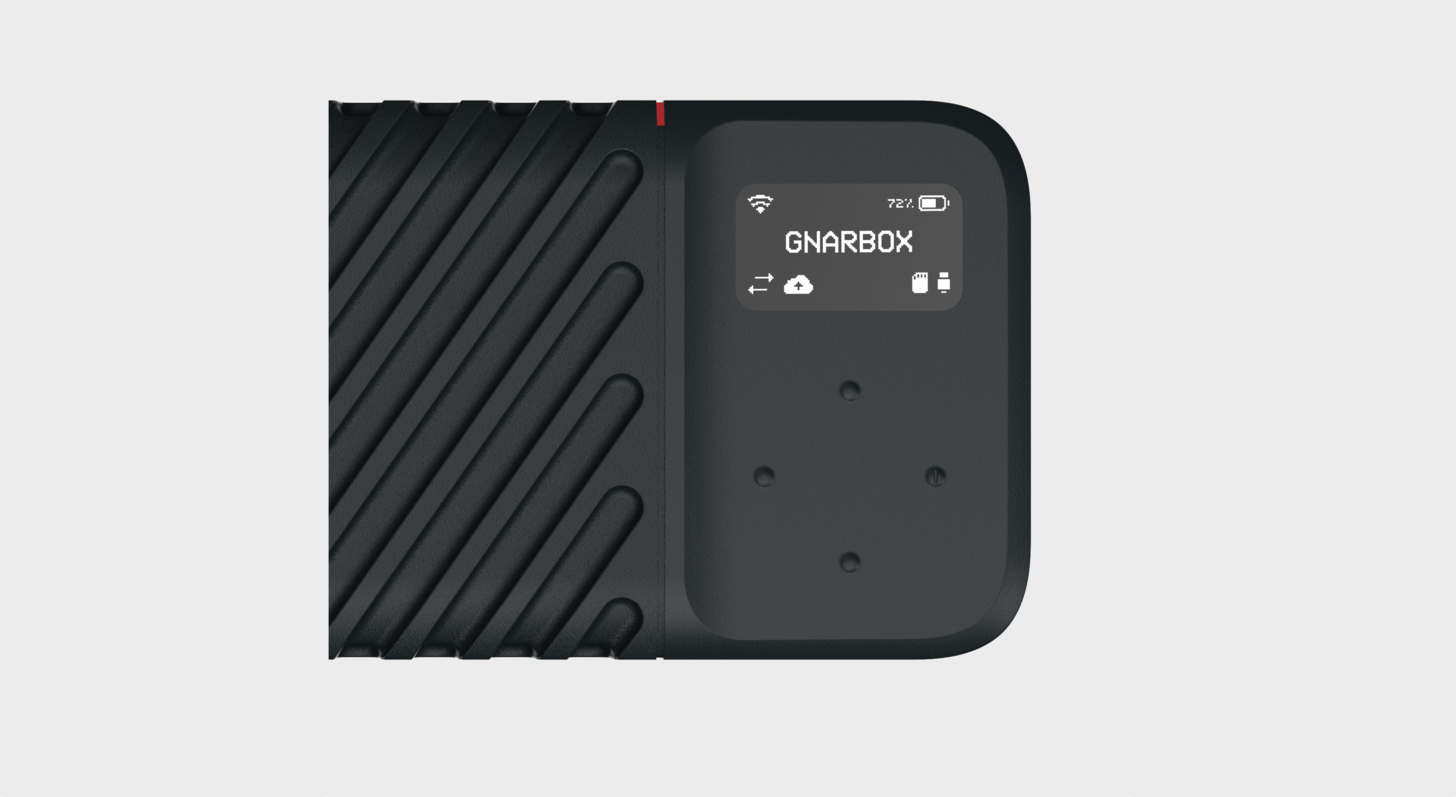
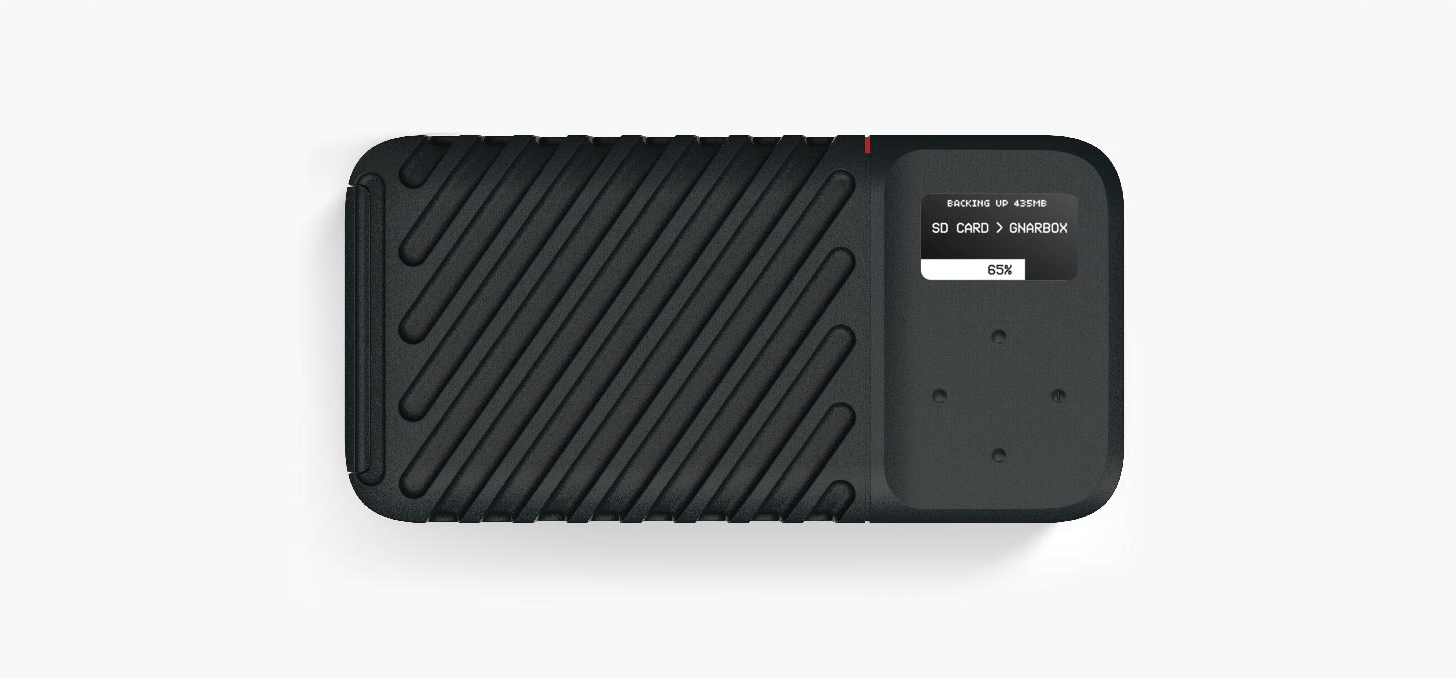
Of all the hardware features, though, the one that makes the Gnarbox easier to use than other solutions I’ve tried is its tiny black and white display and navigation buttons. The screen is a bright, high-contrast OLED display that only shows a few lines of text at once, but it’s just enough to make starting backups and changing settings easy.
Below the screen are four navigation buttons marked by subtle raised rubber dimples. Each button requires a firm press, and turning on the device requires a solid second of continual pressure, both of which are excellent touches that prevent the Gnarbox from being turned on by accident, which would drain its battery needlessly or change settings inadvertently. Along with the display, it’s a simple system, but the combination of tactile feedback and limited onboard menu options make the Gnarbox a pleasure to use on the go.
Backups
What’s just as impressive as the Gnarbox’s hardware, though, is what you can accomplish with it. The mix of components built into the device allow the Gnarbox to pull off a split personality elegantly. Used by itself, the device provides a simple, fast backup workflow. Later, paired wirelessly or over a wired connection with an iOS device or Mac, the Gnarbox helps photographers and videographers prep their images and videos for processing in other apps, manage their data, and upload files to Dropbox.
Backing up an SD card in the field is simple. As soon as you insert a card, the Gnarbox mounts it and opens a backup UI. With a single button press, the backup starts, displaying a progress bar as it backs up your card. The speed depends on the class of SD card you use, but I’ve been very pleased using a SanDisk Extreme Pro card. When the backup is completed, simply pick the Eject menu option to eject the card. However, if you’re backing up microSD cards, you’ll need the adapter included with the Gnarbox or another microSD card reader to back up.
The Gnarbox includes several backup settings that you can manage on the device or using the Safekeep app:
- MD5 Checksum for validating the integrity of the files copied during backup
- Smart Backup, which saves time by only making backups of new images or videos since your last backup
- Flatten Folders, which ignores the folder structure created by most cameras
- Folder By Extension, which reorganizes backed-up files by the file-type
In my testing, I turned on all four settings. Although the MD5 checksum takes a little extra time, it’s much faster than the file transfer and worth the peace of mind that comes with knowing that the data transferred is sound. I also appreciate Smart Backup because it makes subsequent backups faster and avoids duplicates. I like the Flatten Folders and Folder By Extension settings a lot too. Together, they organize files in a way that’s easier to navigate from an iOS device or my Mac than if I simply connected my SD card.
In addition to backing up SD cards to the Gnarbox itself, you can connect external storage to the Gnarbox’s USB-C port and back up an SD card to two locations simultaneously, saving time and creating an extra redundant copy. The Gnarbox allows full access to an external drive’s contents in its Safekeep app, which enables you to manage its data on an iOS or iPadOS device.
Although I’ve primarily focused on backing up SD cards to the Gnarbox, you can connect and browse a wide variety of storage to the left side of the Gnarbox and back it up on the device itself along with any additional storage connected to the USB-C port on its right side. Using the Twelve South StayGo hub connected to the USB-C port on the left side of the Gnarbox, plus its built-in SD card reader, I was able to connect a battery-powered SSD, two SD cards, and a microSD card to the Gnarbox for backing up to it plus a Samsung T5 portable SSD. That’s not something most people are apt to do, but it’s nice to know that if you have a USB-C hub and multiple SD and microSD cards from a long day of shooting video and photos, you can connect everything at once and back it up redundantly and quickly.
It’s also worth noting that the Gnarbox has two different wireless connectivity modes: Field Mode and Home Mode. Field Mode is intended for those times when you want to connect an iOS or iPadOS device to the Gnarbox, but you don’t have a WiFi connection. The Gnarbox creates its own local WiFi network to which you can connect with an iPhone or iPad, allowing access to the files backed up on the Gnarbox using its apps.
Creating a redundant backup by attaching an SSD to the Gnarbox and browsing the contents of both drives in Safekeep.
Home Mode allows the Gnarbox to connect to the Internet when a WiFi network is available. Among other things, this enables the Gnarbox to upload files backed up to it to Dropbox. Operating in Home mode also allows you full access to the Internet over WiFi, while Field mode monopolizes your WiFi connection. As a result, you’ll only be able to connect to the Internet in Field mode if the iOS or iPadOS device you’re using has a mobile data plan too.
There are two ways to connect a Gnarbox to an iPad or a Mac using a USB-C cable or, in the case of an iPhone, a Lightning to USB-A adapter and USB-A to USB-C cable. The first is USB Mass Storage mode, in which the Gnarbox behaves like any other connected external drive. It’s worth noting that I’ve tried a lot of external drives with iOS and iPadOS devices, and the Gnarbox is one of the few portable drives I’ve tried that works without an external source of power thanks to its built-in battery.
For faster transfers, the Gnarbox also supports a USB-Ethernet mode. You can put the Gnarbox in this mode from its onboard menu system. The files on the Gnarbox show up in the Files app under the Safekeep file provider and can be accessed from that app or any other app that has access to file providers, such as Adobe Lightroom or Affinity Photo. The main disadvantage to USB-Ethernet mode is that it’s a network connection, so your iPhone or iPad cannot use WiFi at the same time.
The Safekeep and Selects Apps
Switching between Field and Home mode is accomplished in the Settings tab of either of the Gnarbox’s iOS and iPadOS apps, which are called Safekeep and Selects. Once your device is connected to the Gnarbox’s local WiFi network, the Settings tab’s Connection Manager in both apps can walk you through the process of switching between modes.
The Safekeep app does more than manage the Gnarbox’s network connection and settings, though. It’s also the primary browser of the device’s file system. The Gnarbox’s tiny onboard OLED screen is text only and doesn’t provide a UI for navigating its folder hierarchy, so to view the photos and video backed up to it, you need another computing device.
Safekeep works well enough for what it does, but overall it’s far less integrated with iOS and iPadOS than an app like it should be. Still, the app performs as promised, handling most of the file browsing and management tasks people need, including moving among nested folders and performing file actions like copying, moving, and deleting files. Video can be transcoded as MP4 720 proxy or ProRes 422 video using the device’s built-in GPU and previewed on an external monitor using the Gnarbox’s Micro HDMI port too.
However, there’s no way to move a file from inside Safekeep to anywhere other than to your photo library, which is disappointing. Also, although Safekeep is a file provider that shows up in the Files app, that functionality appears to be broken when the app is connected to the Gnarbox wirelessly.
There are other things missing from Safekeep that I’d like to see added too. There is no context menu support. Instead, the app makes heavy use of ellipsis menu buttons that activate custom menus of actions that can be taken on folders and files. It works well enough, but I’d prefer system context menus, and I’m concerned that Safekeep could be left behind if rumors of extensive keyboard support in iOS 14 are true. Safekeep doesn’t support Split View or drag and drop either.
Safekeep also supports Dropbox. After you’ve authorized with Dropbox, you can move or copy files into a dedicated Dropbox folder on your Gnarbox. Uploads aren’t automatic, however. They have to be initiated in Safekeep, which copies them to a Gnarbox folder in Dropbox. The status of your upload and other file management activities can be monitored from the Tasks UI that’s accessed from the three-bar icon in the top right corner of the main file browser and reports the status of all file operations.
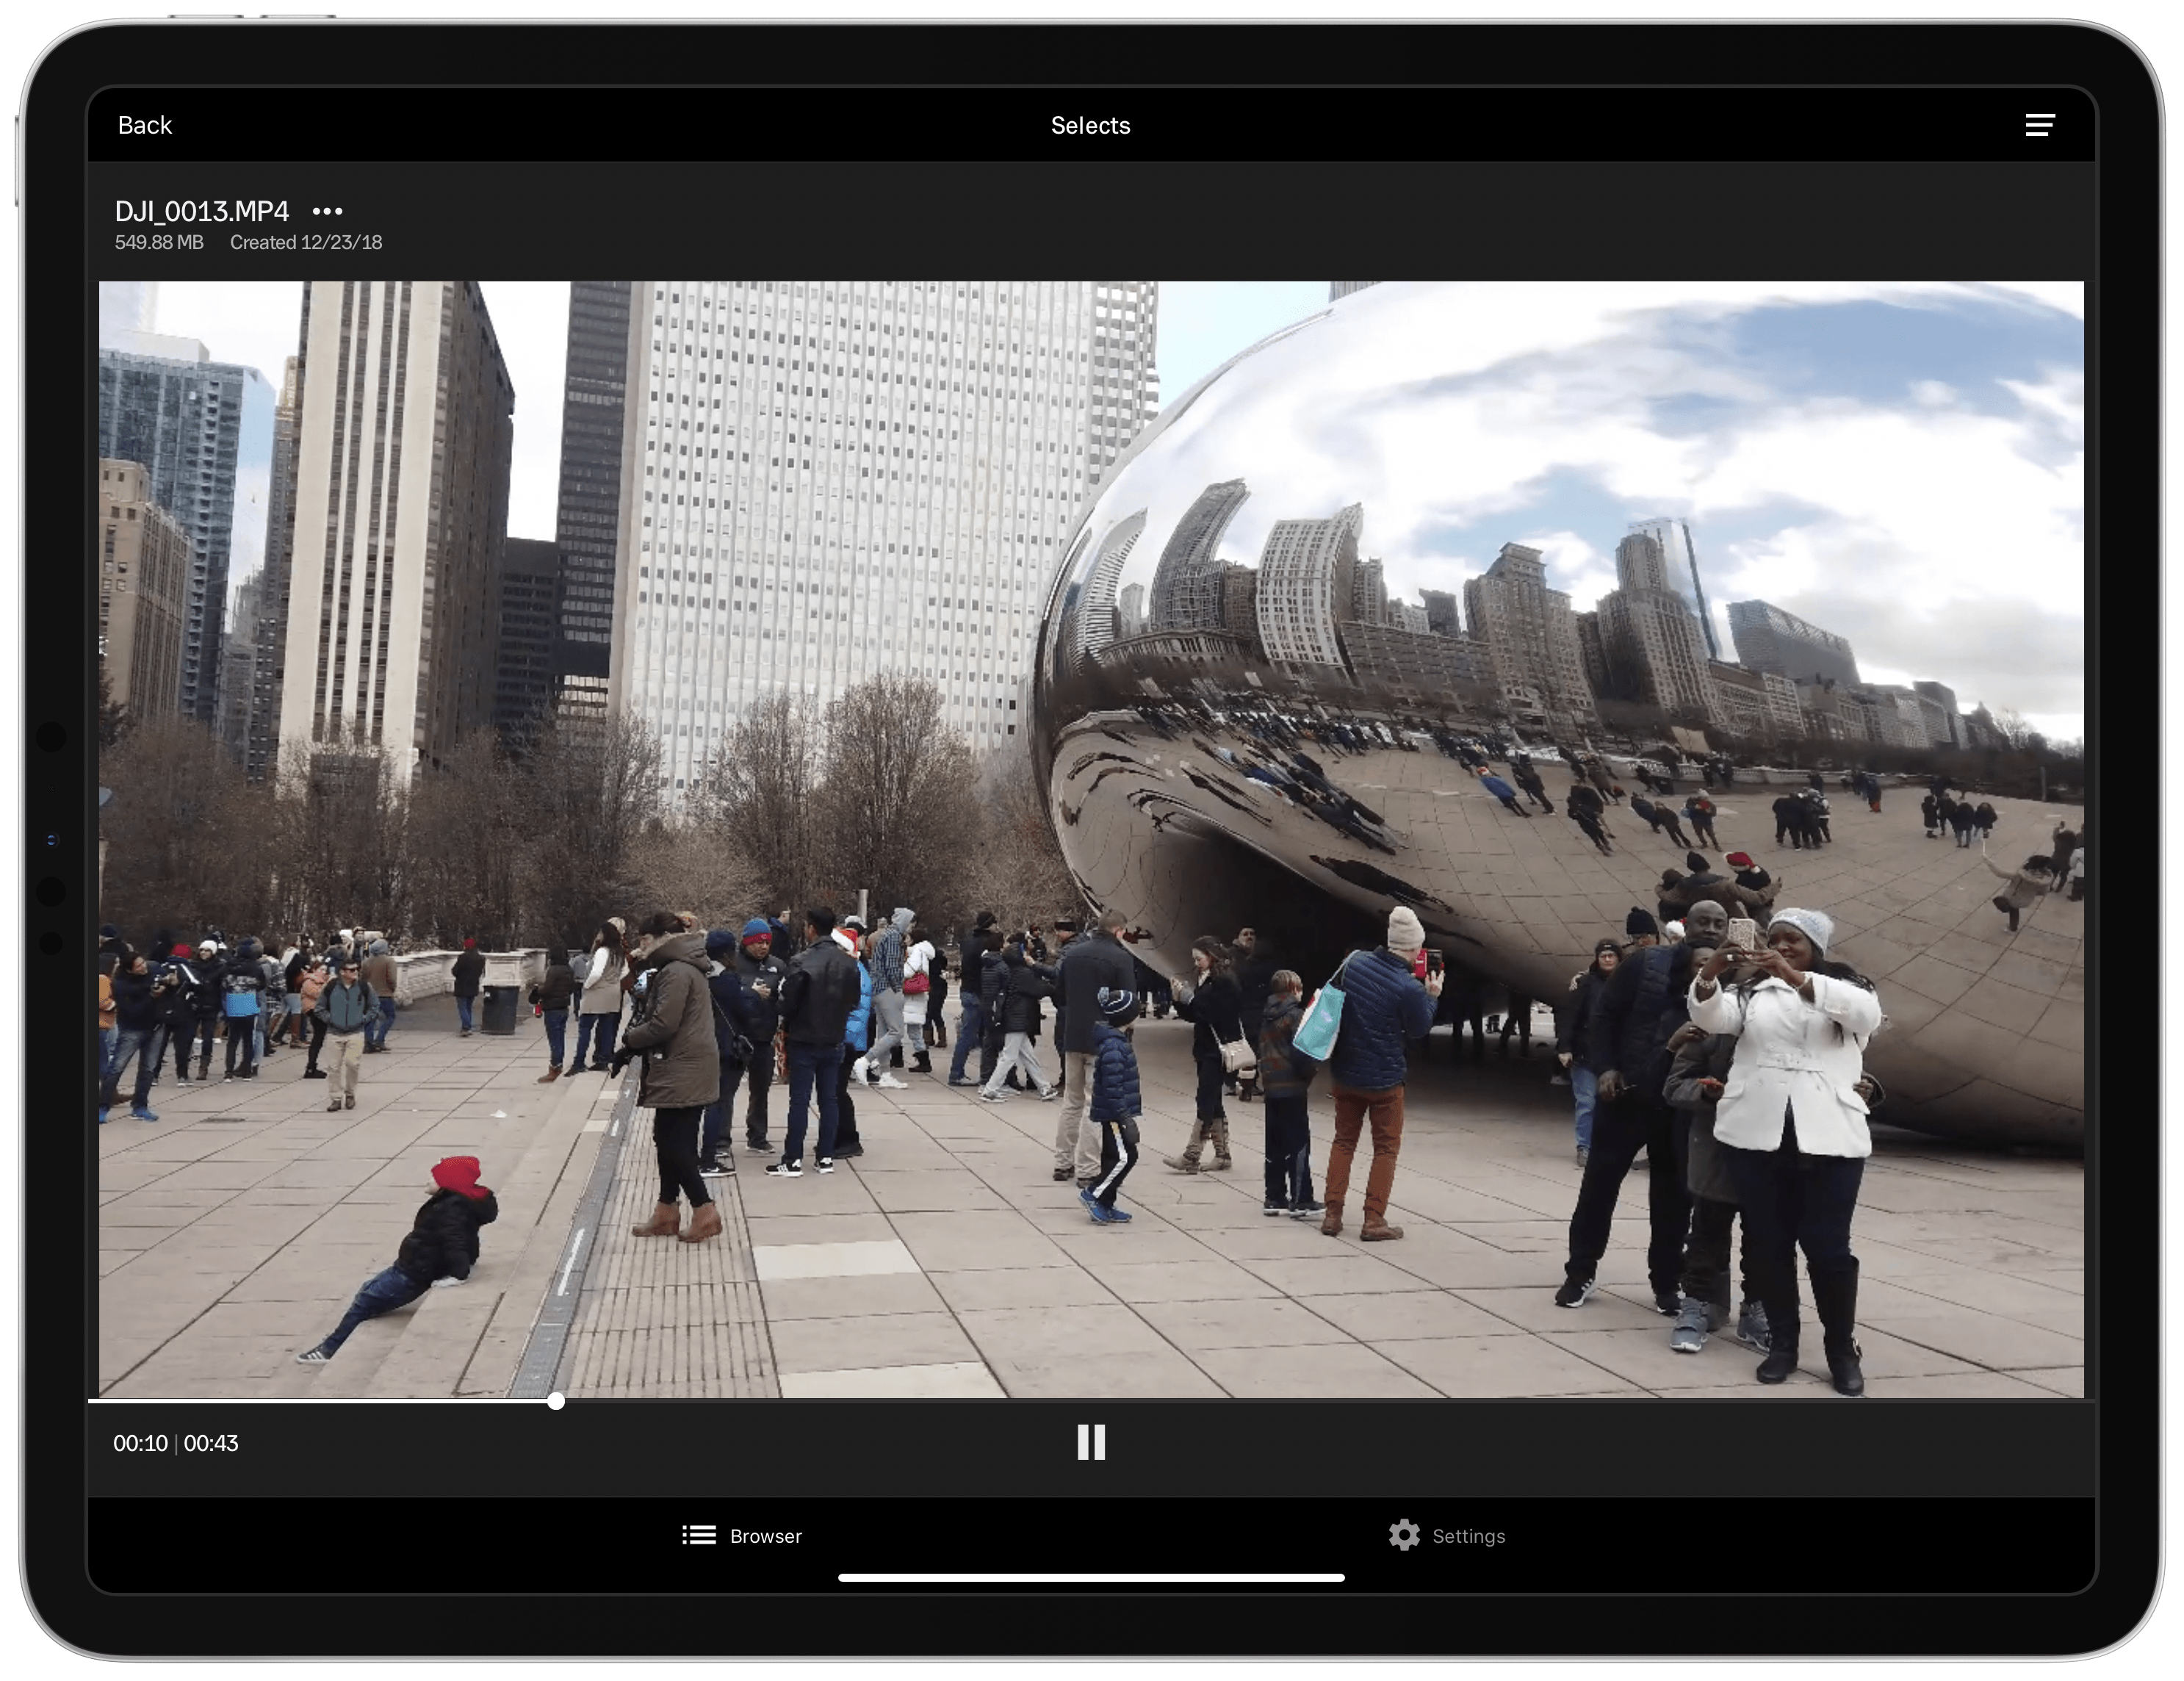
The other app offered by Gnarbox is Selects, which allows you to add star ratings and tags to images that will appear in supported apps like Adobe Lightroom. It’s a nice way to help organize your photos and video before you get back to a computer to further edit and process them. Presumably to cut down on battery drain, video previews simply show a series of frames unless you select the Stream button, in which case the video loads from the Gnarbox and begins streaming.
The process for rating and tagging images is a little unusual. The main browser interface of the app is similar to Safekeep. You can drill down into the folder structure to preview an image or video full-screen, but there’s no way to rate or tag it from the preview. Instead, you need to tap the ‘Select’ button at the top of the list view of images, select the images you want to rate and tag, and tap ‘Open Workspace,’ which opens a new modal UI for rating and tagging. It’s not what I expected when I first used Selects, and it doesn’t support iOS 13’s two-finger swipe selection gesture. The process isn’t particularly difficult, but it just takes some getting used to because it’s a strange approach to editing images.
I’m not a pro photographer, but on occasion I do find myself wanting to offload photos and videos from an SD card for safekeeping. The ability to do so quickly without using an iPhone and Lightning to SD card reader or a USB-C card reader with my iPad is fantastic. Add to that the ability to do a checksum of the data copied with a device that’s built to get knocked around and the Gnarbox provides peace of mind that’s superior to other solutions.
The Gnarbox has other applications too. One that immediately jumped to mind is in an iPad podcasting setup like Federico’s, where his local track is recorded to an SD card using a Zoom H6 recorder. That setup requires Federico to copy his local audio file to Dropbox where it’s available to whomever is doing the audio editing.
Following the file copy process but with the Gnarbox and a secondary SSD is no more difficult than copying the same file to Dropbox using a standard SD card reader, but it has the benefit of creating a second, redundant backup copy of the file and can perform a checksum to ensure the integrity of the file that is copied. I wouldn’t spend $500 or more on a Gnarbox just to back up audio files occasionally, but it’s the sort of added benefit that people who are also photographers or videographers might appreciate and demonstrates uses of the device beyond the photography world.
Like many hardware vendors’ apps, Gnarbox’s apps could be better. The apps are reliable and add functionality to the device that I appreciate, but Safekeep’s lack of full Files integration and other iPadOS features is disappointing, and Selects’ functionality is useful but limited. All in all, the apps are simply not up to the level of quality of the hardware or what users deserve from a device that is designed for creative professionals.
The Gnarbox 2.0 isn’t for everyone. It’s built for creative pros like photographers who work with lots of data away from a computing device. For them, rugged gear, traveling light, and the peace of mind of backing up their SD cards on-the-go are worth the premium price of the Gnarbox. If you have similar needs and the budget to spend, the Gnarbox is certainly worth considering. However, you should also consider realistically how often you’ll want to back up files away from an iPhone, iPad, or Mac, because there are many alternative options that involve one of them and cost less.
The Gnarbox 2.0 is available directly from the company’s website in the following capacities and prices: 256GB ($499), 512GB ($599), and 1TB ($899). Currently, you can trade in certain models of old drives for up to $150 off the Gnarbox 2.0.