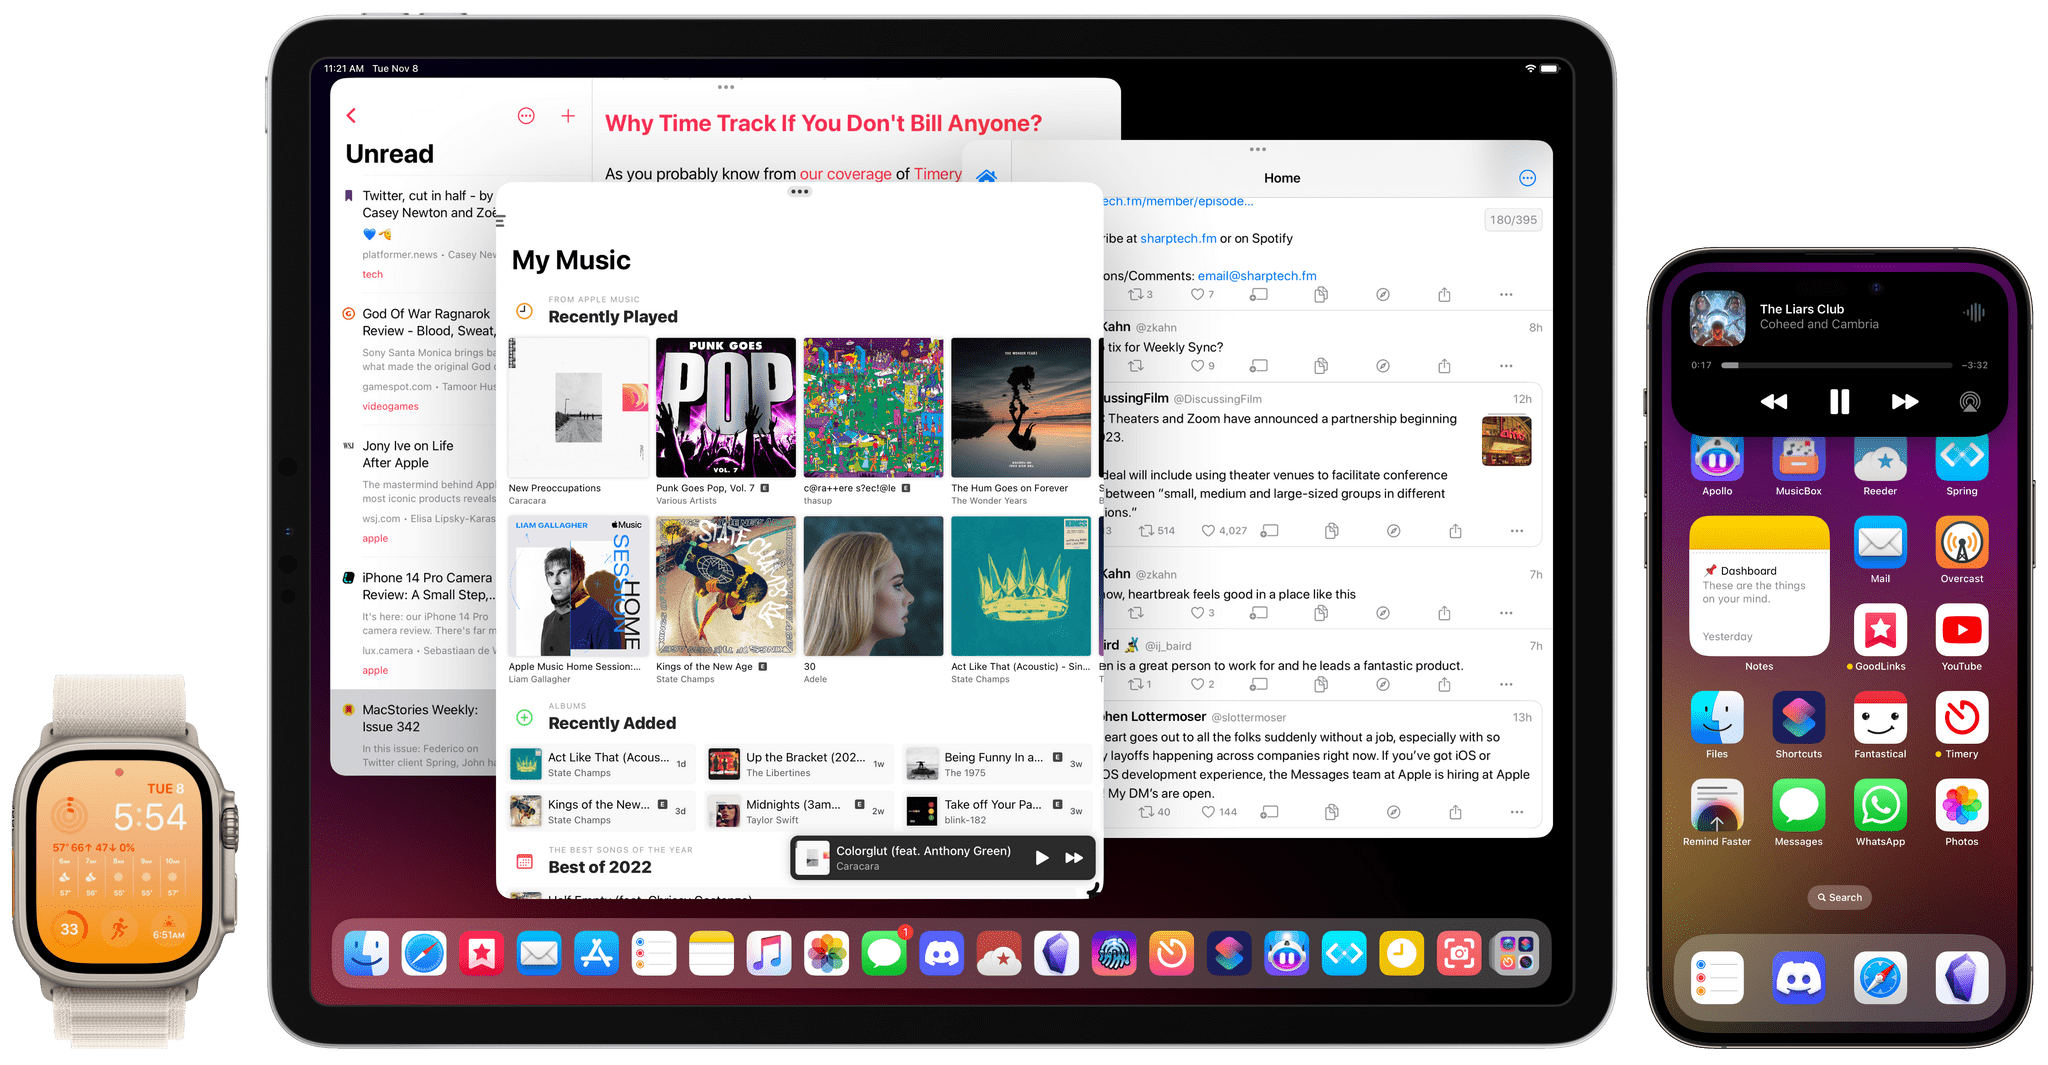
Today, I’m pleased to announce the release of version 3.0 of Apple Frames, my shortcut to put screenshots taken on various Apple devices inside physical frames for iPhone, iPad, Mac, and Apple Watch.
Apple Frames 3.0 is a major update that involved a complete re-architecture of the shortcut to improve its performance and reliability on all Apple platforms. For Apple Frames 3.0, I entirely rebuilt its underlying file structure to move away from base64 and embrace Files/Finder to store assets. As a result, Apple Frames 3.0 is faster, easier to debug, and – hopefully – easier to maintain going forward.
But Apple Frames 3.0 goes beyond a new technical foundation. This update to the shortcut introduces full compatibility with the iPhone 14 Pro and 14 Pro Max with Dynamic Island, Apple Watch Ultra, and the M2 MacBook Air. And that’s not all: Apple Frames 3.0 also brings full support for resolution scaling on all iPad models that offer the ‘More Space’ display mode in iPadOS 16. And in the process, I also added support for ‘Default’ and ‘More Space’ options on the Apple Silicon-based MacBook Airs, MacBook Pros, and iMac. All of this, as always, in a native shortcut designed for high performance that uses Apple’s official device images and requires no manual configuration whatsoever.
Apple Frames 3.0 is the biggest, most versatile version of Apple Frames to date, and I’m proud of the results. Let’s dive in.
A Rewritten Foundation
As I began working on Apple Frames 3.0, it became clear that my previous approach for storing graphical assets had reached its limits.
If you recall, Apple Frames 2.0 was built around a single Frames.json file that contained plain text representations of device frames as base64-encoded strings. That technique worked well for a long time, but when I started adding new frames for the latest Macs and iPhones, I realized that the file had grown too large for Shortcuts and other apps. The JSON file was so big, Jayson couldn’t open it anymore – thus preventing me from debugging it – and Shortcuts would crash when prompting users to grant access to the file. Something had to change.
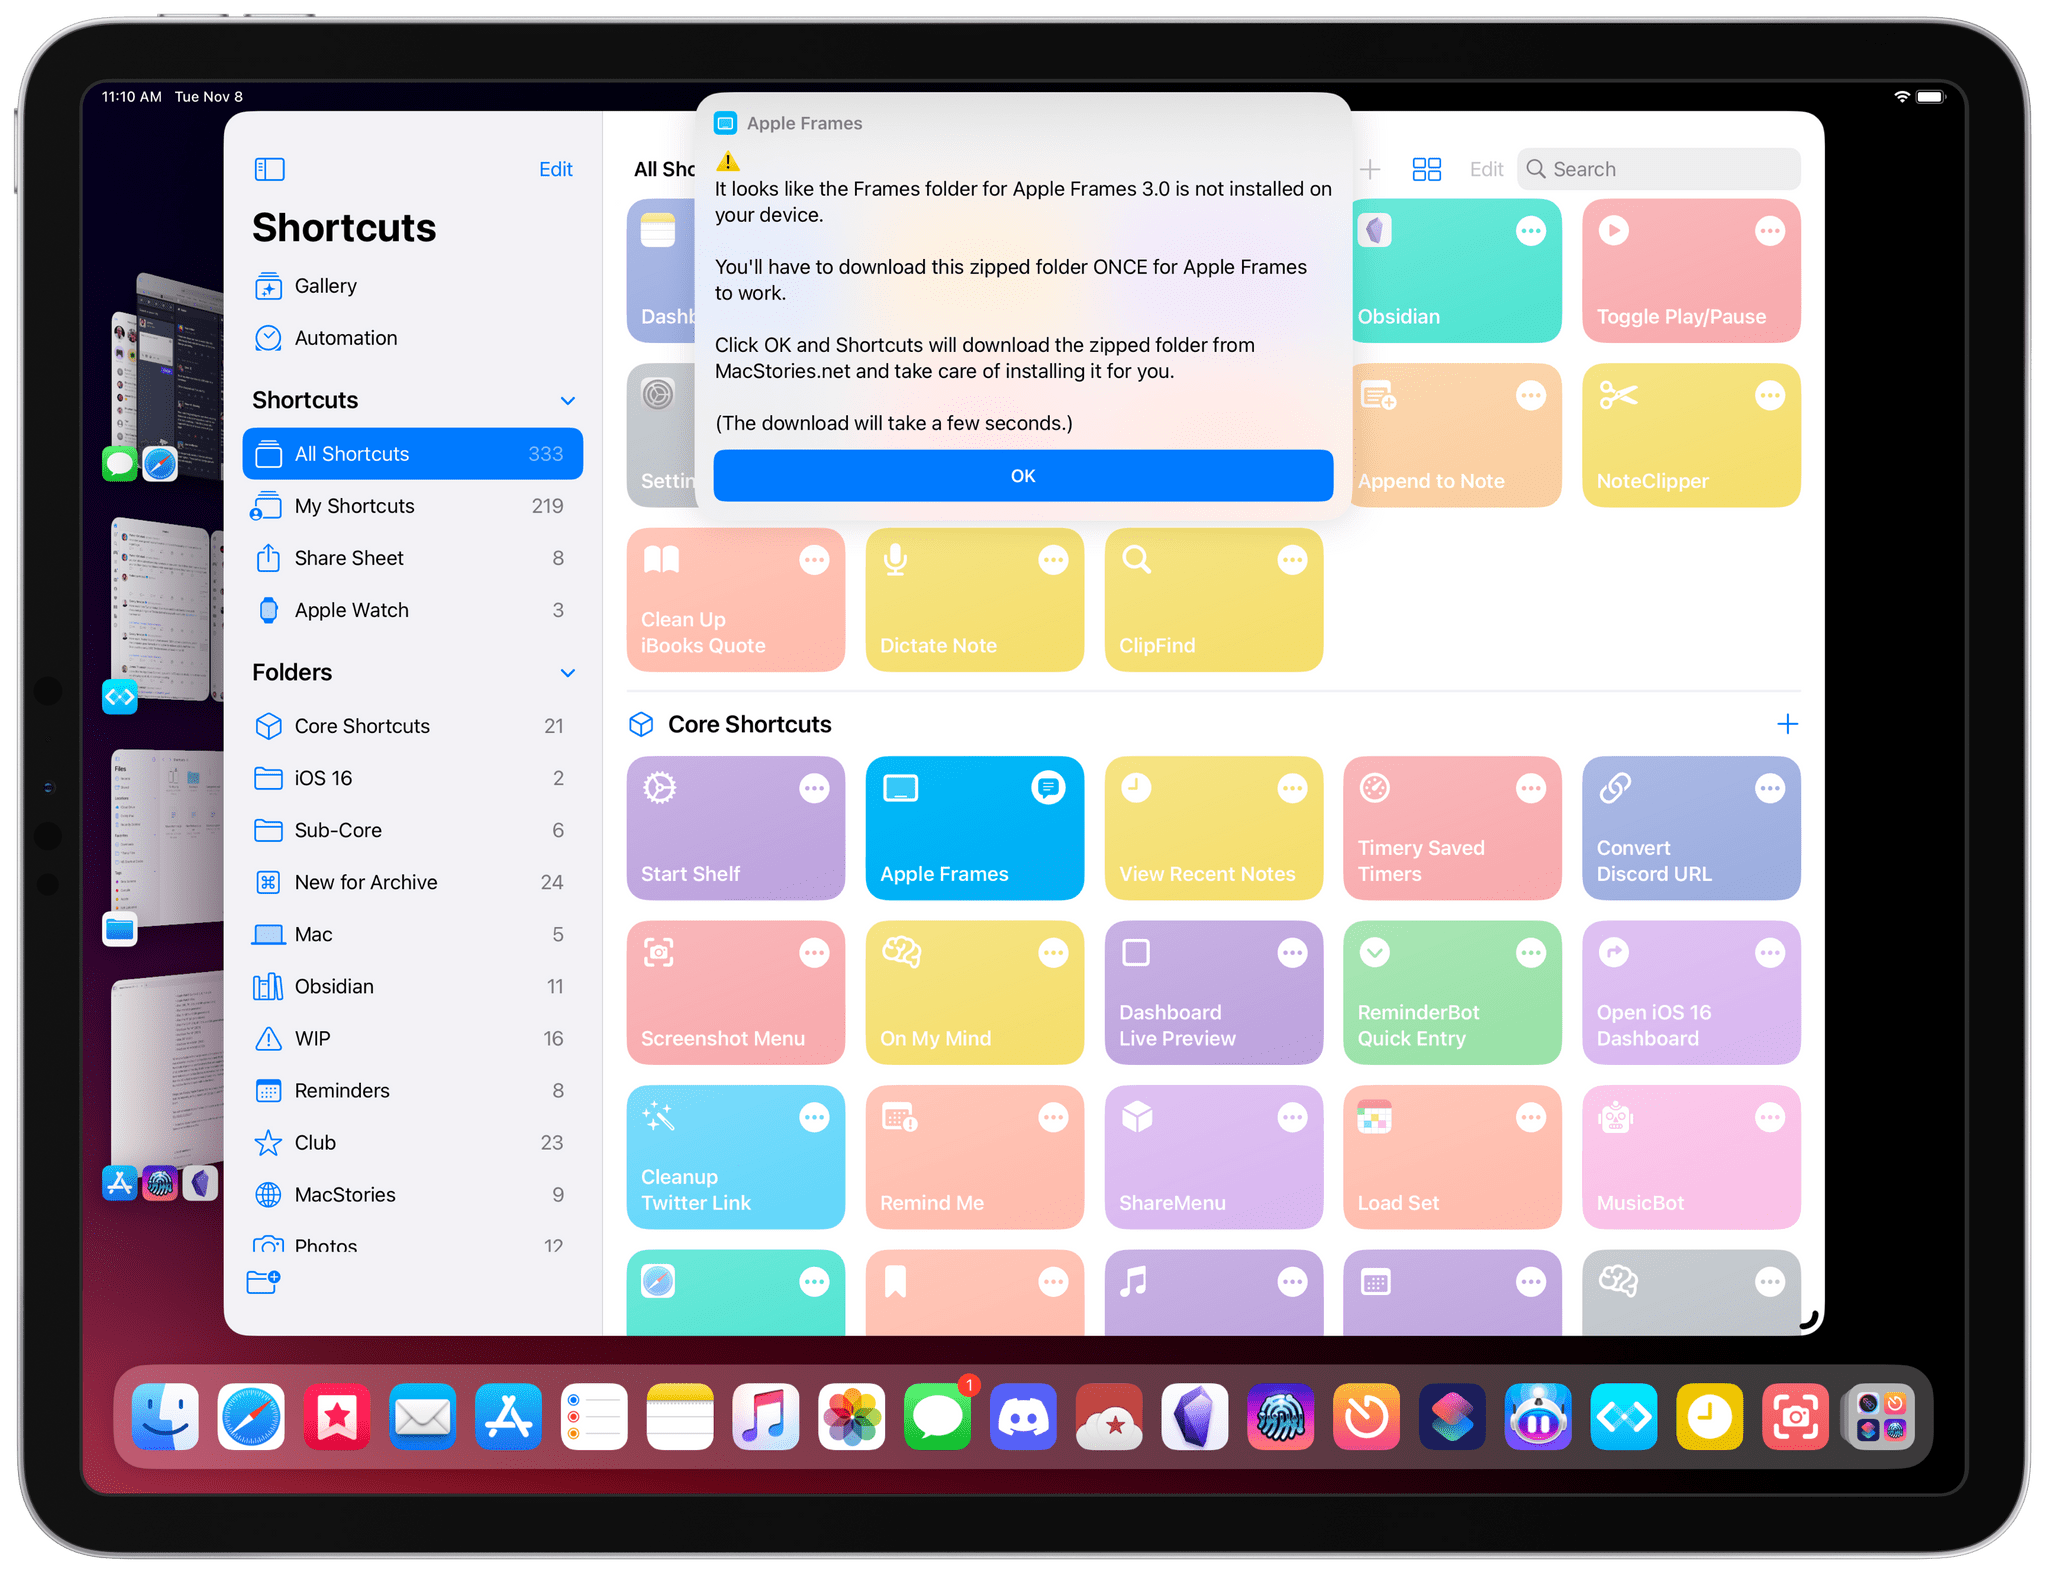
Apple Frames 3.0 features a new underlying structure entirely based on storing assets in a folder in iCloud Drive. Upon installing Apple Frames 3.0, you’ll be prompted to download a .zip archive from cdn.mactories.net. Once that’s done, you’ll find all the assets used by Apple Frames in iCloud Drive ⇾ Shortcuts ⇾ Frames.
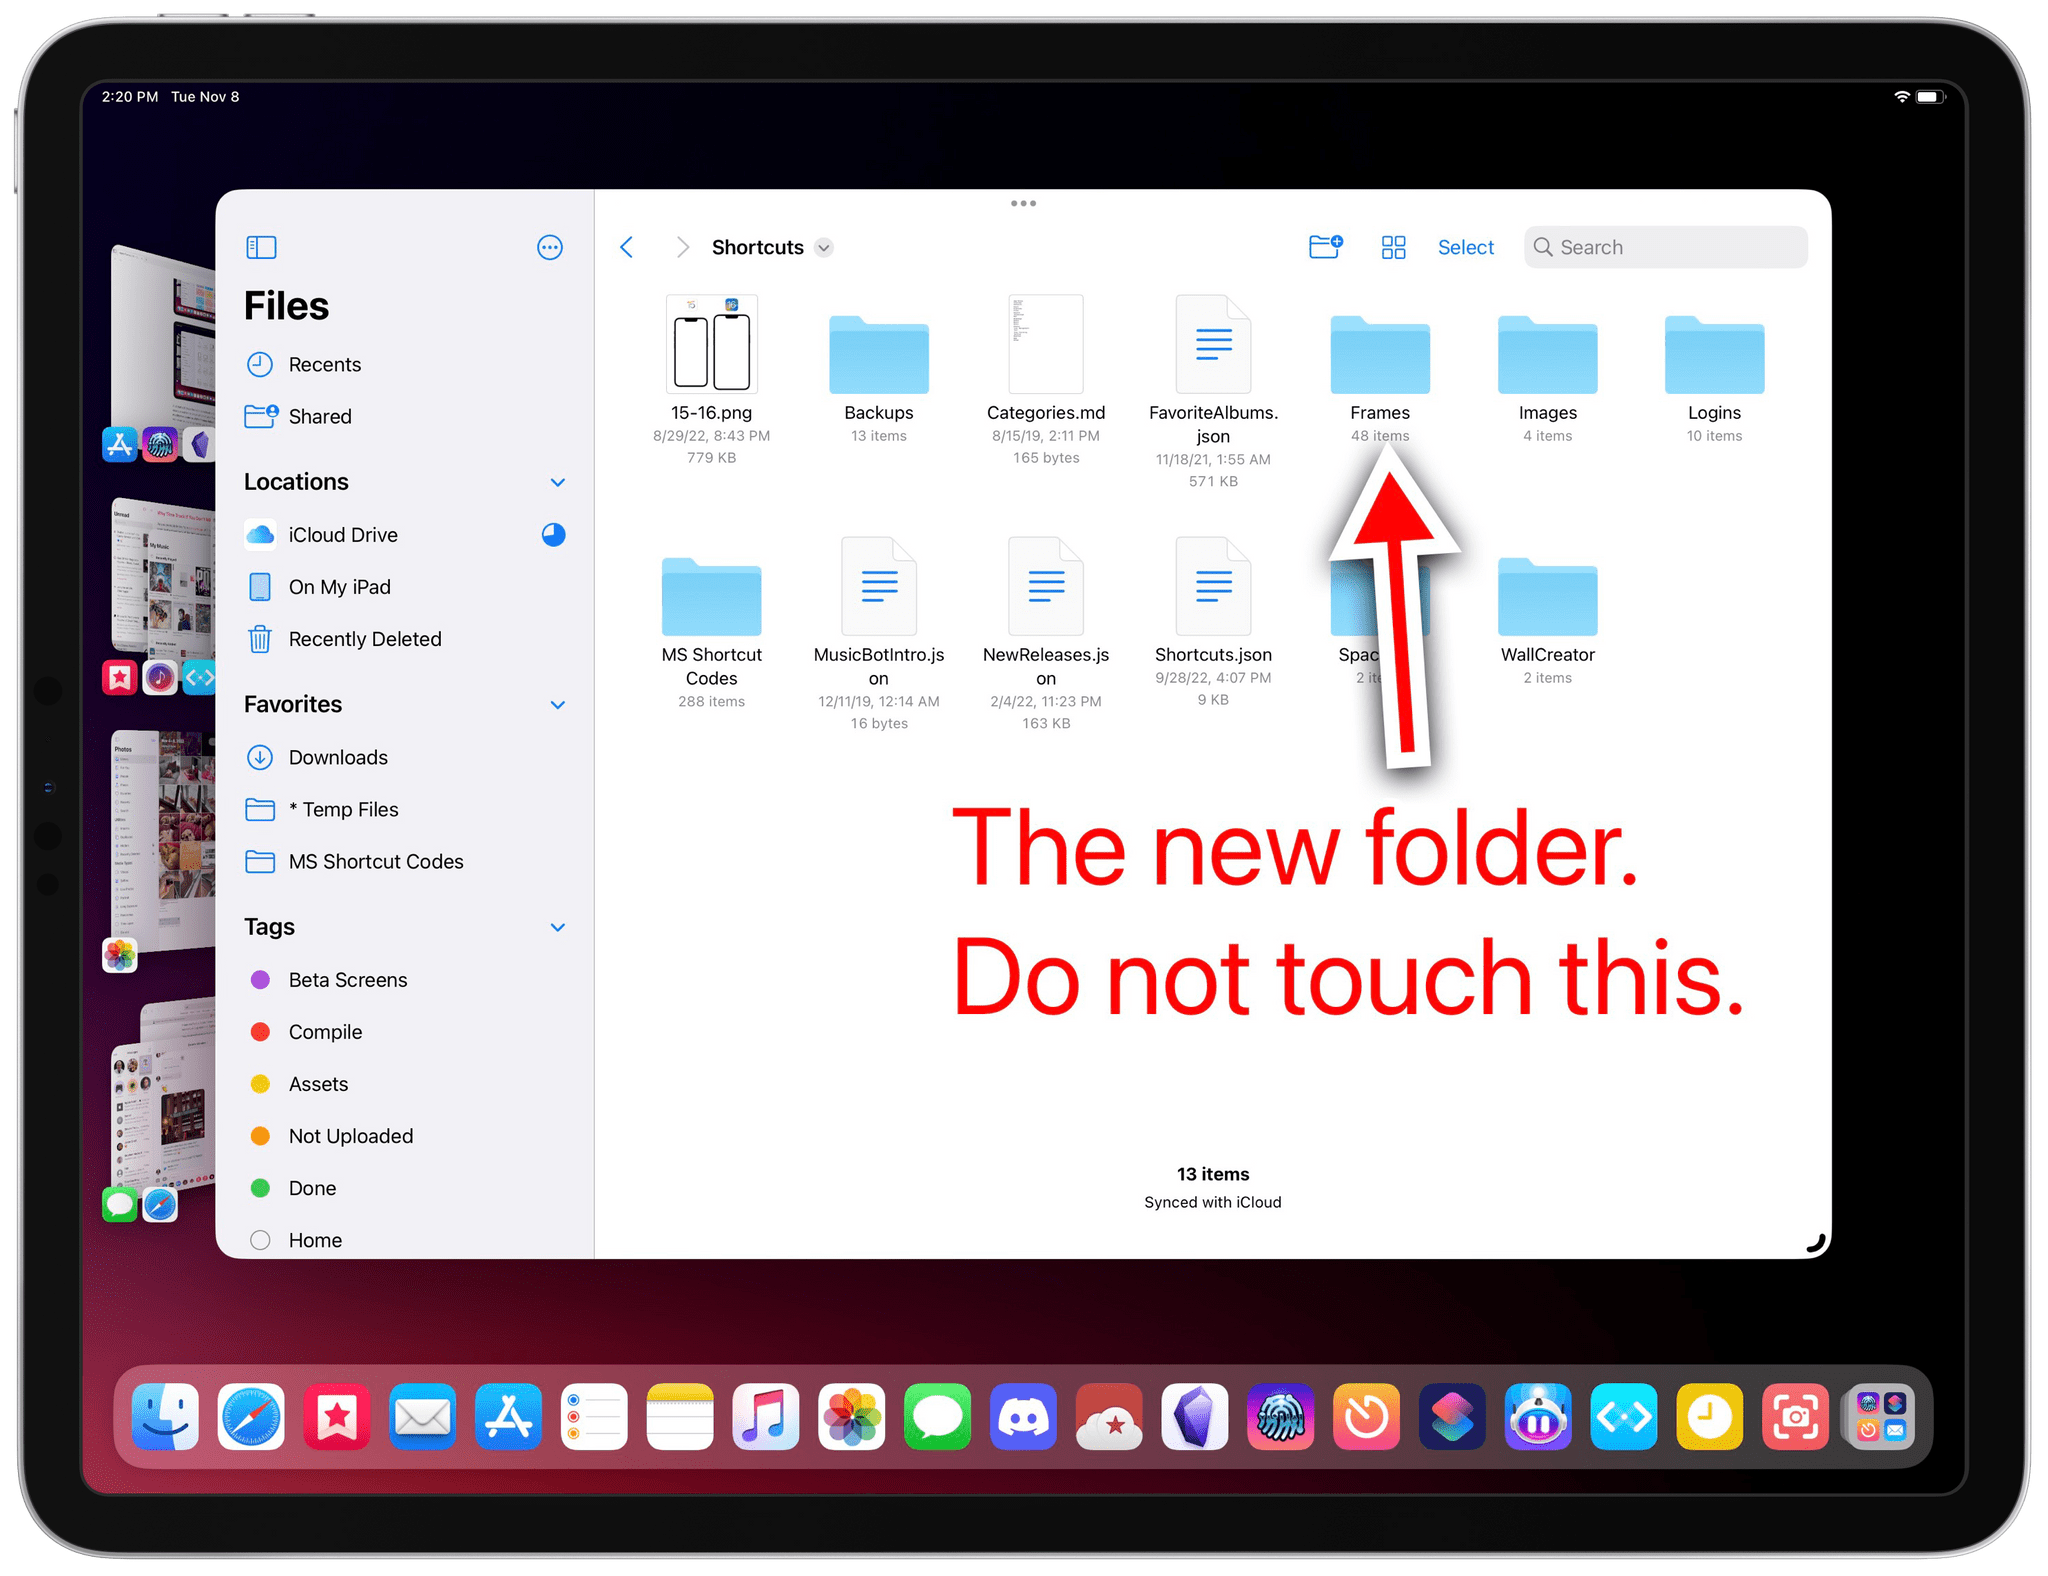

And that’s it! Once the initial download is done, you’ll be able to start using the shortcut and frame screenshots of your favorite devices. As long as you never modify the contents of the Frames folder in iCloud Drive ⇾ Shortcuts, there will never be anything else for you to do.
With this new foundation based on storing assets in the filesystem as images, Apple Frames should be faster and less prone to strange compositing errors that used to happen in older versions. Furthermore, this approach will make it easier for me to debug and maintain Apple Frames going forward. Viewing and renaming actual images in Files is much, much easier than having to deal with a giant JSON file containing base64-encoded text, which should result in faster updates in the future.
Ideally, Shortcuts should let me store assets inside a shortcut as linked resources instead of forcing me to host them on the MacStories CDN and save them as a folder in iCloud Drive. (Automator used to support this.) But that’s a feature request for another time.
New Devices: iPhone 14 Pro, iPhone 14 Pro Max, Apple Watch Ultra, and M2 MacBook Air
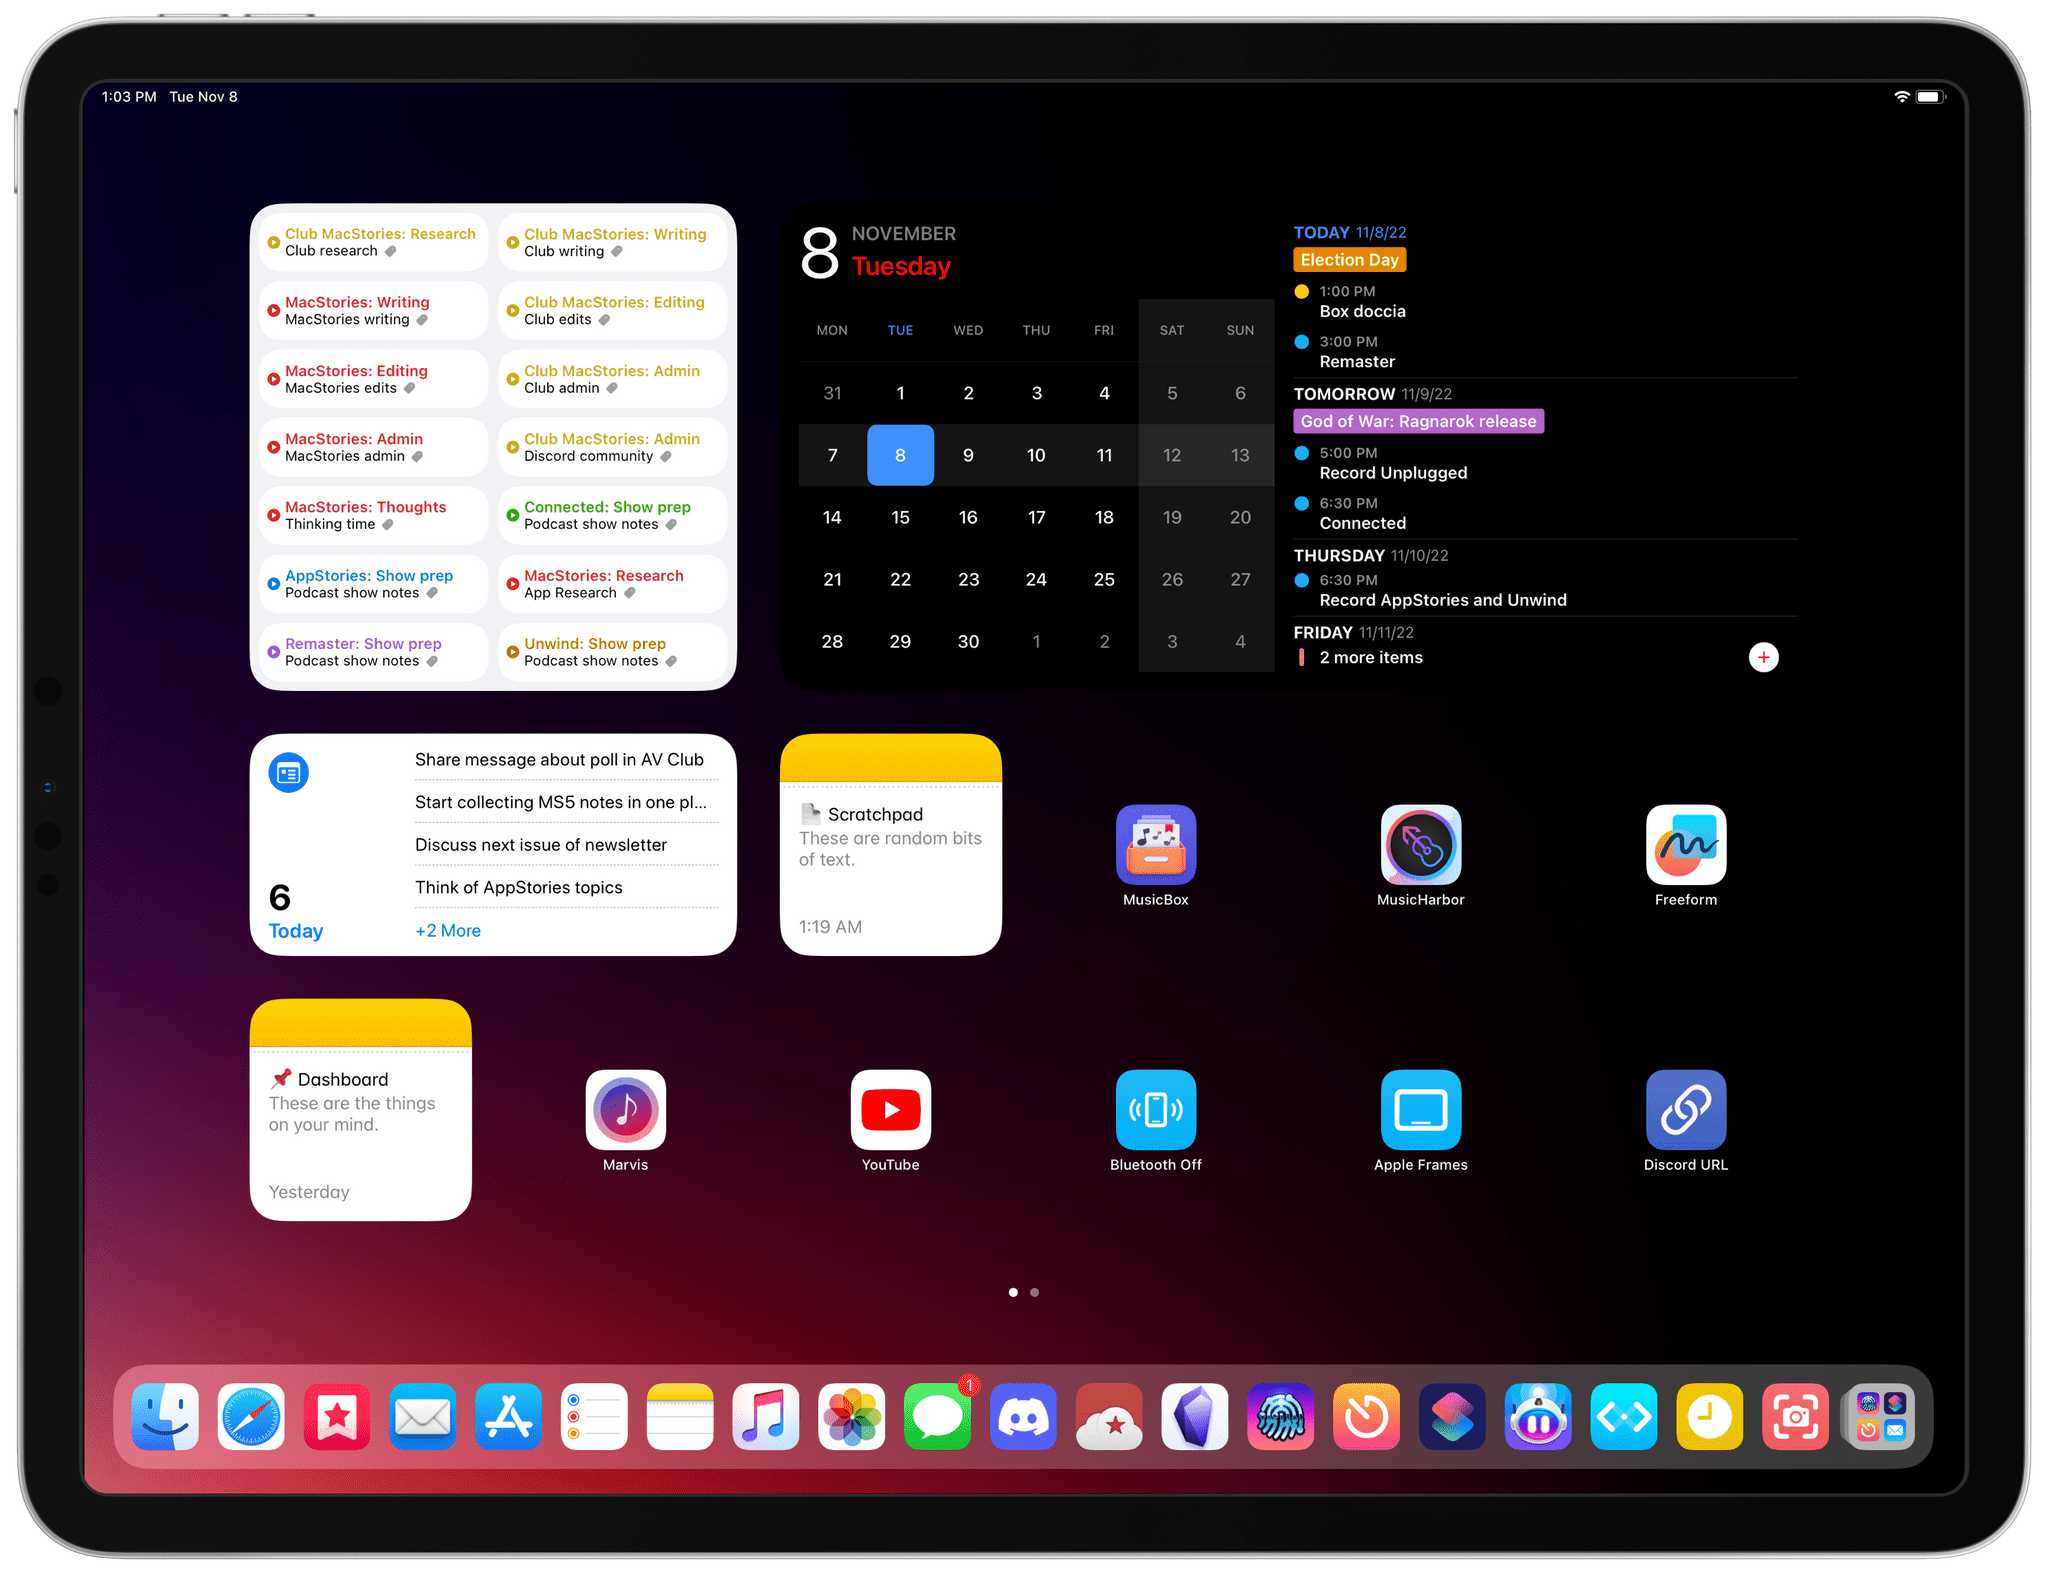
Once you’re set with Apple Frames 3.0, run it, pick an iPhone 14 Pro or Pro Max screenshot from your library (or pass one via the share sheet or Quick Actions), wait a couple seconds, and voilà – you’ll be staring at a nicely framed iPhone screenshot featuring the Dynamic Island in any of its layout modes.

Regardless of the kind of screenshot you capture on your iPhone 14 Pro with the Dynamic Island “active” or not, Apple Frames will put it inside a matching frame. This was made possible by Silvia’s excellent work in slicing Apple’s assets and allowing me to overlay the necessary parts of iPhone 14 Pro frames on the Dynamic Island. So, whether you have zero, one, or two activities in the Dynamic Island, Apple Frames 3.0 will work.
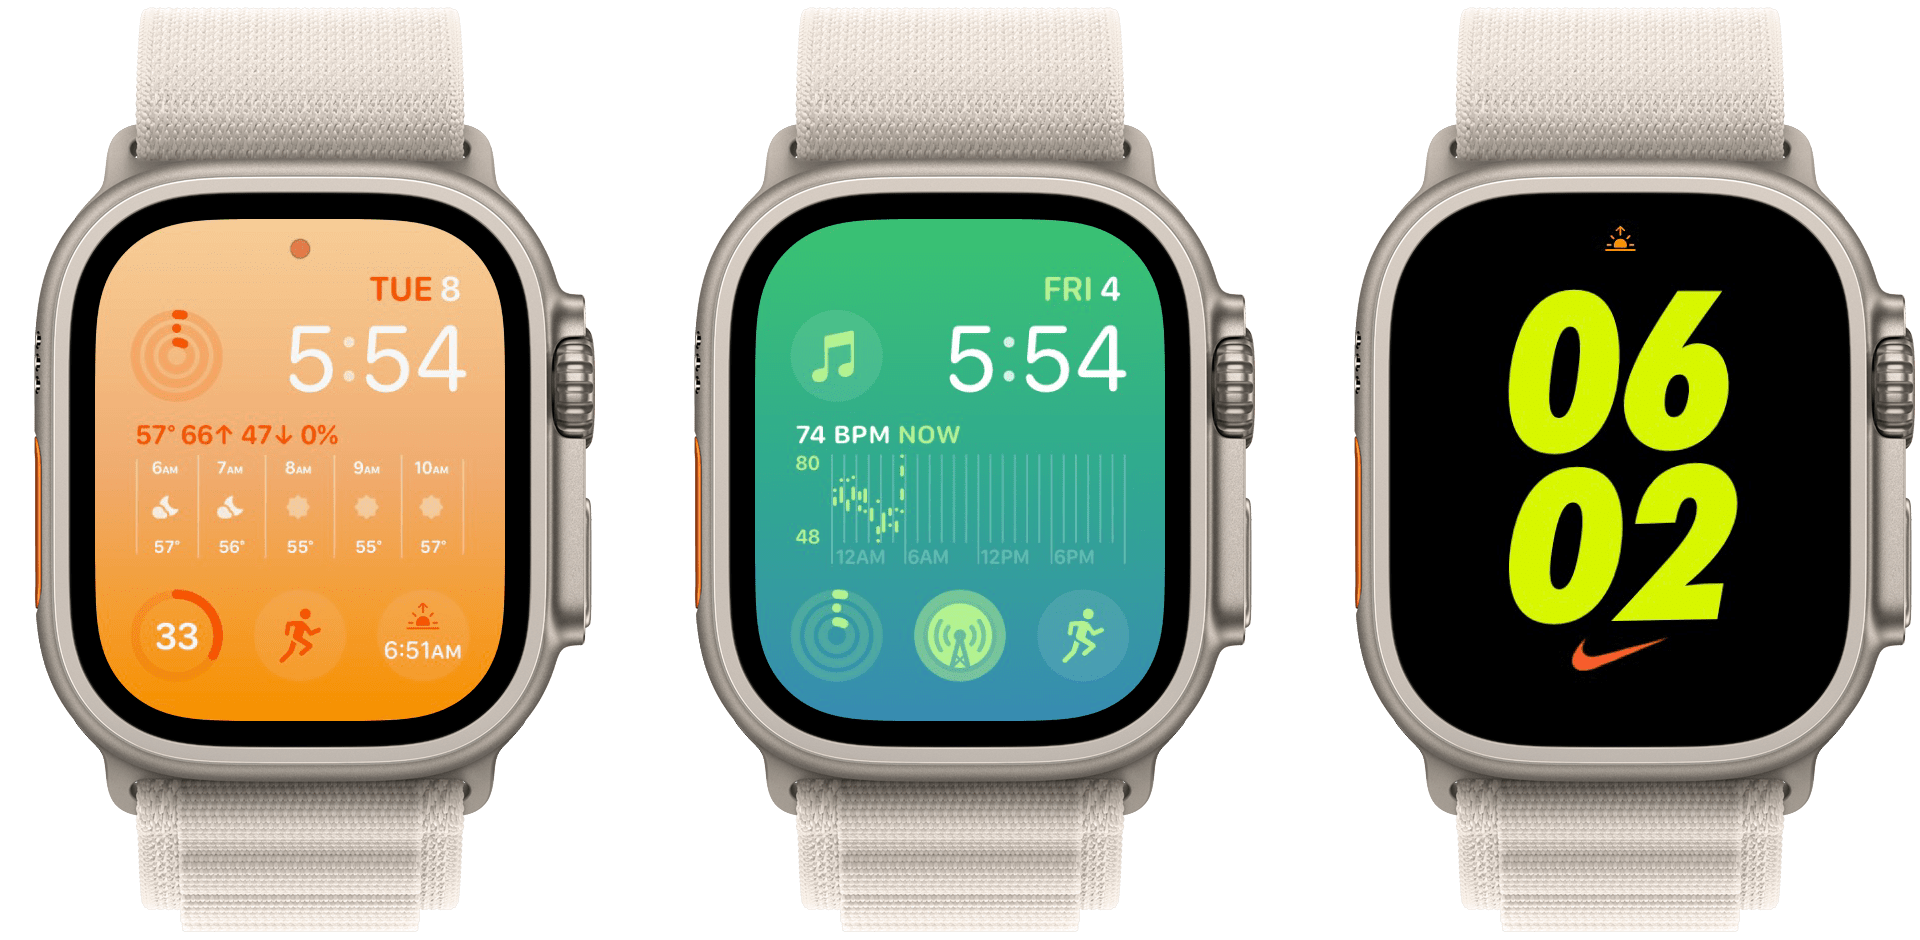
Apple Frames 3.0 also supports the latest Apple Watch Ultra and its 45mm display. If you’re one of the adventurous explorers and extreme sports people (and John) who purchased an Apple Watch Ultra recently, you’ll be happy to know that you can now show off its large watchOS UI with properly framed images.
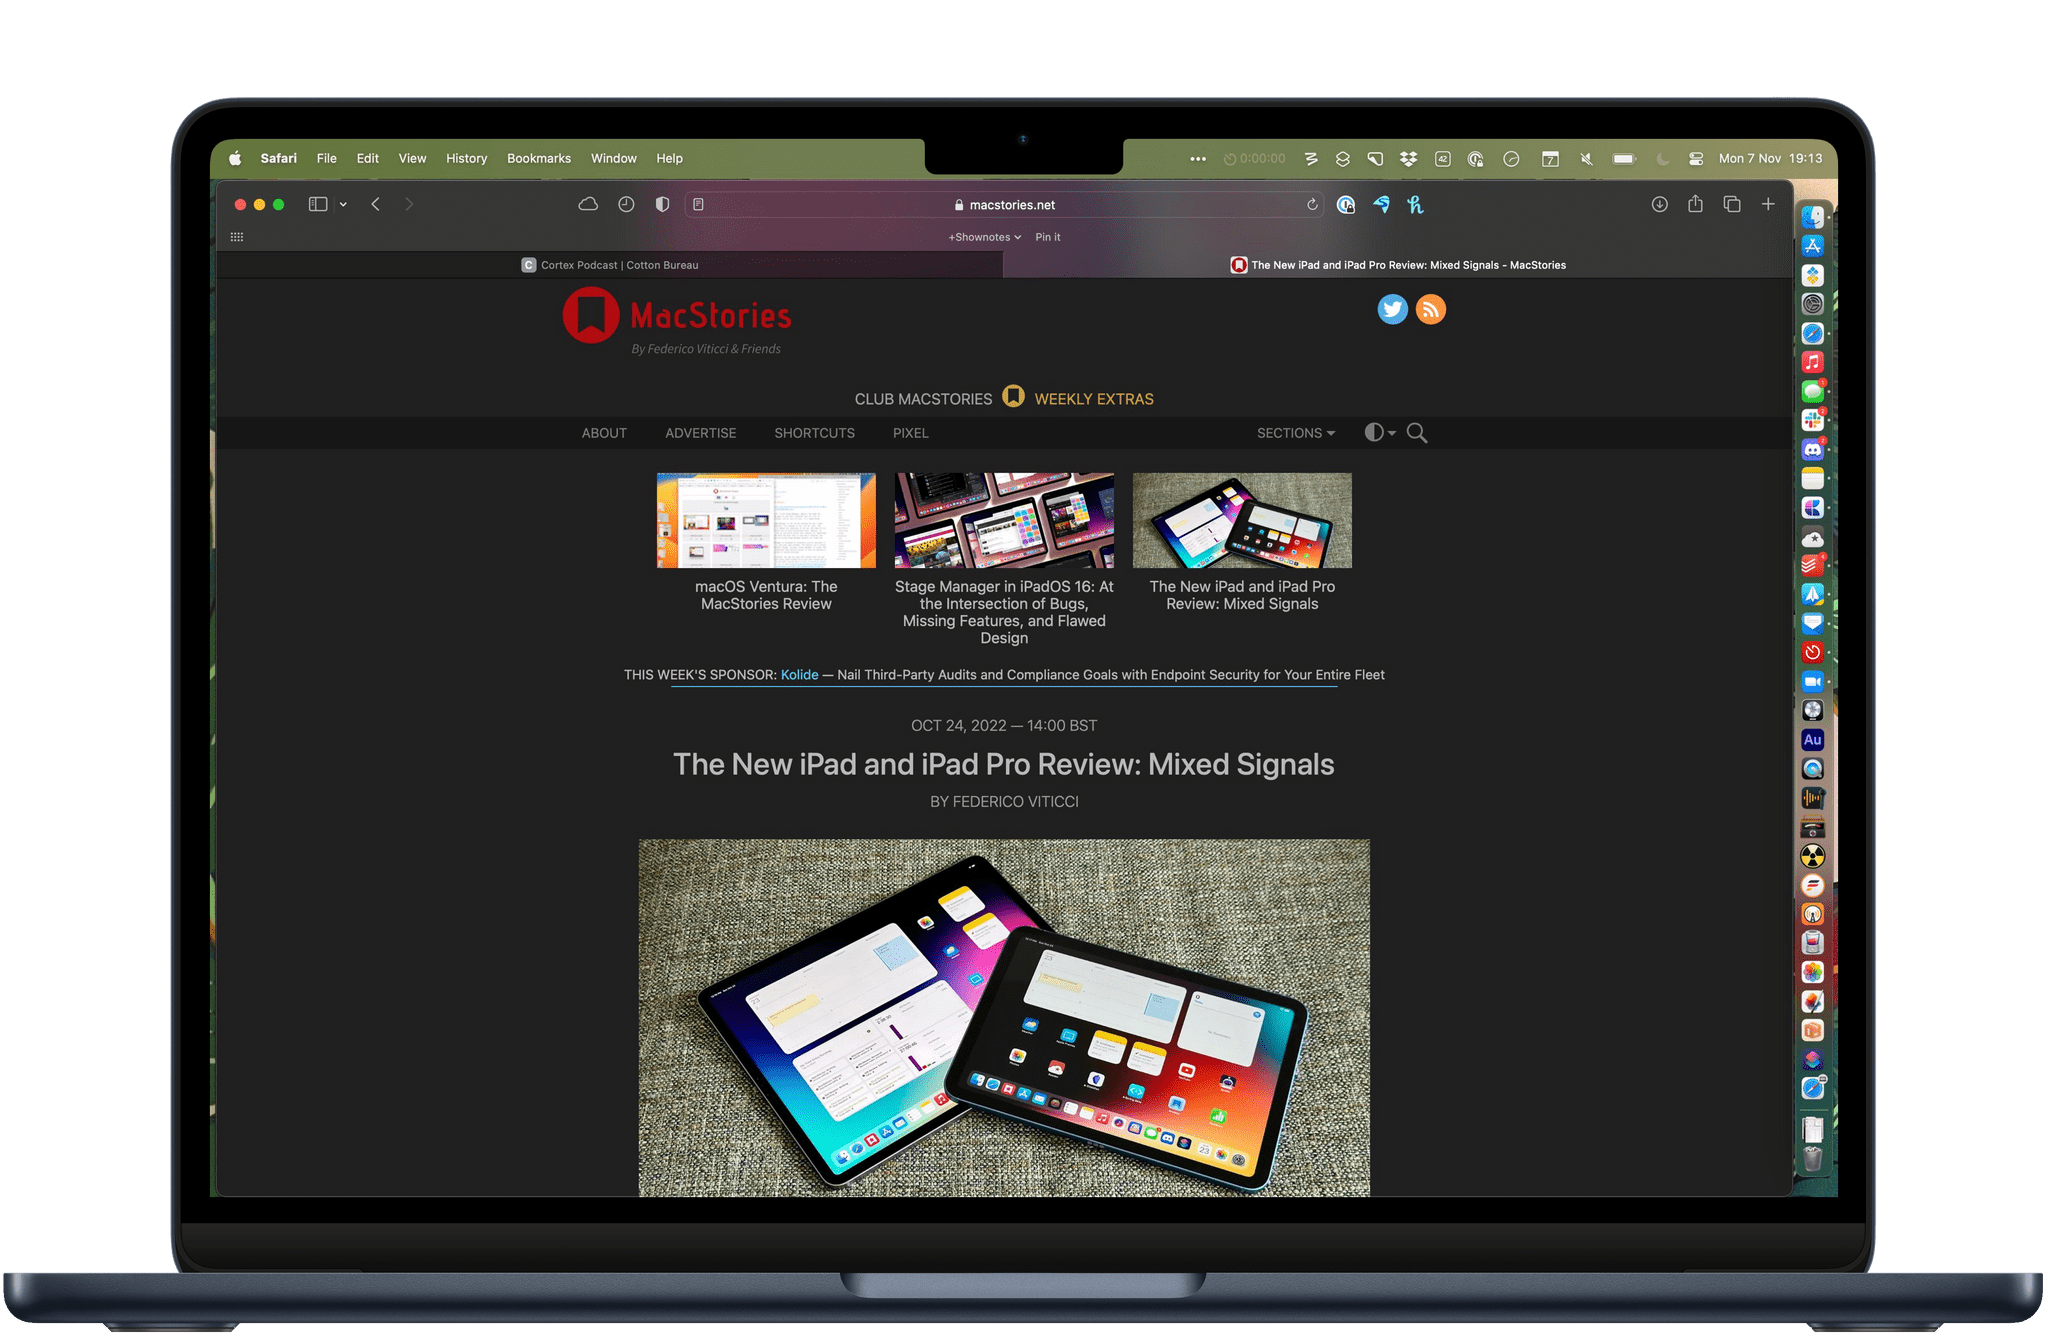
Apple Frames 3.0 also works with the M2 MacBook Air Apple released a few months ago. Take a screenshot on your new MacBook Air, run Apple Frames (on macOS, I like passing screenshots from the desktop to the shortcut via Finder’s Quick Actions), and you’ll get a framed version of it featuring a latest-generation MacBook Air in the Midnight color (this is the only color version provided by Apple).
Display Scaling Support on iPadOS 16 and macOS
One of my favorite features of iPadOS 16 is the ability to set a different display scale for a supported iPad Pro or iPad Air. This new option is labeled ‘More Space’, and you can find it under Settings ⇾ Display & Brightness ⇾ Display Zoom ⇾ More Space. Once activated, display scaling will increase the iPad’s virtual resolution to make every UI element smaller and therefore let you fit more content onscreen.
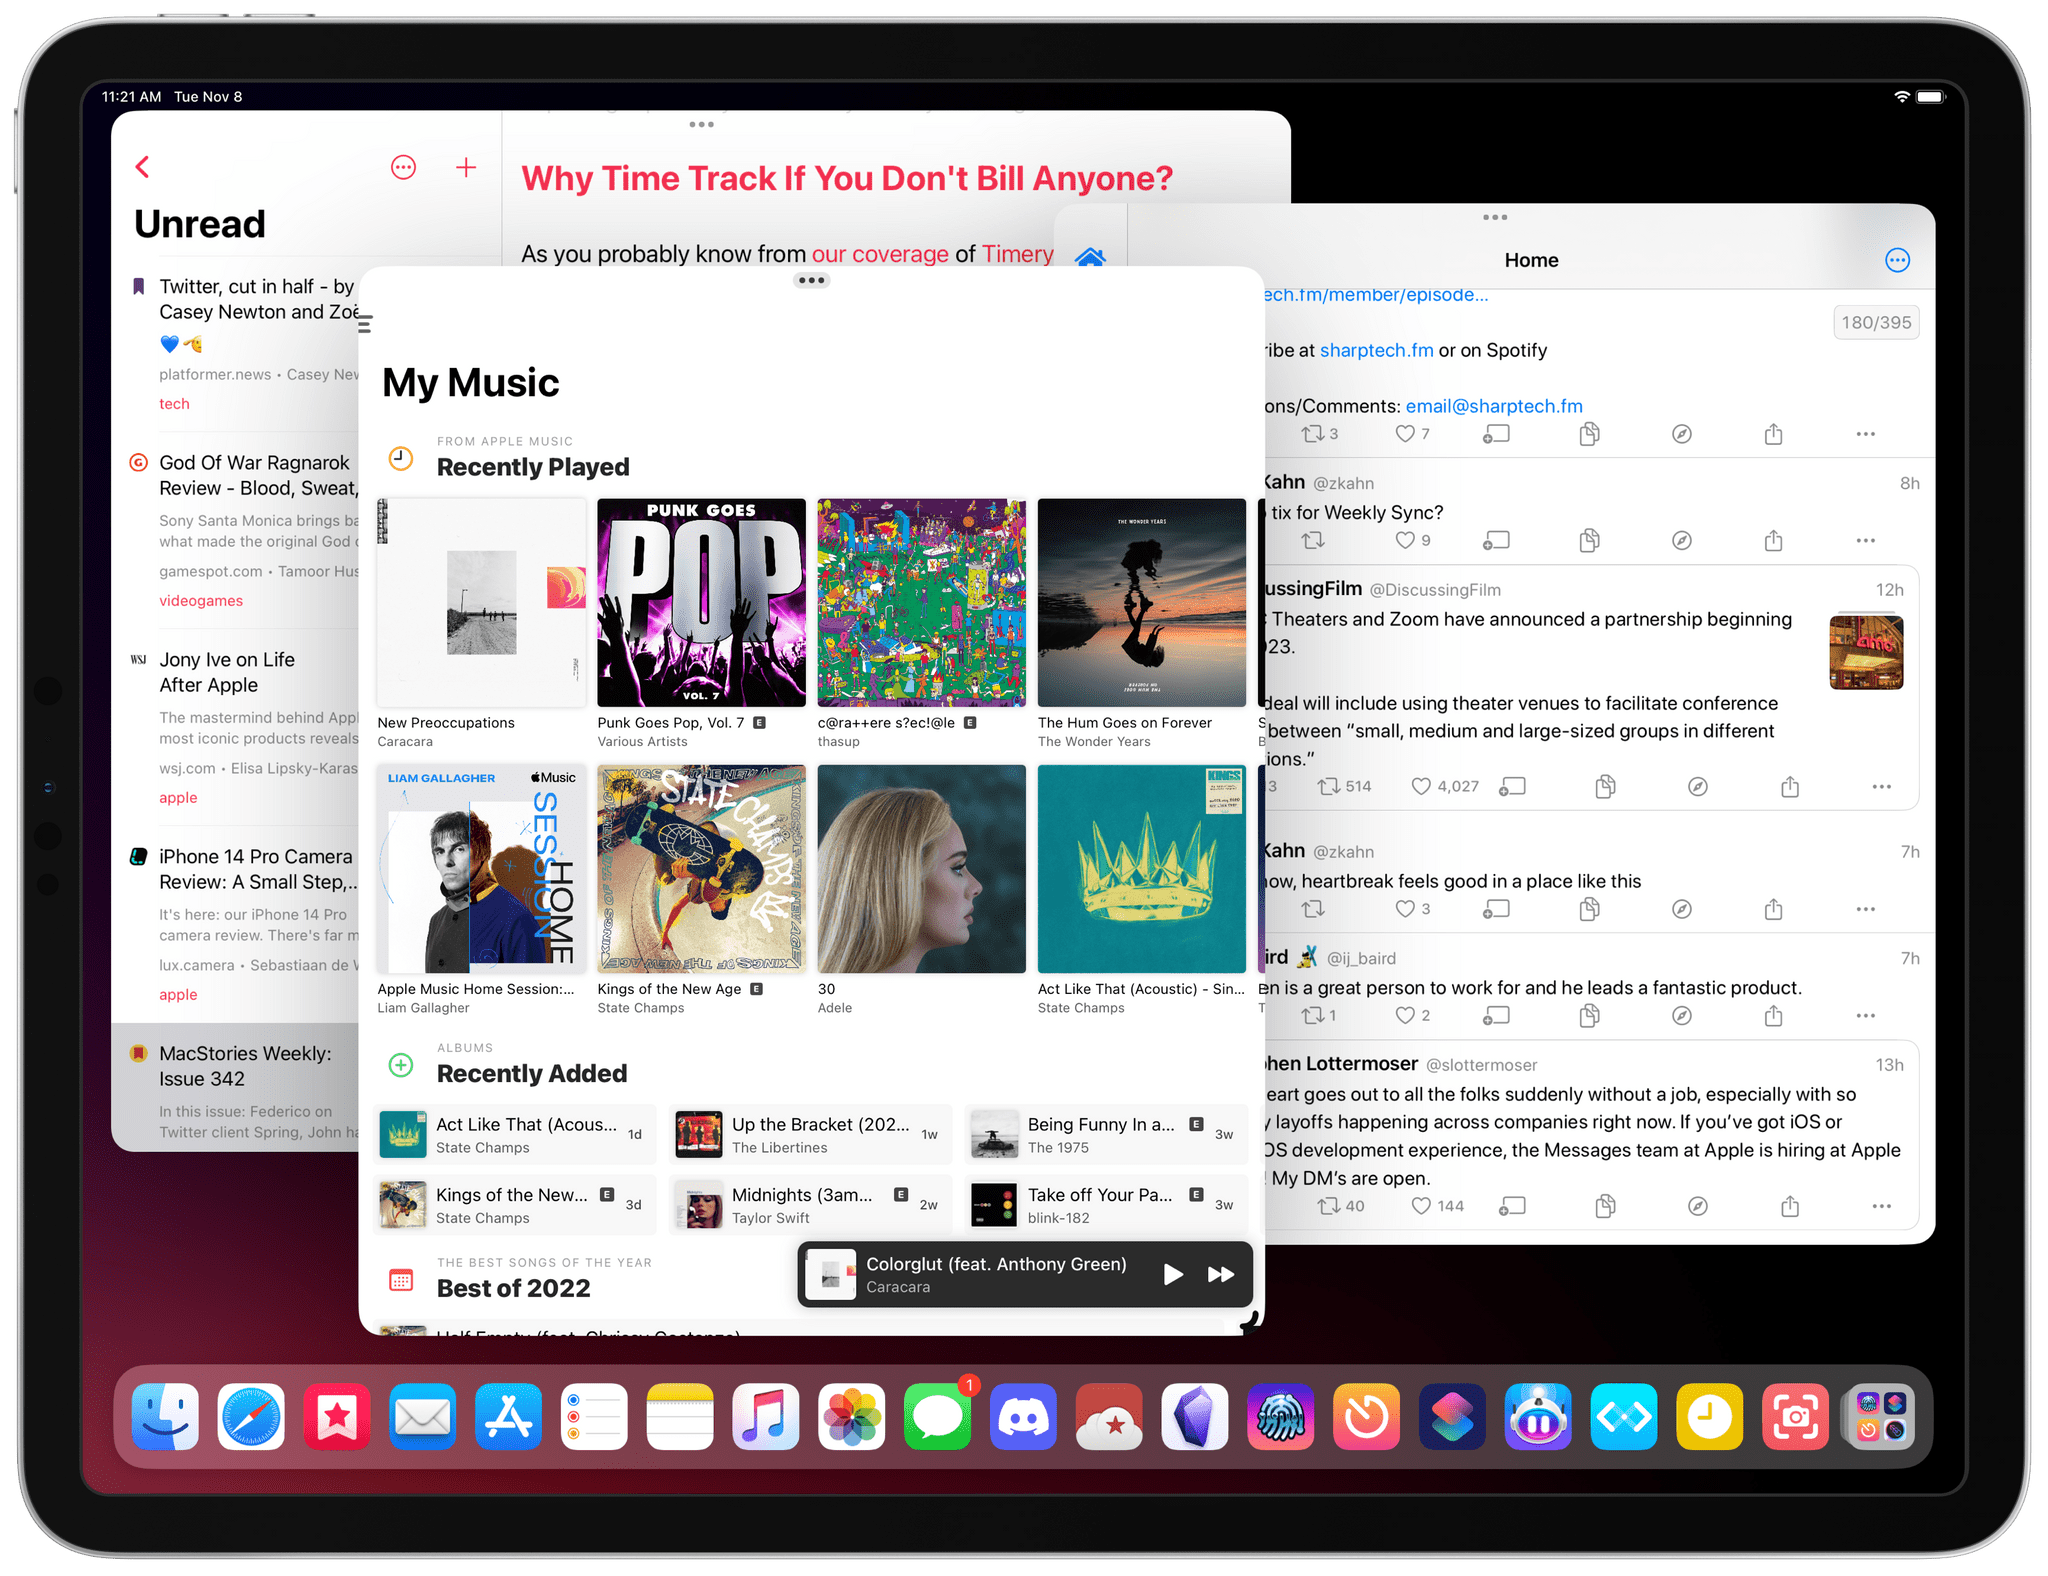
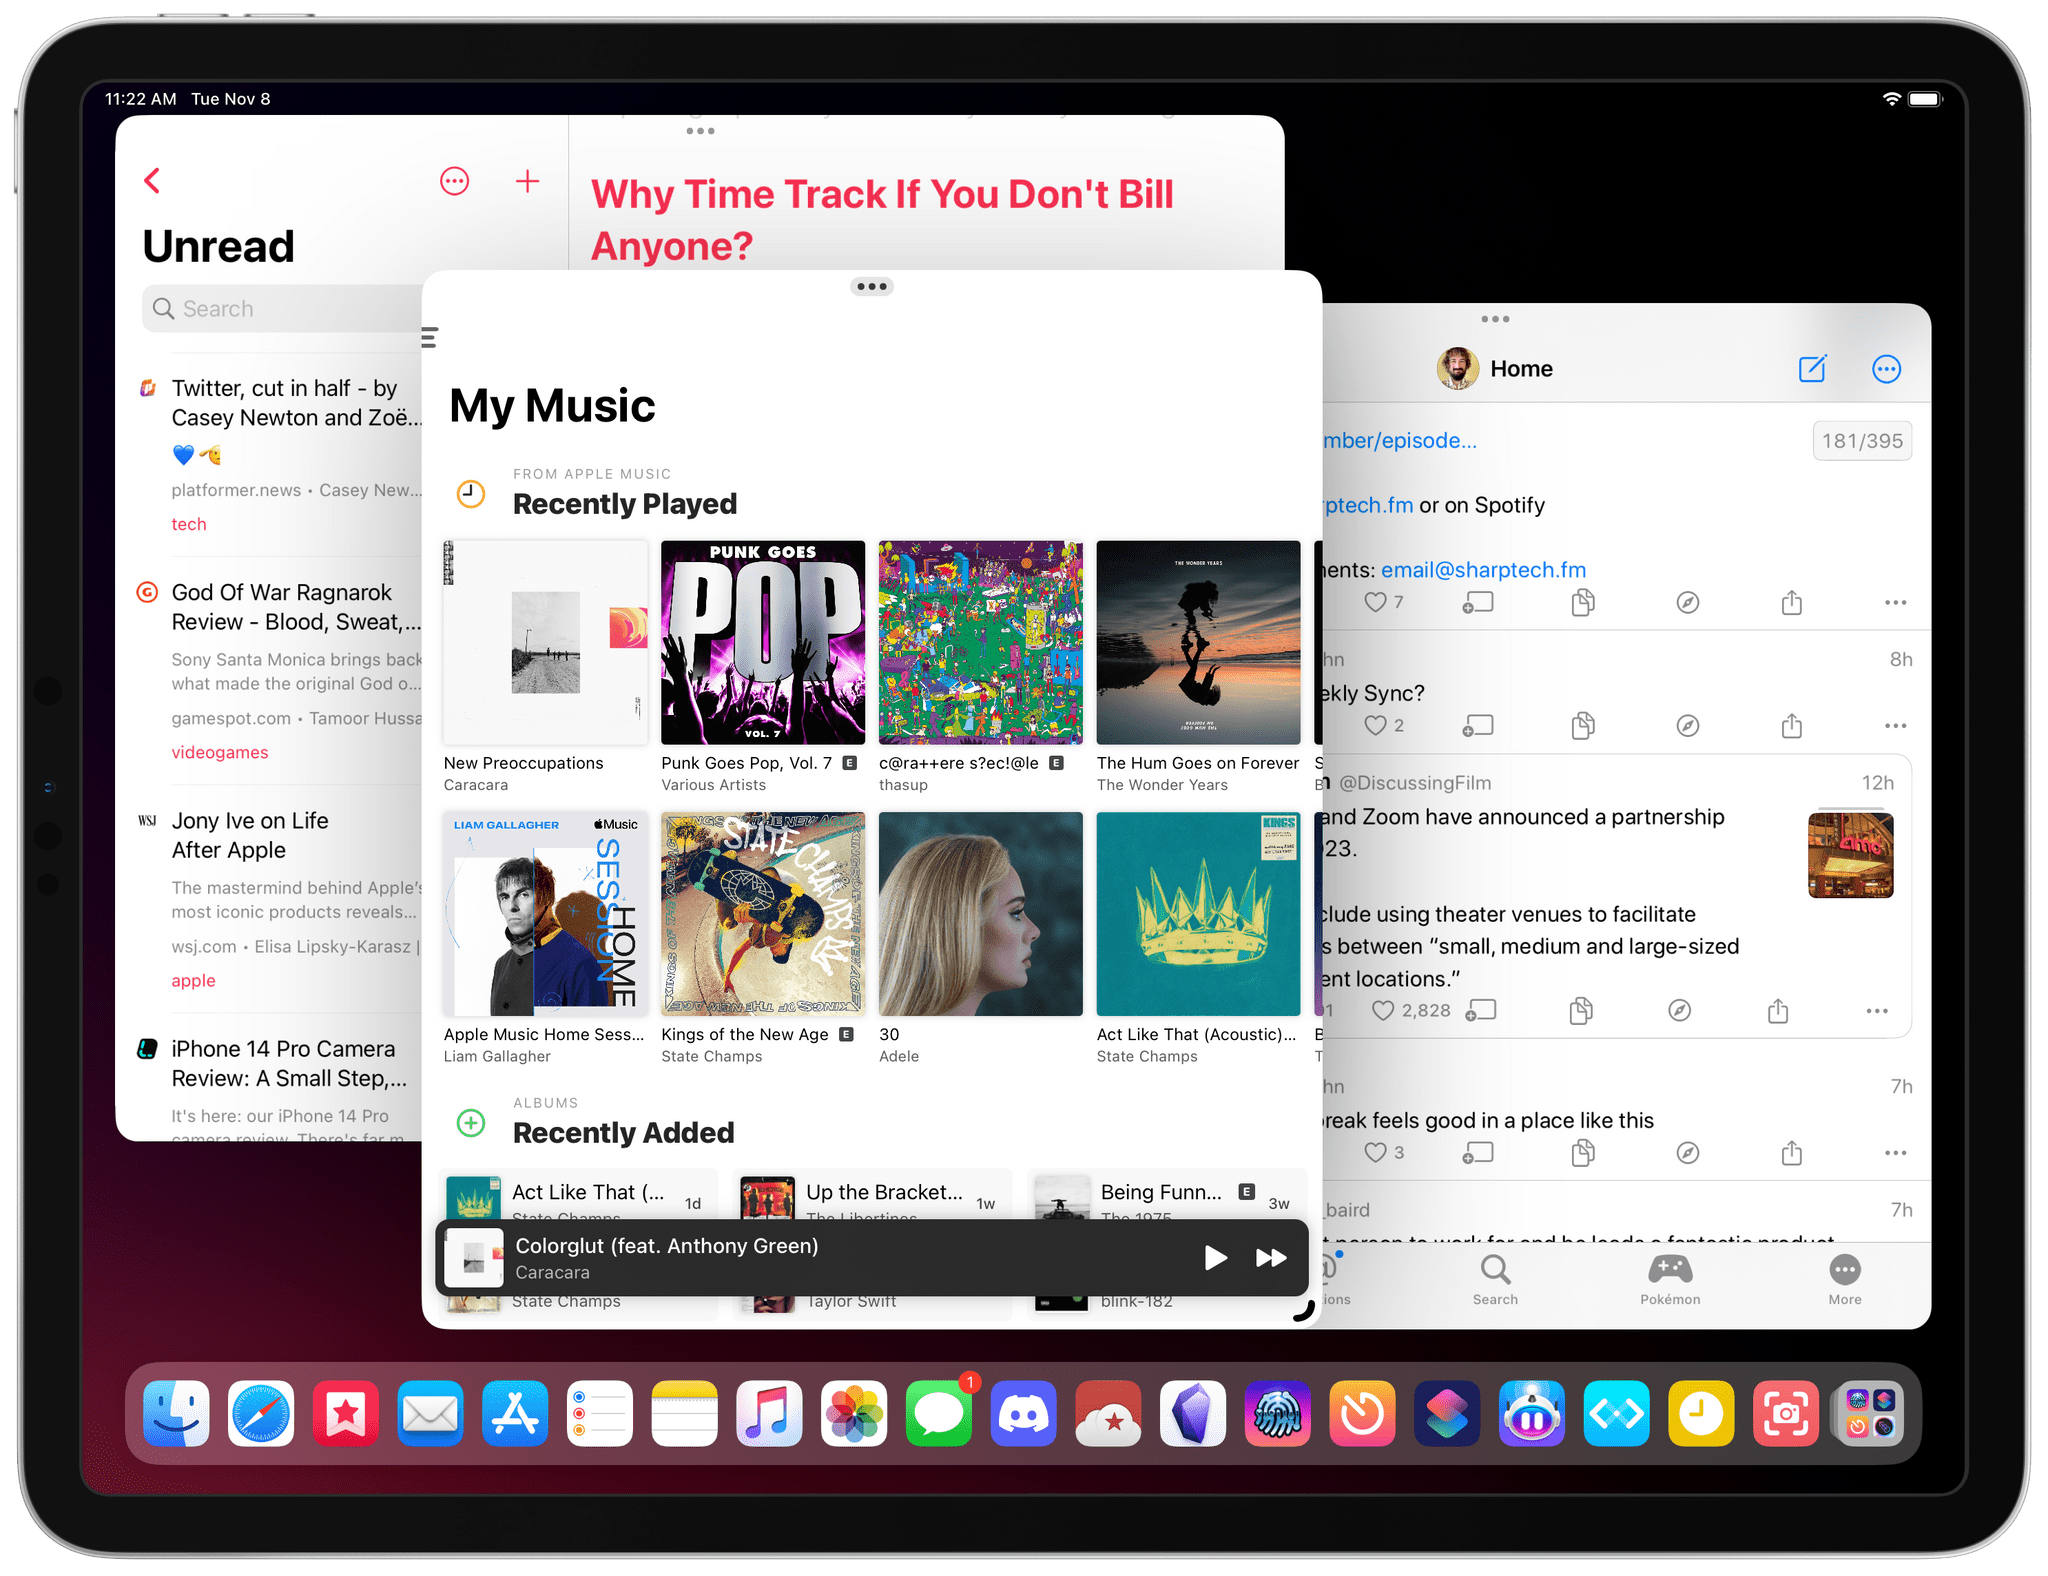
When you capture a screenshot with More Space display scaling enabled, images have a higher resolution than those taken with an iPad set to ‘Default’ display scaling mode. Effectively, this meant that I had to add support for three new device sizes (iPad Pro 12.9”, iPad Pro 11”, and iPad Air) with two different orientations each when More Space is enabled.
Apple Frames 3.0 will seamlessly work with iPad screenshots captured at Default and More Space display scaling modes.1 Run Apple Frames with some iPad screenshots captured on iPadOS 16 with display scaling activated, and you’ll get a nicely framed iPad image showing more content onscreen than before.
Of course, if you don’t want to use display scaling on iPadOS 16 but are instead sticking to the iPad’s default resolution, that’s fine. Apple Frames will continue working in that case as before.
While I was at it, I figured I could add support for the ‘More Space’ resolution on compatible Macs too. And, well, I’m pleased to say that Apple Frames 3.0 supports both ‘Default’ and ‘More Space’ resolutions on the following Mac models:
- 2020 MacBook Air (M1)
- 2021 iMac (M1)
- 2021 MacBook Pro 14”
- 2021 MacBook Pro 16”
- 2022 MacBook Air (M2)
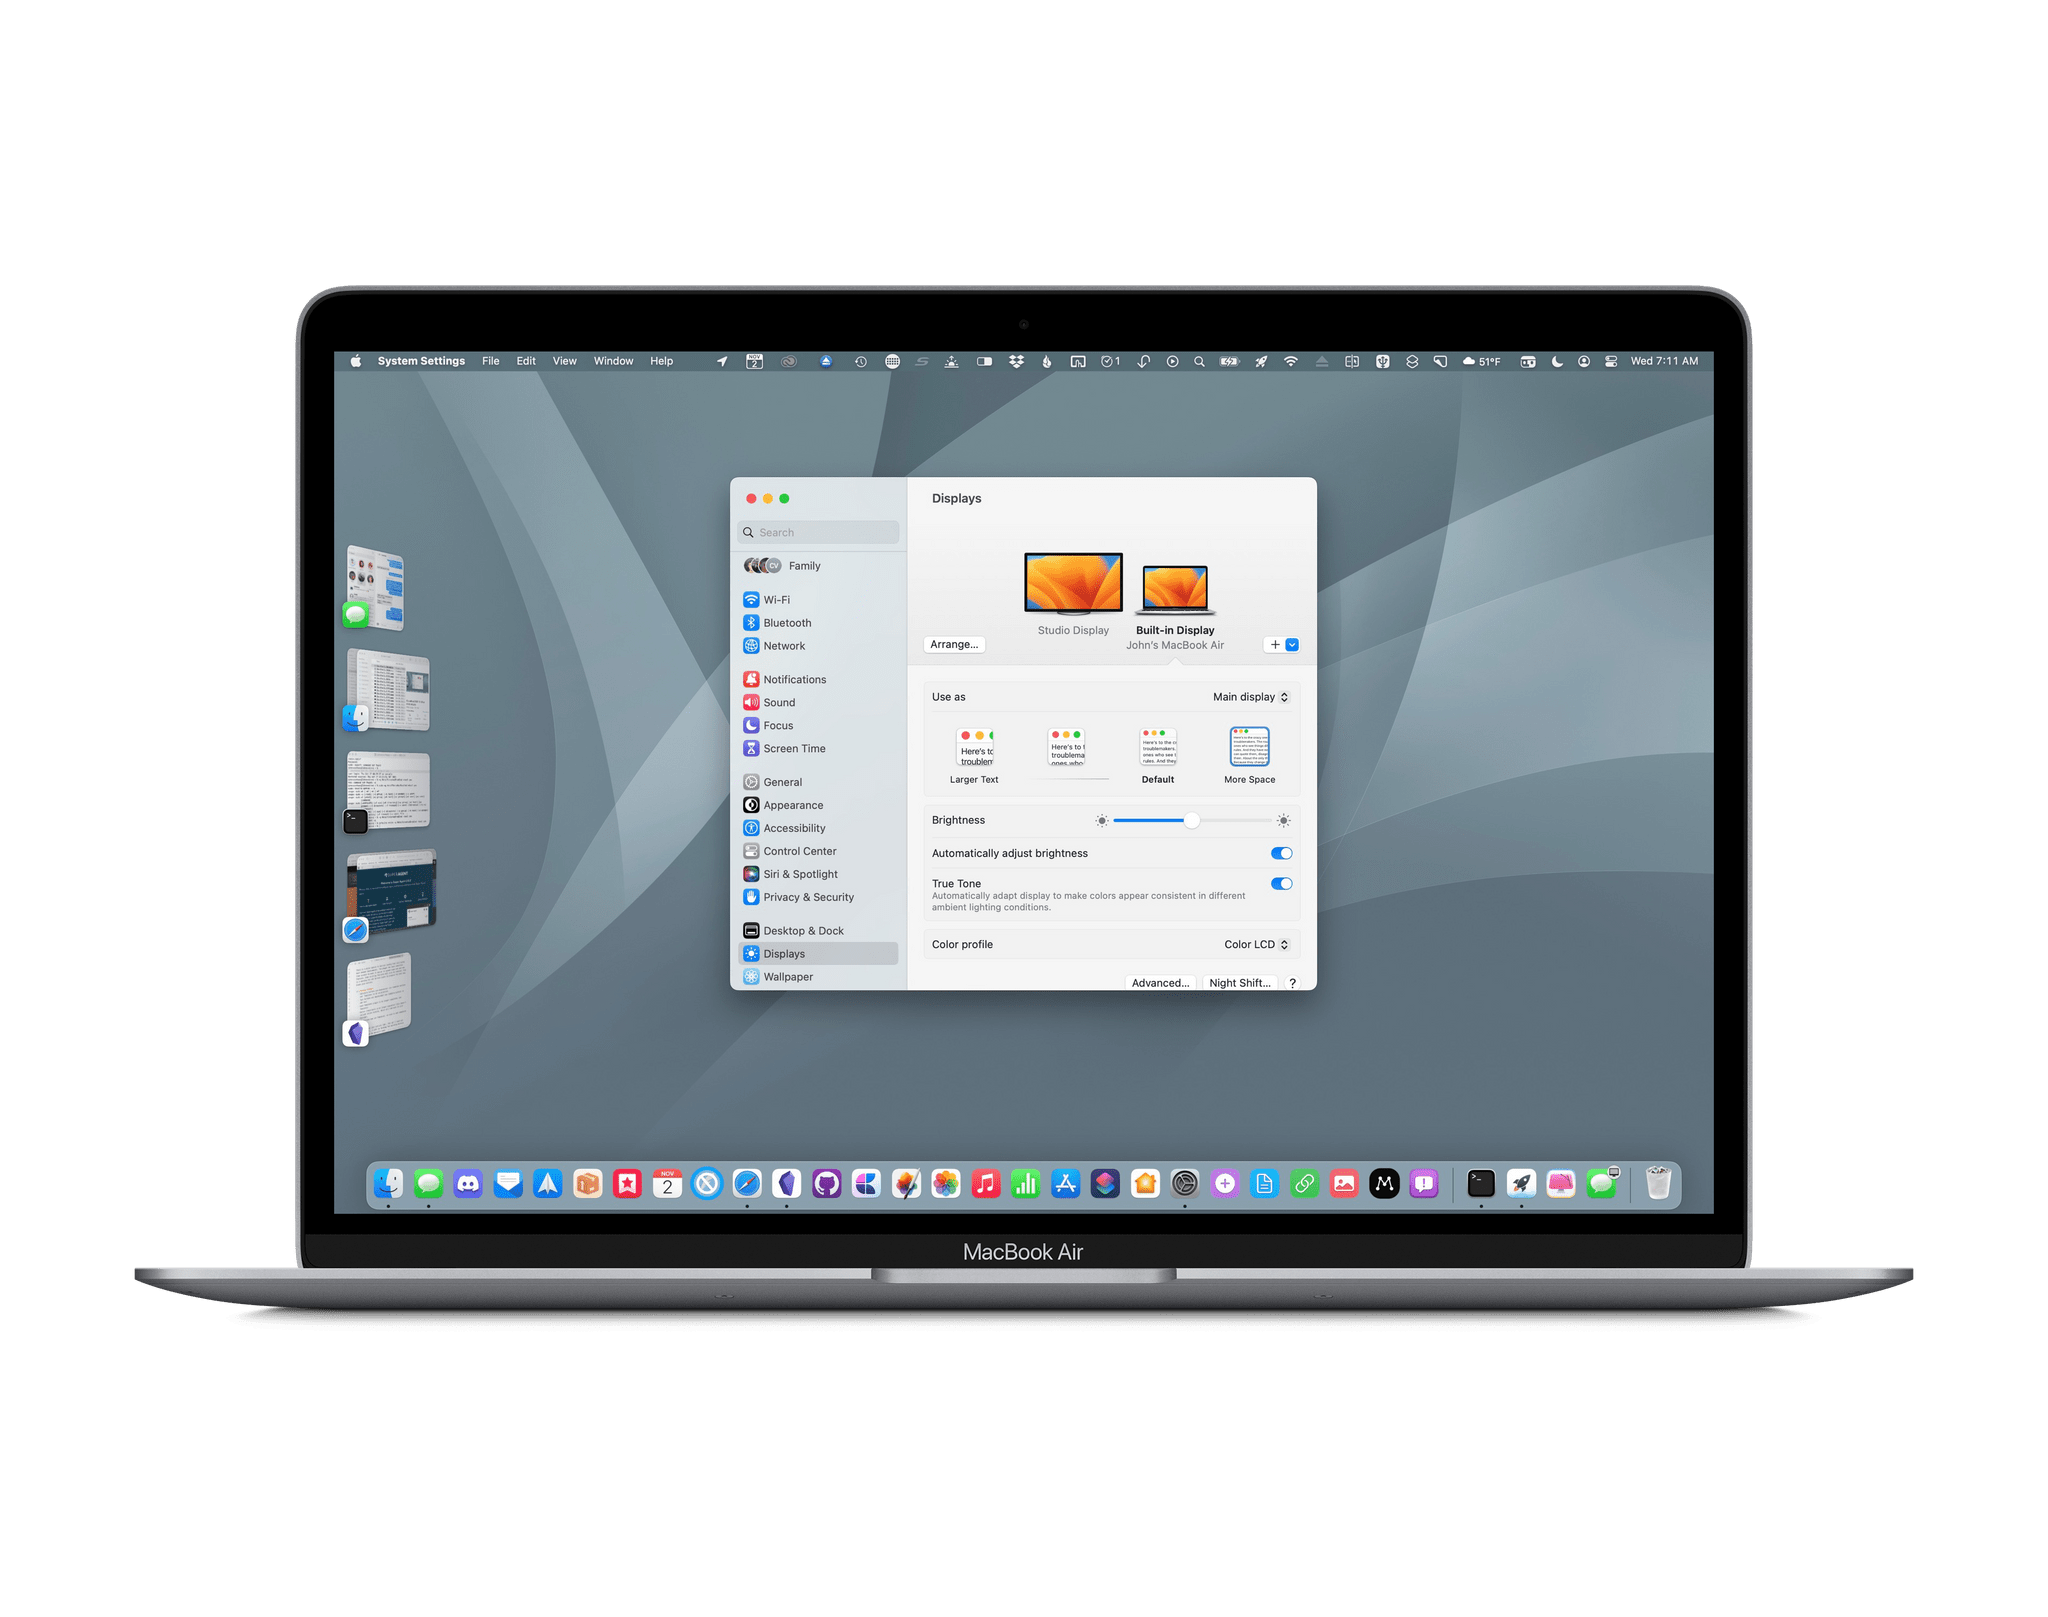
To test Apple Frames’ support for display scaling on macOS, head over to the Displays section of System Settings (or System Preferences if you haven’t updated to Ventura yet), select ‘More Space’ as your computer’s resolution, take a screenshot, and pass it to Apple Frames.
New Action: Quick Save to Files and Finder
The last addition to Apple Frames I want to mention is a new action displayed in Apple Frames’ final menu: Quick Save to Files/Finder.
Apple Frames was already capable of saving framed images to Files or Finder by letting you rename them and pick a destination folder. However, over time I’ve realized that I often want to just save an image or multiple ones to the Files app without having to do anything else. This is exactly what Quick Save does: it saves framed images to either Files or Finder immediately, without asking you to confirm anything else.
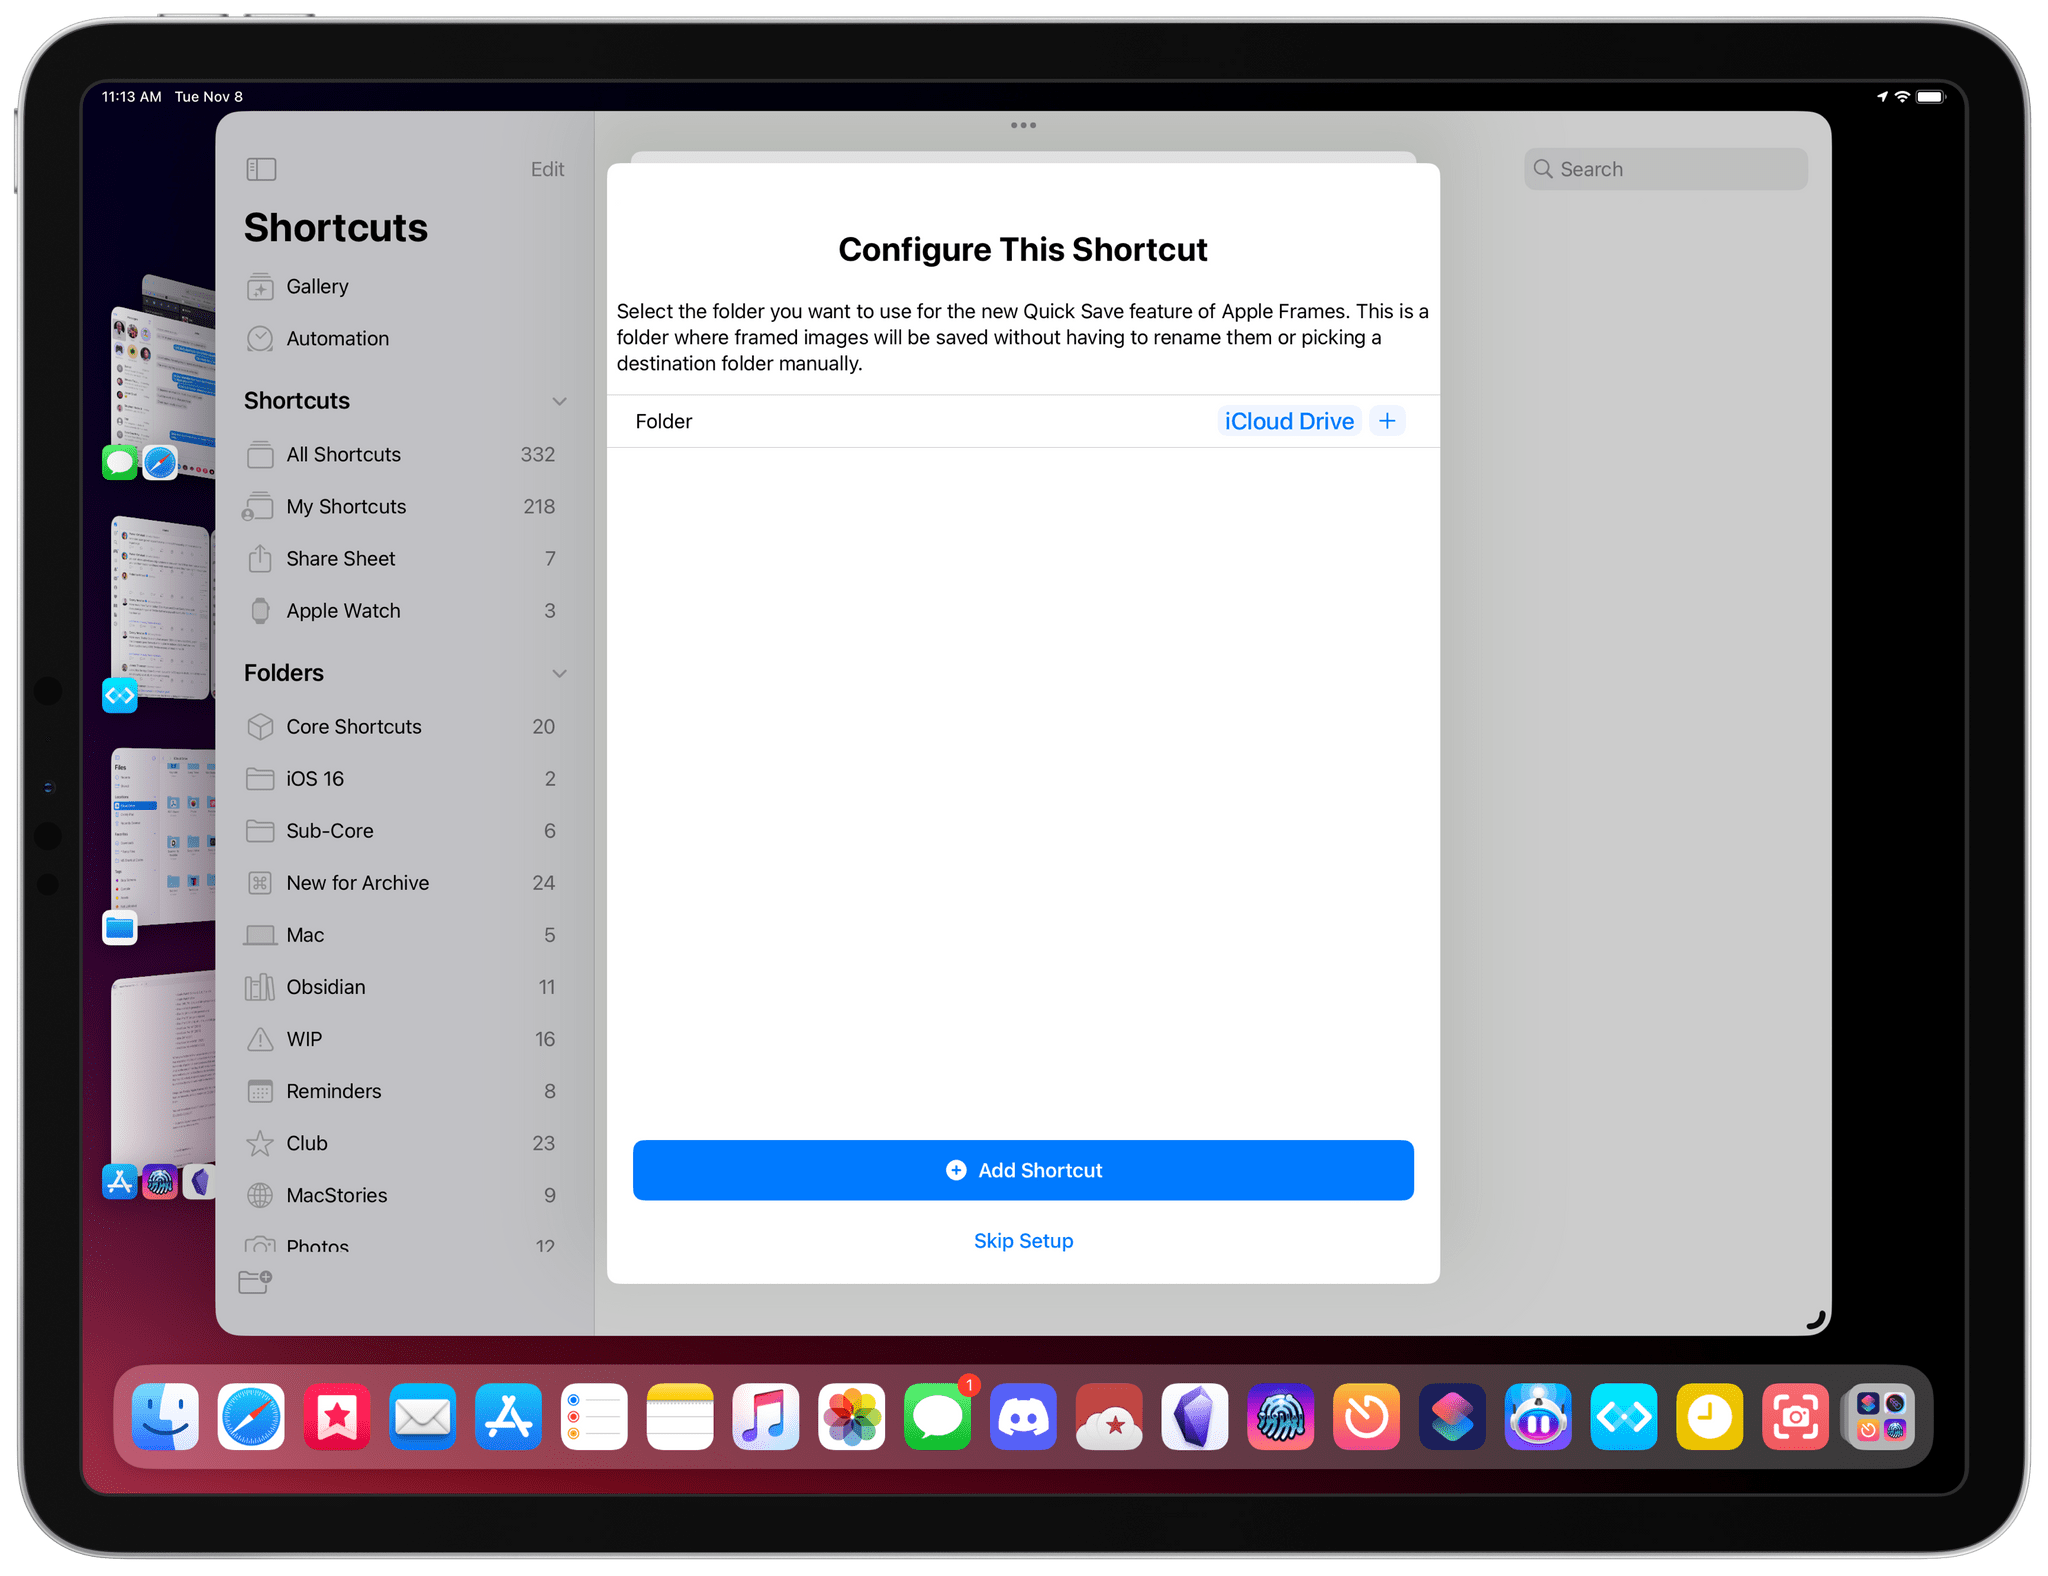
Upon installing Apple Frames 3.0, you’ll be asked to pick a destination folder for this new Quick Save functionality. By default, I picked iCloud Drive’s root folder, but you can use whatever you prefer. If you change your mind, you can always change the default folder for Quick Save later.
Welcome to Apple Frames 3.0
Apple Frames 3.0 is the biggest, most versatile version of Apple Frames to date. If my calculations are correct, Apple Frames 3.0 should support a total of 43 unique devices, which are:
- iPhone 8
- iPhone SE
- iPhone 11
- iPhone 11 Pro and Pro Max
- iPhone 12 mini
- iPhone 12
- iPhone 12 Pro and Pro Max
- iPhone 13 mini
- iPhone 13
- iPhone 13 Pro and Pro Max
- iPhone 14 and 14 Plus
- iPhone 14 Pro and Pro Max
- Apple Watch Series 4, 5, 6, 7, and 8
- Apple Watch Ultra
- iPad (6th, 7th, 8th, and 9th generations)
- iPad mini (6th generation)
- iPad Air (4th and 5th generations)
- iPad Pro 11” (all generations)
- iPad Pro 12.9” (3rd, 4th, 5th, and 6th generations)
- MacBook Pro 14” (2021)
- MacBook Pro 16” (2021)
- iMac 24” (2021)
- MacBook Air with M1 (2020)
- MacBook Air with M2 (2022)
When you factor in the two possible orientations for iPhone and iPad, plus the two resolution modes of compatible Macs and iPads, you end up with hundreds of potential combinations that are supported in Apple Frames 3.0. And, at the end of the day, it still remains a native shortcut that makes a one-time web request to MacStories to download some image assets. Apple Frames 3.0 is fast, respects your privacy, and, best of all, provides a better foundation for me to work with in the future.
I hope you’ll enjoy Apple Frames 3.0. As always, feel free to send me ideas, feature requests, or bug reports on Twitter, and I’ll try my best to handle them.
You can download Apple Frames 3.0 below or by visiting the MacStories Shortcuts Archive.
Apple Frames
Add device frames to screenshots for iPhones (11, 8/SE, and 12-13-14 generations in mini/standard/Plus/Pro Max sizes), iPad Pro (11” and 12.9”, 2018-2022 models), iPad Air (10.9”, 2020-2022 models), iPad mini (2021 model), Apple Watch S4/5/6/7/8/Ultra, iMac (24” model, 2021), MacBook Air (2020-2022 models), and MacBook Pro (2021 models). The shortcut supports portrait and landscape orientations, but does not support Display Zoom; on iPadOS and macOS, the shortcut supports Default and More Space resolutions. If multiple screenshots are passed as input, they will be combined in a single image. The shortcut can be run in the Shortcuts app, as a Home Screen widget, as a Finder Quick Action, or via the share sheet.
- As before, Apple Frames will not work with the old ‘Larger Text’ option of Display Zoom on either iPhone or iPad. ↩