The Loupedeck+ is a hardware control panel for editing photos and video that transforms the software tools you’re accustomed to using with a mouse or trackpad into physical buttons, knobs, and dials. By eliminating the need to dive into menus and hunt for software, the Loupedeck+ changes the image editing process into something much closer to the feeling of editing on an iPad with the Apple Pencil. The seemingly endless series of swipes, drags, and clicks are replaced by something far more tactile and natural.
The result is a clear example of the benefit of using a dedicated tool for a particular task. Photo and video editing is often a high-volume, high-precision activity with lots of repetition, and depending on your job, tight deadlines. That makes any tool that can shave a little time off of editing each photo a win for professionals who often edit thousands of images in a week.
What I didn’t expect, though, is that the Loupedeck+ also makes editing more accessible for beginners like myself. As I’ll explain in more detail below, when Loupedeck sent me their device to test, I spent most of my time using it in Adobe Lightroom Classic, which I hadn’t used before. However, after a short time familiarizing myself with the Loupedeck+ layout, I found myself deep in the editing process with my eyes fixed on the images I was working on instead of darting back and forth hunting for the tools I wanted to use.
I may never enjoy the sort of time savings that a professional photographer could squeeze out of the Loupedeck+. However, simply knowing that I can dip in and out of Lightroom Classic for my editing needs with virtually no learning curve eliminates a significant hurdle that has slowed me down in the past. Although there are aspects of the Loupedeck+ that could be improved, it’s an incredibly powerful tool that fits into more workflows than I anticipated, which makes it an accessory worth considering for a wide range of users.
Hardware
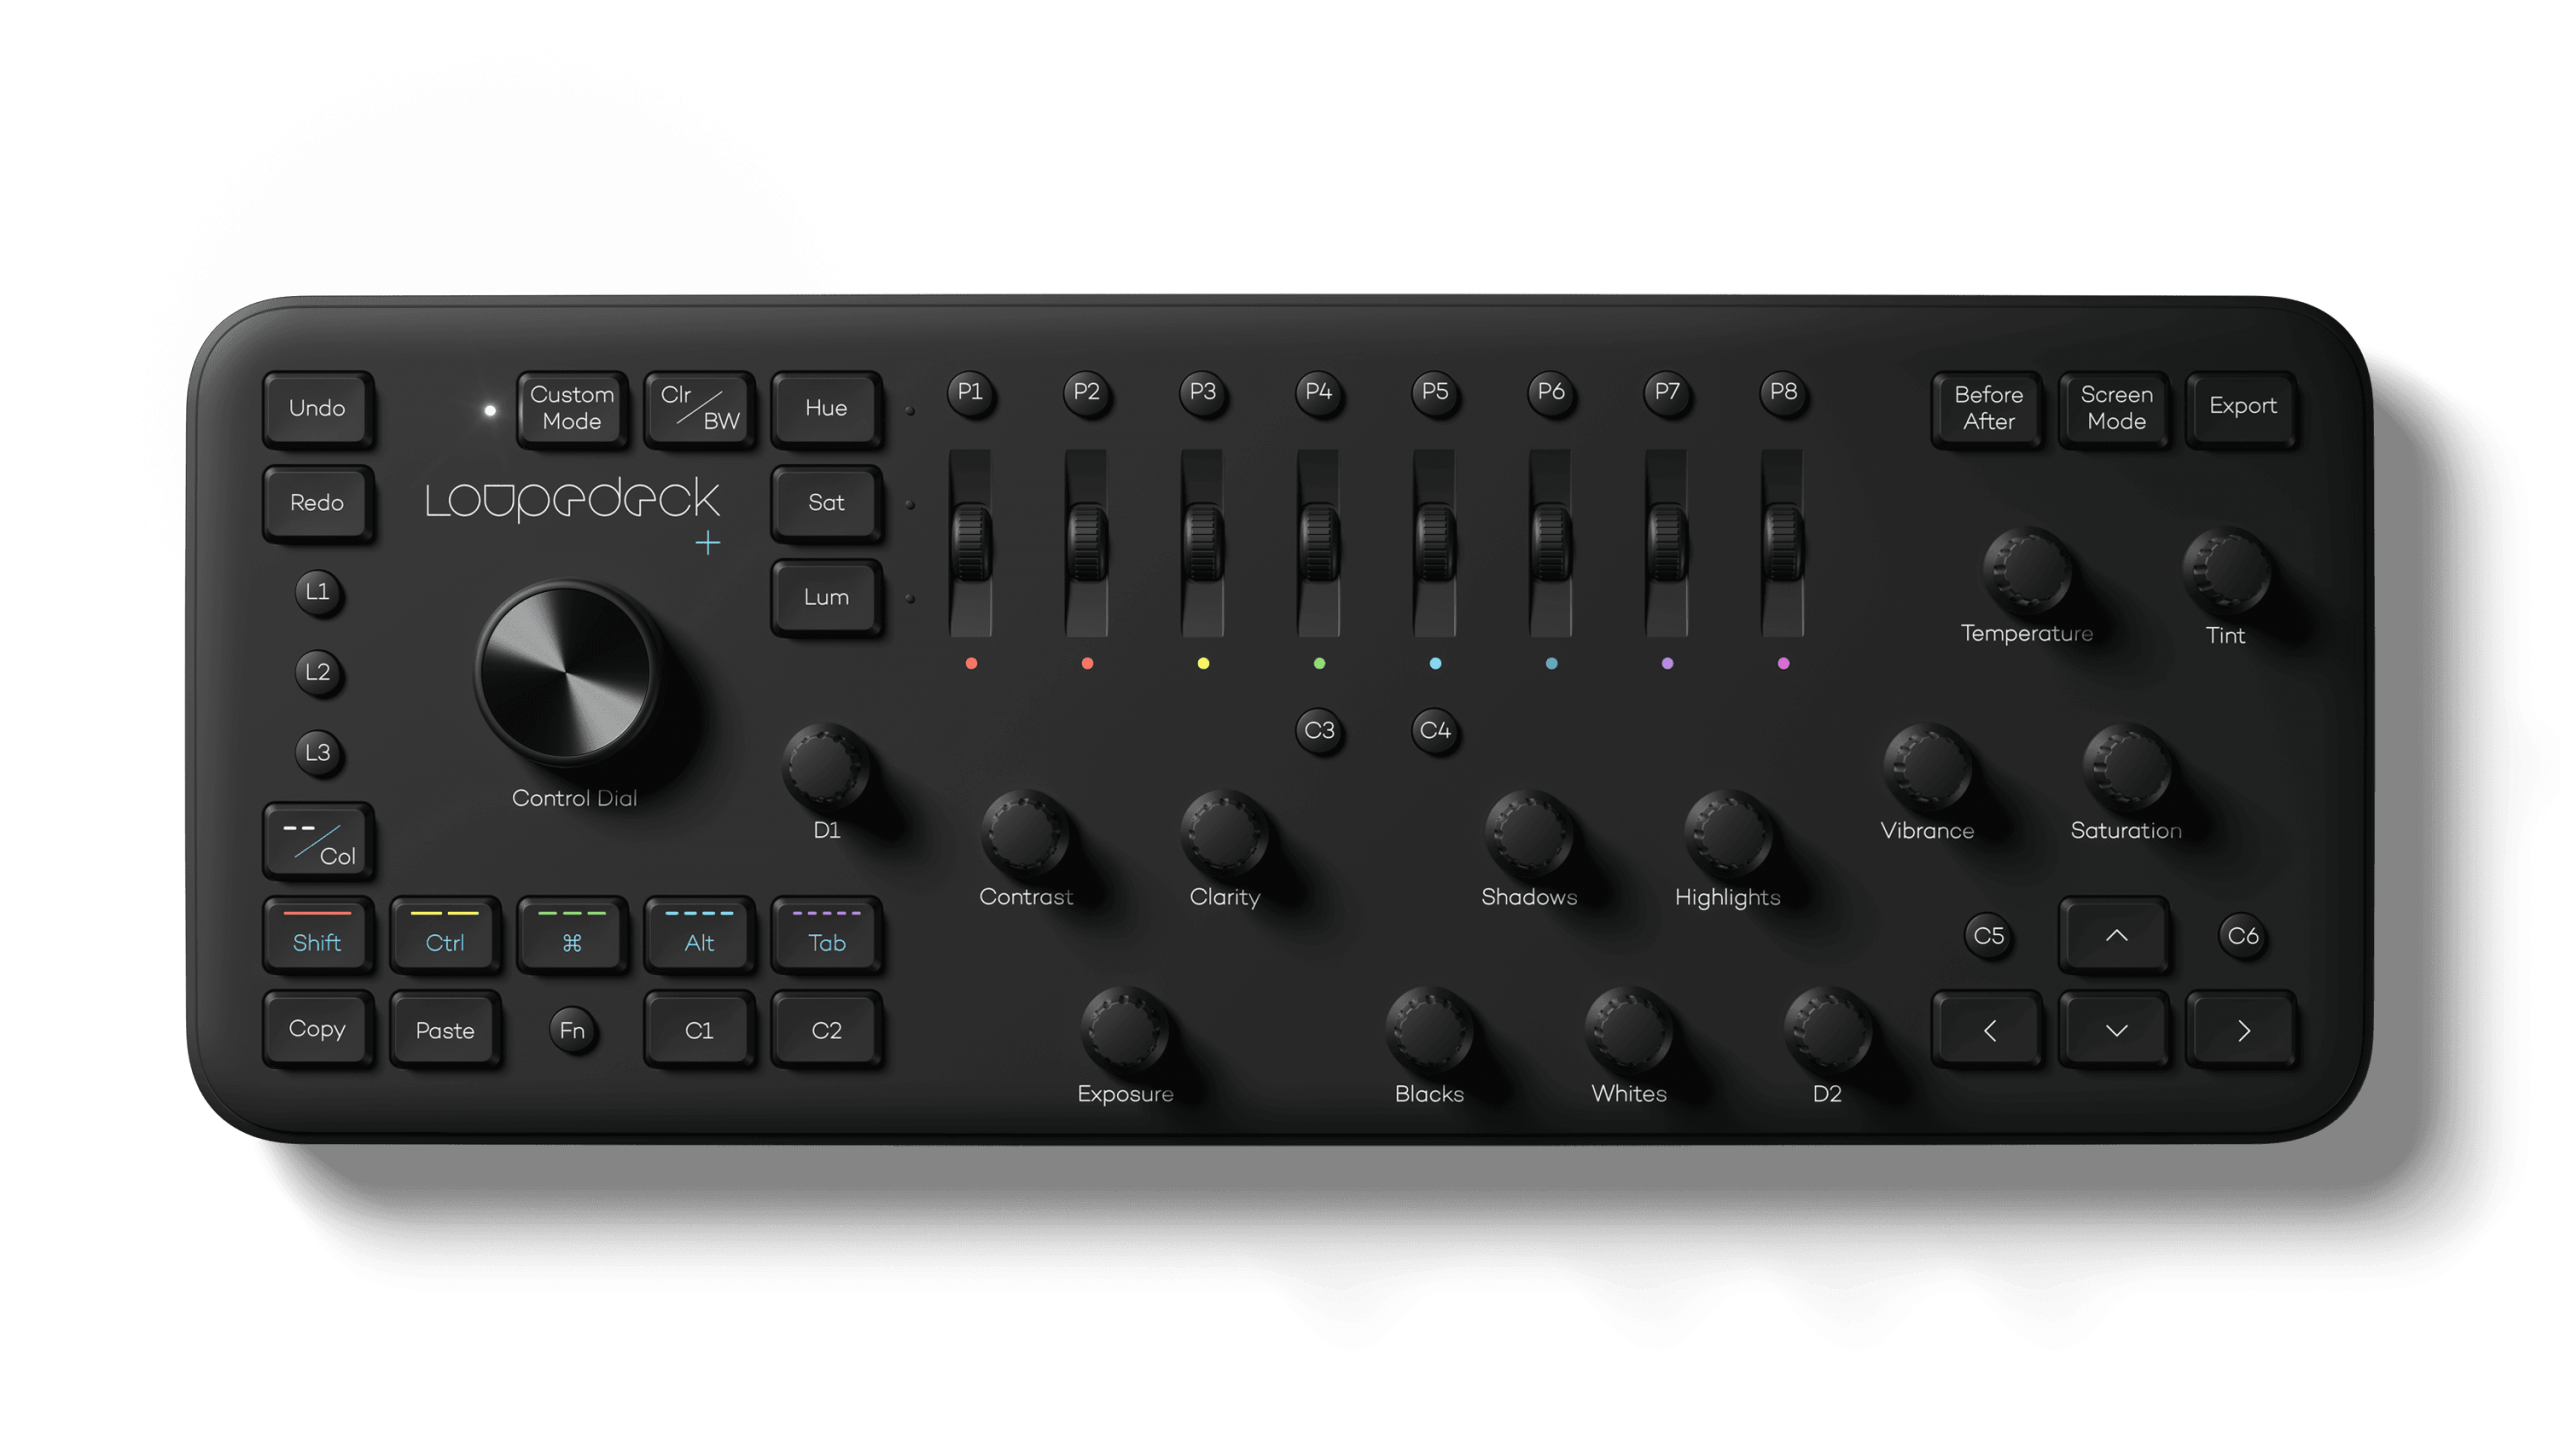
The body of the Loupedeck+ is roughly the same dimensions as an Apple Magic Keyboard with Numeric Keypad, but thicker and about one inch longer and wider. The exterior is constructed of matte black plastic that makes it lighter than I expected. It’s heavier than a Magic Keyboard, but I’ve been using the Logitech Craft and MX Keys keyboards the past couple of months, and it’s lighter than both of those. There are also six rubber pads on the bottom that prevent the Loupedeck+ from slipping on your desk.
The surface of the Loupedeck+ combines an array of rectangular keys that are similar in look and feel to standard keyboard keys, along with smaller circular buttons, dials, and knobs. As much as I’ve loved using the Loupedeck+ overall, I’m not a big fan of the rectangular keys. Compared to a well-constructed keyboard like Logitech’s MX Keys keyboard or Apple’s Magic Keyboard, the keys on the Loupedeck+ are a little unstable and wobbly. It’s not entirely fair to judge the keys against a standard keyboard, though, because the Loupedeck+ isn’t meant for typing. Available keys include modifier, copy, paste, undo, redo, and tool switching keys, which are pressed frequently, but still nothing close to as often as the keys on a standard keyboard.
Still, I prefer the knobs and dials on the Loupedeck+ to its keys. The Control Dial is a large knob that clicks in regular intervals as it is turned. The dials that you slide under your finger have the same clicky feel too. In contrast, the smaller, more numerous knobs rotate smoothly and effortlessly as you edit an image. All three can be pressed, which is reminiscent of clicking a mouse or trackpad. In addition to the physical hardware, the Loupedeck+ makes tasteful use of color and white LED lights to indicate functionality and identify controls that have been activated.
The Loupedeck+ connects using a built-in USB-A cable, which I wish was removable for a couple of reasons. First, if you don’t work with the Loupedeck+ connected to your Mac all the time, you need to find a place to store it and its dangling cable. That isn’t a huge deal, but it looks messy. Second, I’d like the option to plug the Loupedeck+ into a USB-C port using a USB-A to USB-C cable, but I can’t because the attached cable is USB-A. For many Mac users, being limited to USB-A will mean using a USB-A to USB-C dongle to connect the Loupedeck+, which is a shame.
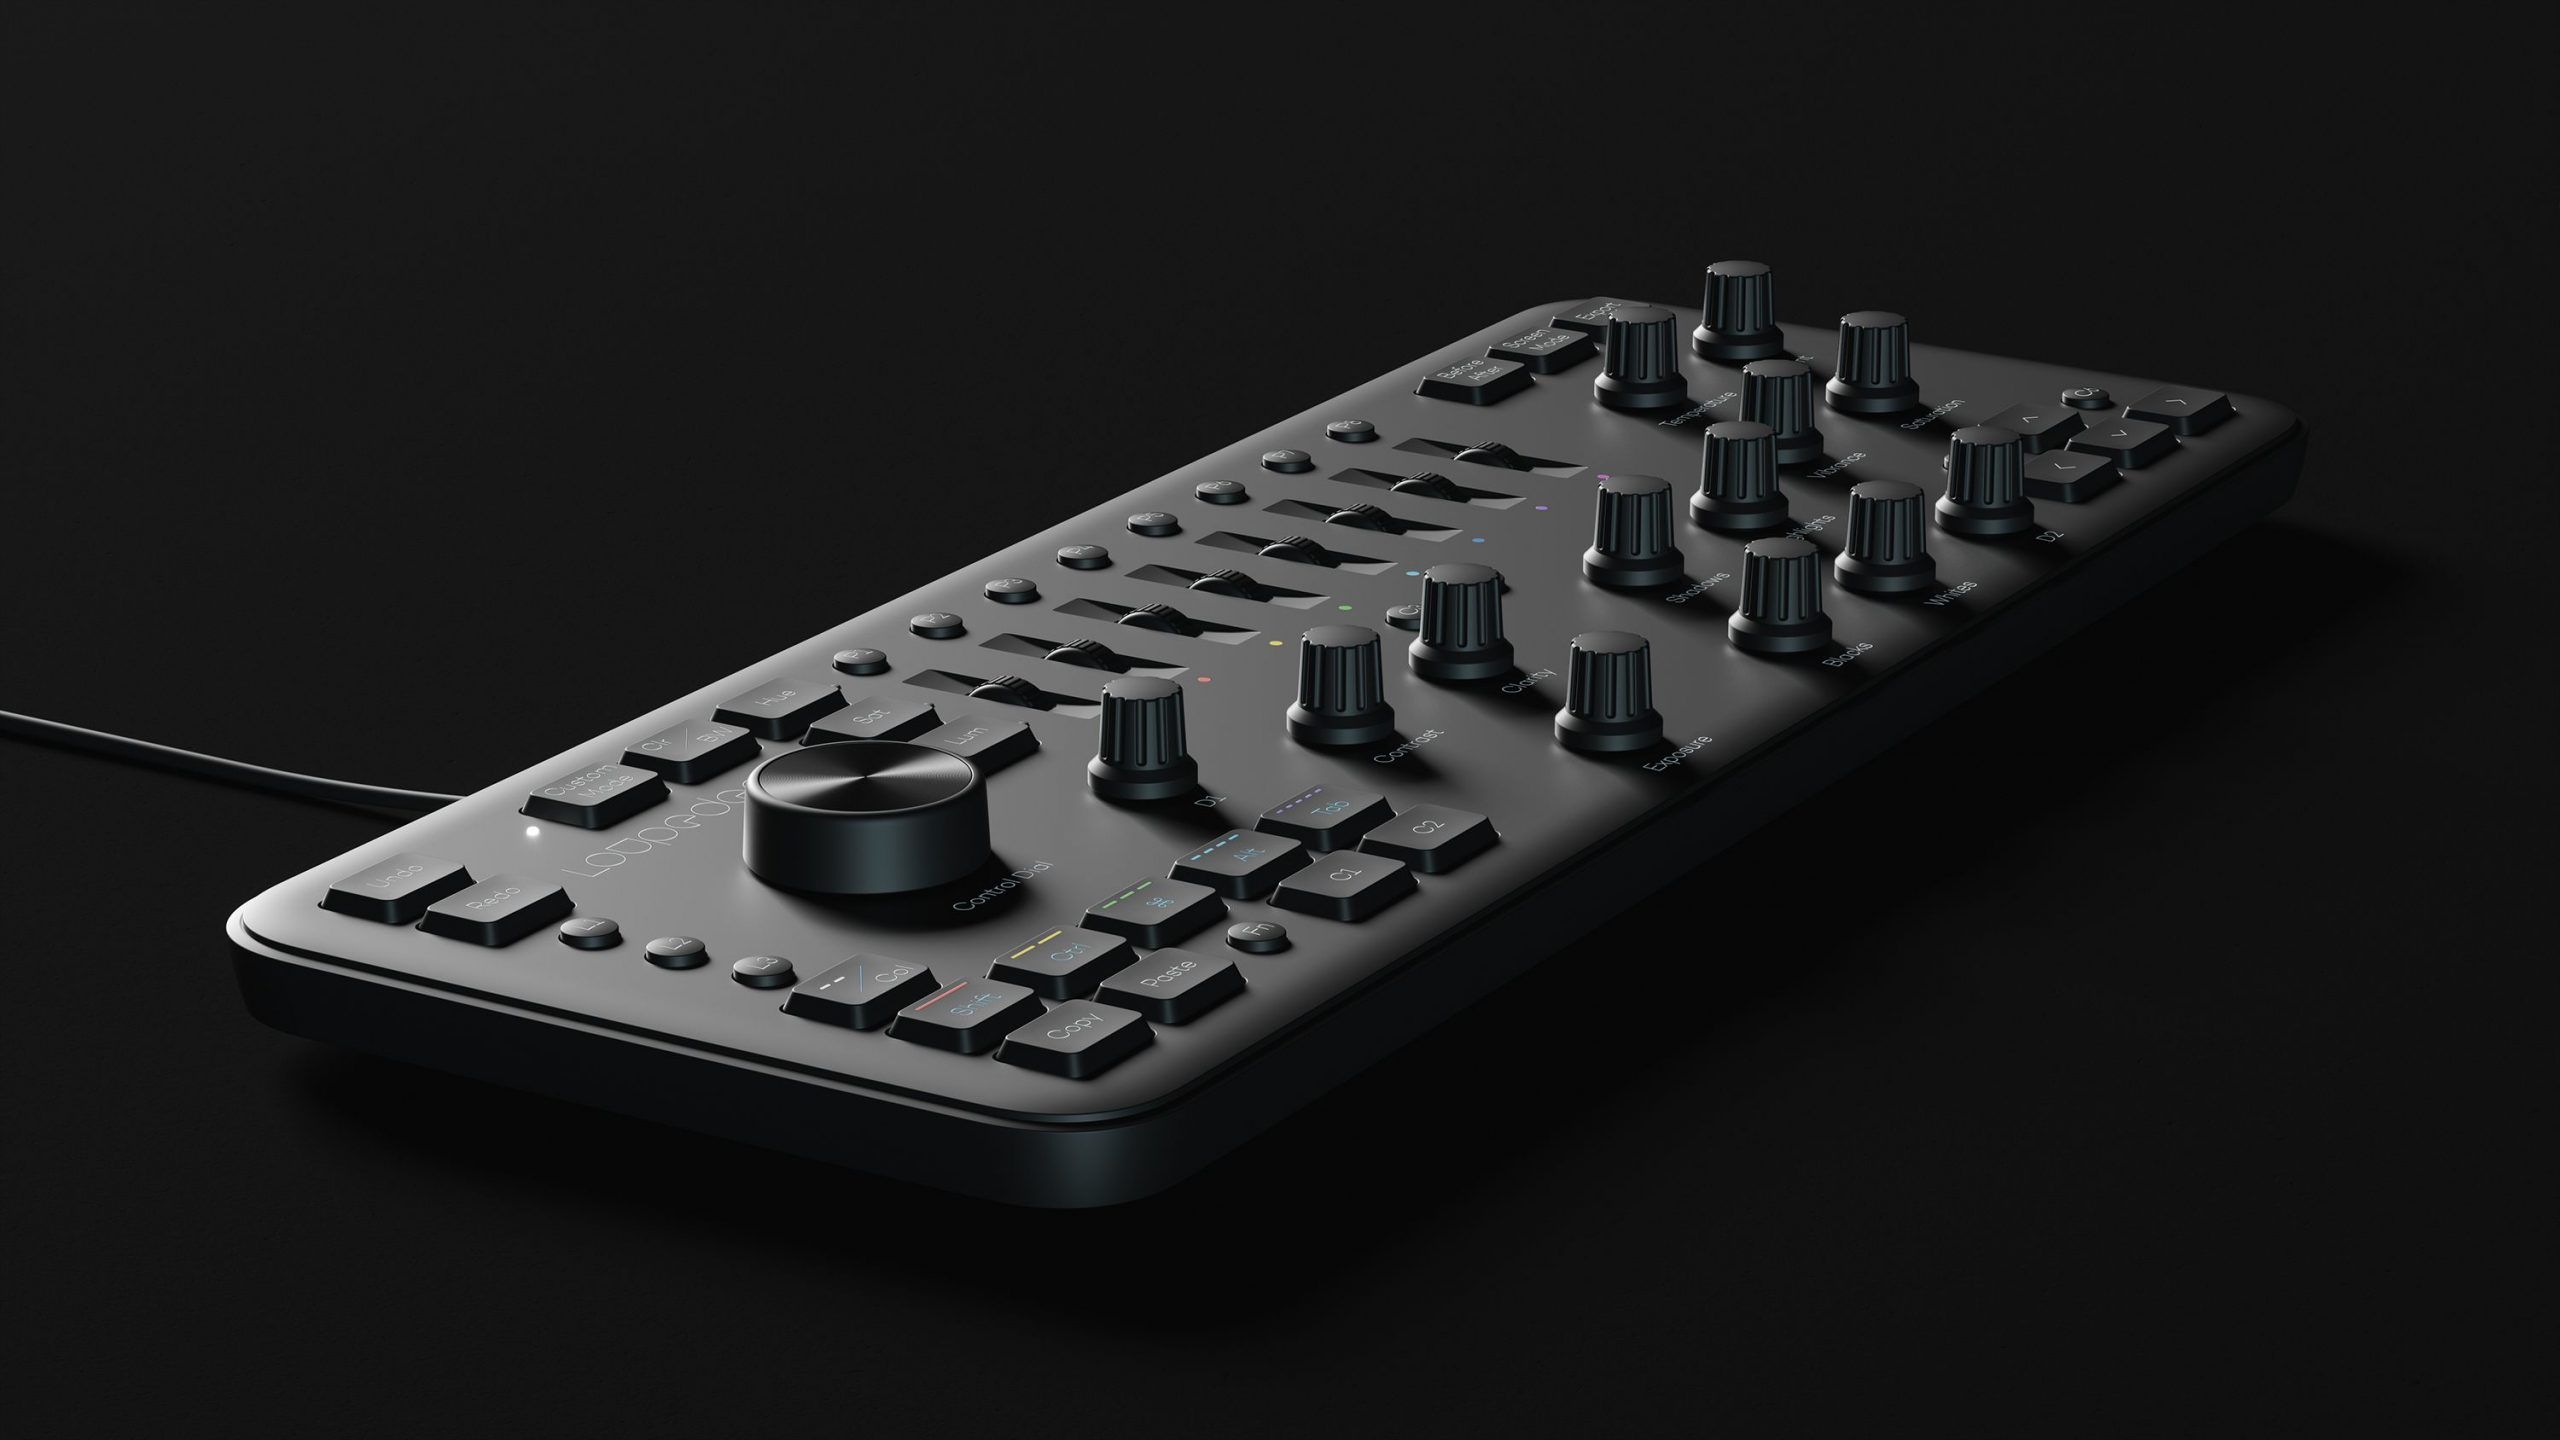
Overall, though, I like the design of the Loupedeck+. It feels sturdy, takes up about the same space as a keyboard, making it fit on any desk as long as you have somewhere to stash your keyboard temporarily, and the soft-touch, smooth plastic surface feels good to use and resists fingerprints well.
Using the Loupedeck+
I rarely edit video, and most of my photo editing consists of product photography for MacStories and personal pictures I take at family gatherings and on trips. I typically use Adobe Lightroom CC on the Mac or an iPad Pro and on the handful of occasions when I’ve had a video project, I’ll use Final Cut Pro X.
I started using Lightroom CC not long after it was introduced. I didn’t have the attachment to Lightroom Classic that many people have or the need for some of its tools that weren’t initially available in the Creative Cloud version. Lightroom CC has caught up to Classic in many ways since then, but in one way it hasn’t: Lightroom CC doesn’t support third-party plug-ins, so it doesn’t work with Loupedeck+, which is too bad. Still, a lot of people continue to use Classic, with which Loupedeck+ does work, and it’s important to note that the Loupedeck+ also supports several other apps, including:
- Photoshop
- Camera RAW
- Lightroom 6.4
- Premier Pro
- After Effects
- Audition
- Final Cut Pro
- Capture One Pro
- Skylum Aurora HDR
For these tests, though, I decided to stick to what I know best: photo editing but with a twist. Because I couldn’t use the Loupedeck+ with Lightroom CC, I downloaded the Classic edition to see not only what the Loupedeck+ can do, but also how it fared in the hands of someone just learning the ropes of a new photo editor.
Controlling Lightroom Classic with the Loupedeck+
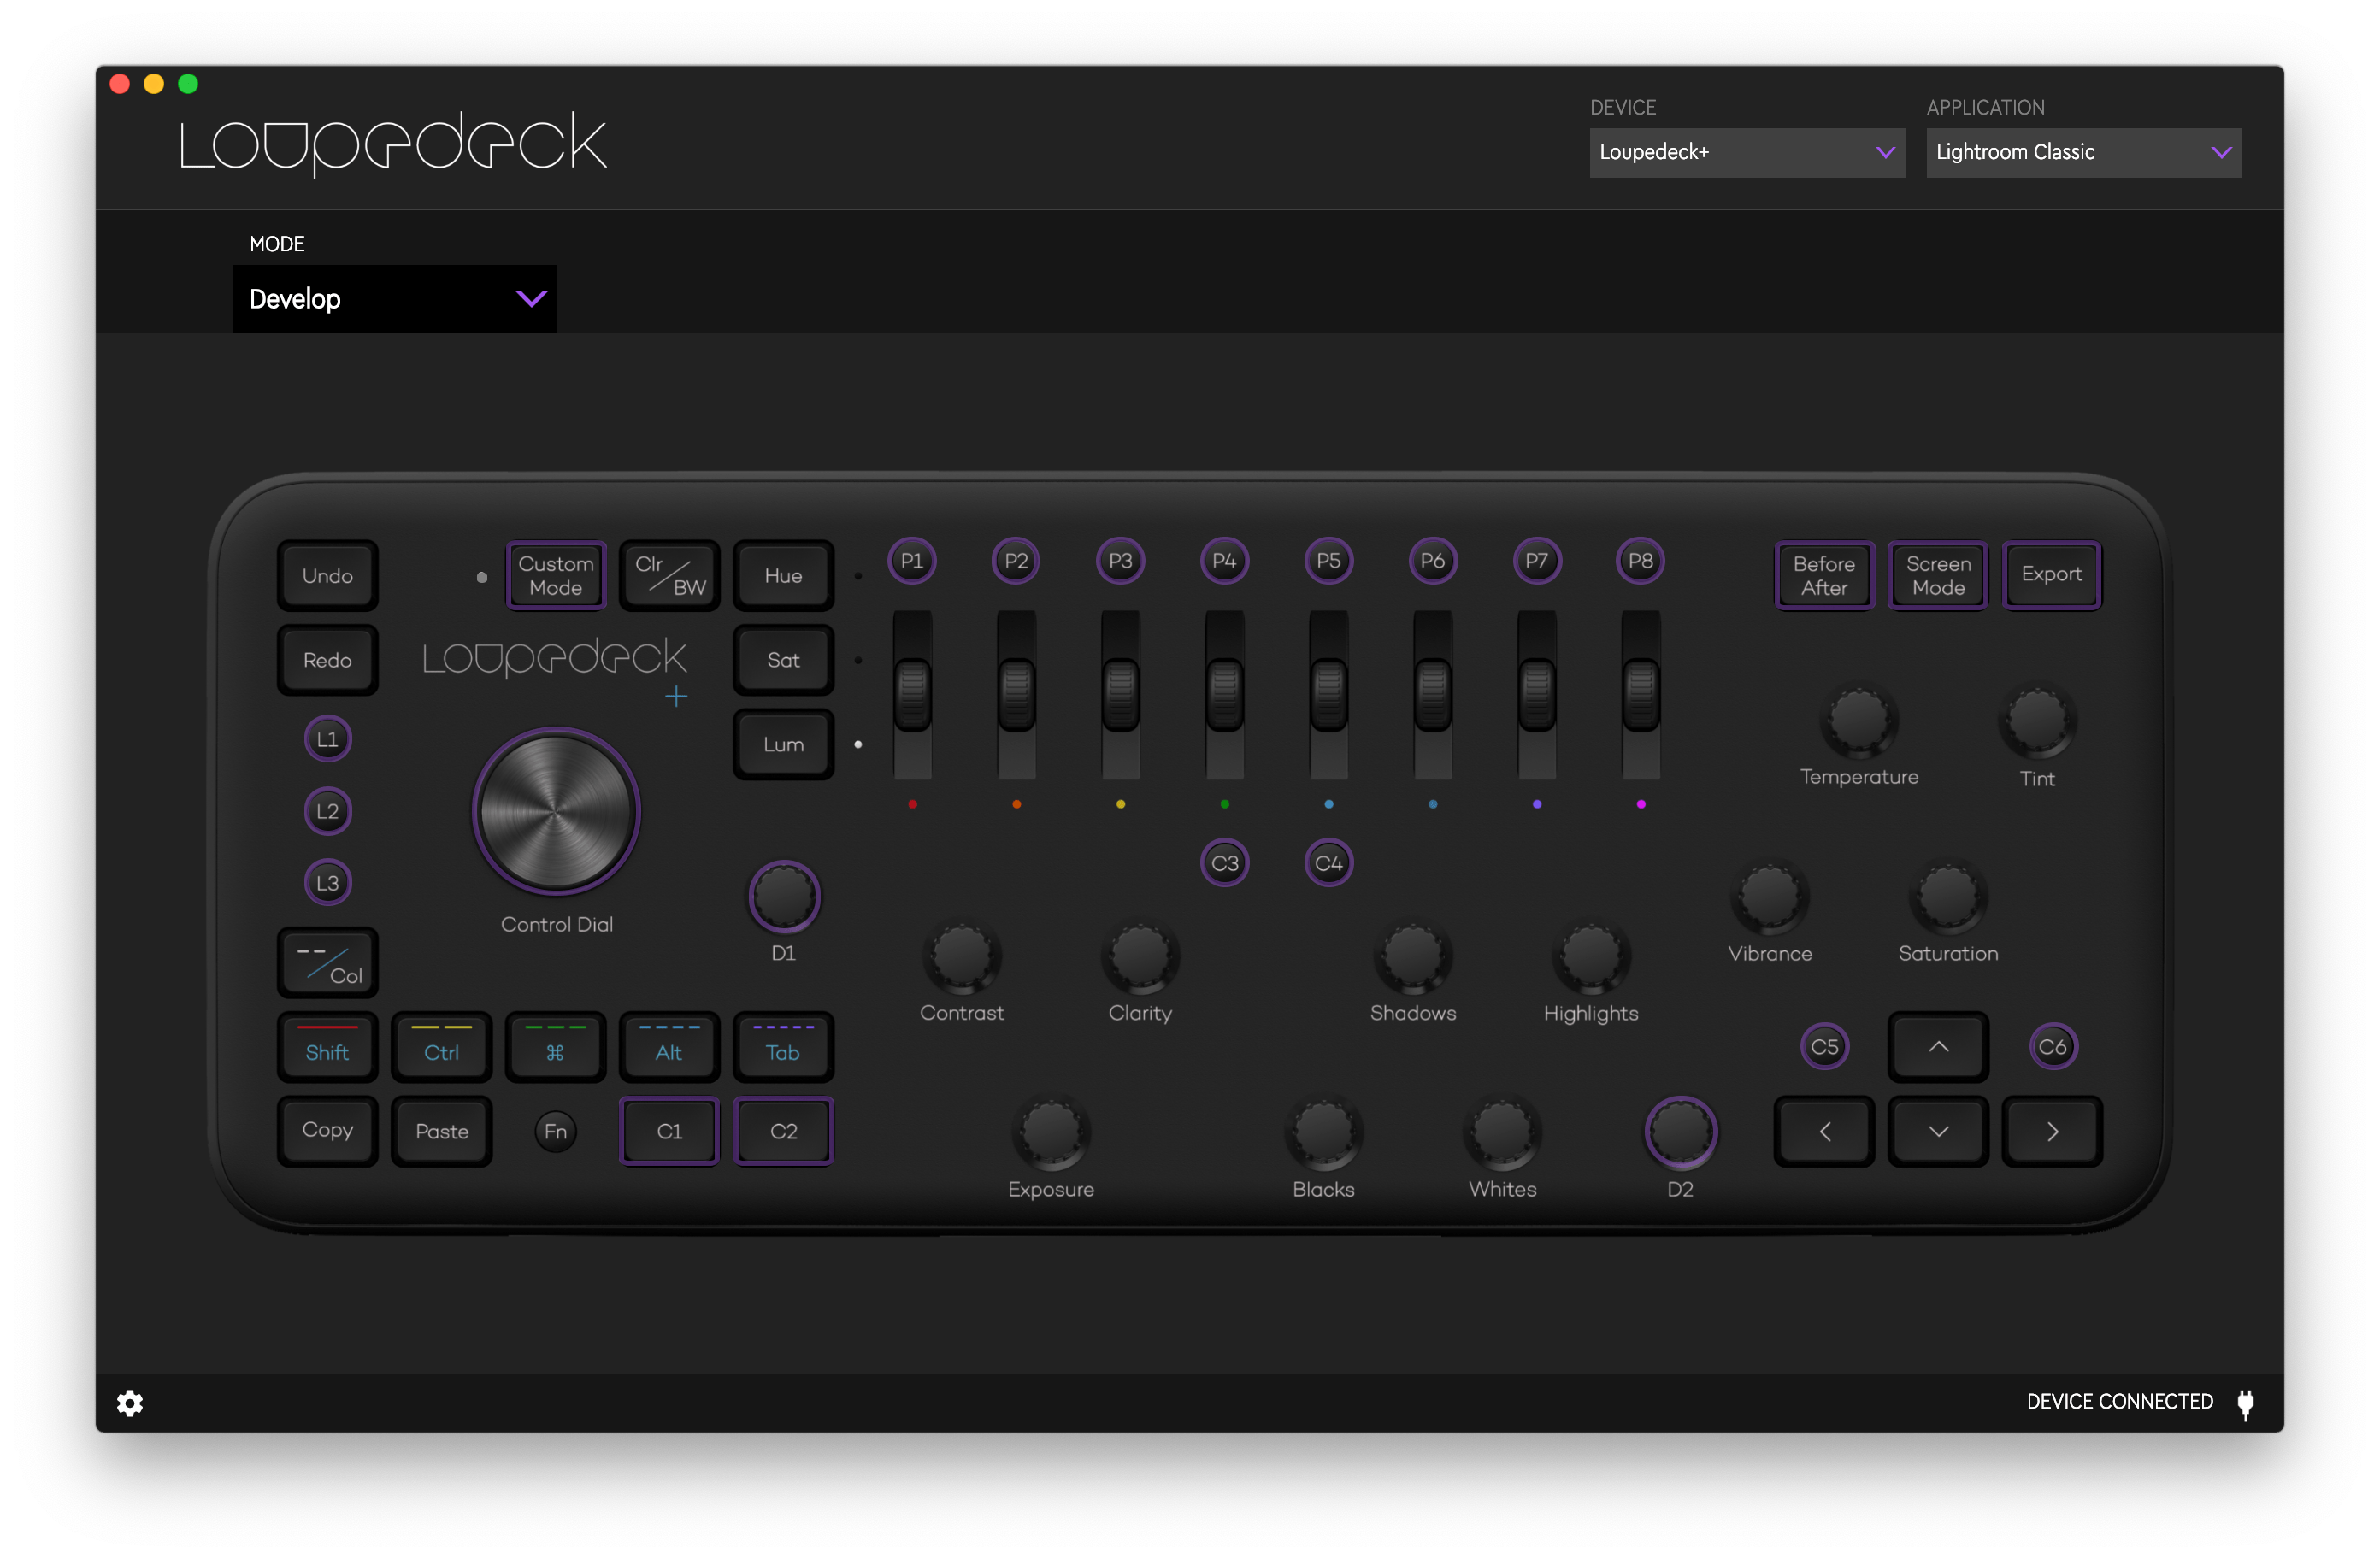
In Lightroom Classic, you can customize most of the Loupedeck+’s controls for the app’s Develop and Library modes.
The Loupedeck+ requires the installation of a helper app on your Mac that sits in the menu bar and looks a little like Pac-Man looking down on you as you work. Once installed and given Accessibility privileges in the Security & Privacy section of System Preferences, the Loupedeck+ can interact with Lightroom Classic and the other apps mentioned above as soon as it’s plugged in via its USB-A cable.
The most visually dominant feature of the Loupedeck+ is its Control Dial, which sits on the left side of the device surrounded by buttons. The Control Dial can be used for navigating among photos in Library mode, and in Develop mode the app enters cropping mode when the Control Dial is turned, allowing you to straighten a shot.
The smaller D1 knob next to the Control Dial allows you to zoom your crop frame in and out. Pressing on the Control Dial commits the change, though you can always undo the change with the dedicated Undo button in the top right-hand corner of the Loupedeck+, beneath which is a Redo button. Positioning these keys where you’d normally reach for the Escape key on a standard keyboard makes using Undo/Redo on the Loupedeck+ feel perfectly natural.
Below the Control Dial are modifier keys: Shift, Control, Command, Alt, and Tab, which are activated in combination with the Fn button. Those keys double as rating keys that are color-coded with dashes above each modifier symbol to show that you can use them in Lightroom’s Develop mode to rate images from 1-5. Tapping a rating key a second time toggles the photo back to unrated. Combined with the inverted ‘T’ of arrow keys on the right side of the Loupedeck+, which allow you to navigate between photos, you can quickly rate large collections of images. Also, pressing the –/Col button switches the modifier keys from rating images to assigning color labels to them.
Below those buttons are keys to copy and paste photo adjustments from one picture to another and C1 and C2 buttons for setting images as picks or rejects. The Fn button provides each of these buttons with secondary functionality too.
Where the Loupedeck+ really shines, though, is when you get to the series of smaller knobs that dominate the lower center portion of the device. Here you’ll find knobs to adjust:
- Contrast
- Exposure
- Clarity
- Blacks
- Shadows
- Whites
- Highlights
- Vibrance
- Temperature
- Saturation
- Tint
Each of these knobs corresponds with a slider you’ll find in the right-hand sidebar of Lightroom Classic. In fact, as you twist them, you’ll see the sliders and associated values change. If a set of tools is collapsed, so it’s out of view, twisting the knob also opens it up to reveal the tool being used. If you go too far and want to reset a value to where you started, all you have to do is press the knob, and the value is reset.
What I love about these knobs is how tactile they make the process of editing. It’s much closer to how it feels to work on an iPad with an Apple Pencil. There’s still a level of abstraction and disconnect between the image on the screen and your hands, but less so than using a trackpad or mouse. The knobs also allow for a level of precision that can be hard to achieve with a trackpad or mouse, which usually takes longer too.
Speed is at the core of a lot of what the Loupedeck+ is about. Making exact adjustments swiftly and error-free is far easier when twisting the device’s knobs. It also allows you to work with your eyes locked on the image you are editing. There’s no need to look back and forth to make sure your pointer is grabbing the tiny slider handle.
In fact, after using the Loupedeck+ for a while, I used its Screen Mode button to open an image fullscreen, hiding Lightroom’s panels and other chrome. I was still able to edit using the Loupedeck+’s controls, creating the sort of distraction-free photo editing workflow that is so common when it comes to text editors. The only downside was that even on my 2018 6-core i7 Mac mini, the experience was laggier than I would have liked, and it wasn’t long before the mini’s fans spun up to a noticeable level. Fullscreen editing on a 4K display requires substantial horsepower that the mini simply can’t provide with its integrated graphics.
The top of the middle section of the Loupedeck+ is dominated by a series of eight dials capped with small round buttons labeled P1-P8. The dials are for adjusting individual colors in a photo. The color assigned to each is identified by a dot below the dial. To switch between Hue, Saturation, and Luminance for each color dial, simply press the appropriate button to the left of the dials. As with the knobs, pressing the dial reverts the change you made. The P1-P8 buttons are assigned to filter presets, which with the Fn button gives you quick access to a total of 16 presets.
There is a lot more functionality built into the Loupedeck+. There’s a button for toggling black and white mode, activating the before and after view for an image, opening the Export window, and more. Most of the device’s controls can also be customized using the Mac setup app to adjust the Loupedeck+ to exactly how you work.
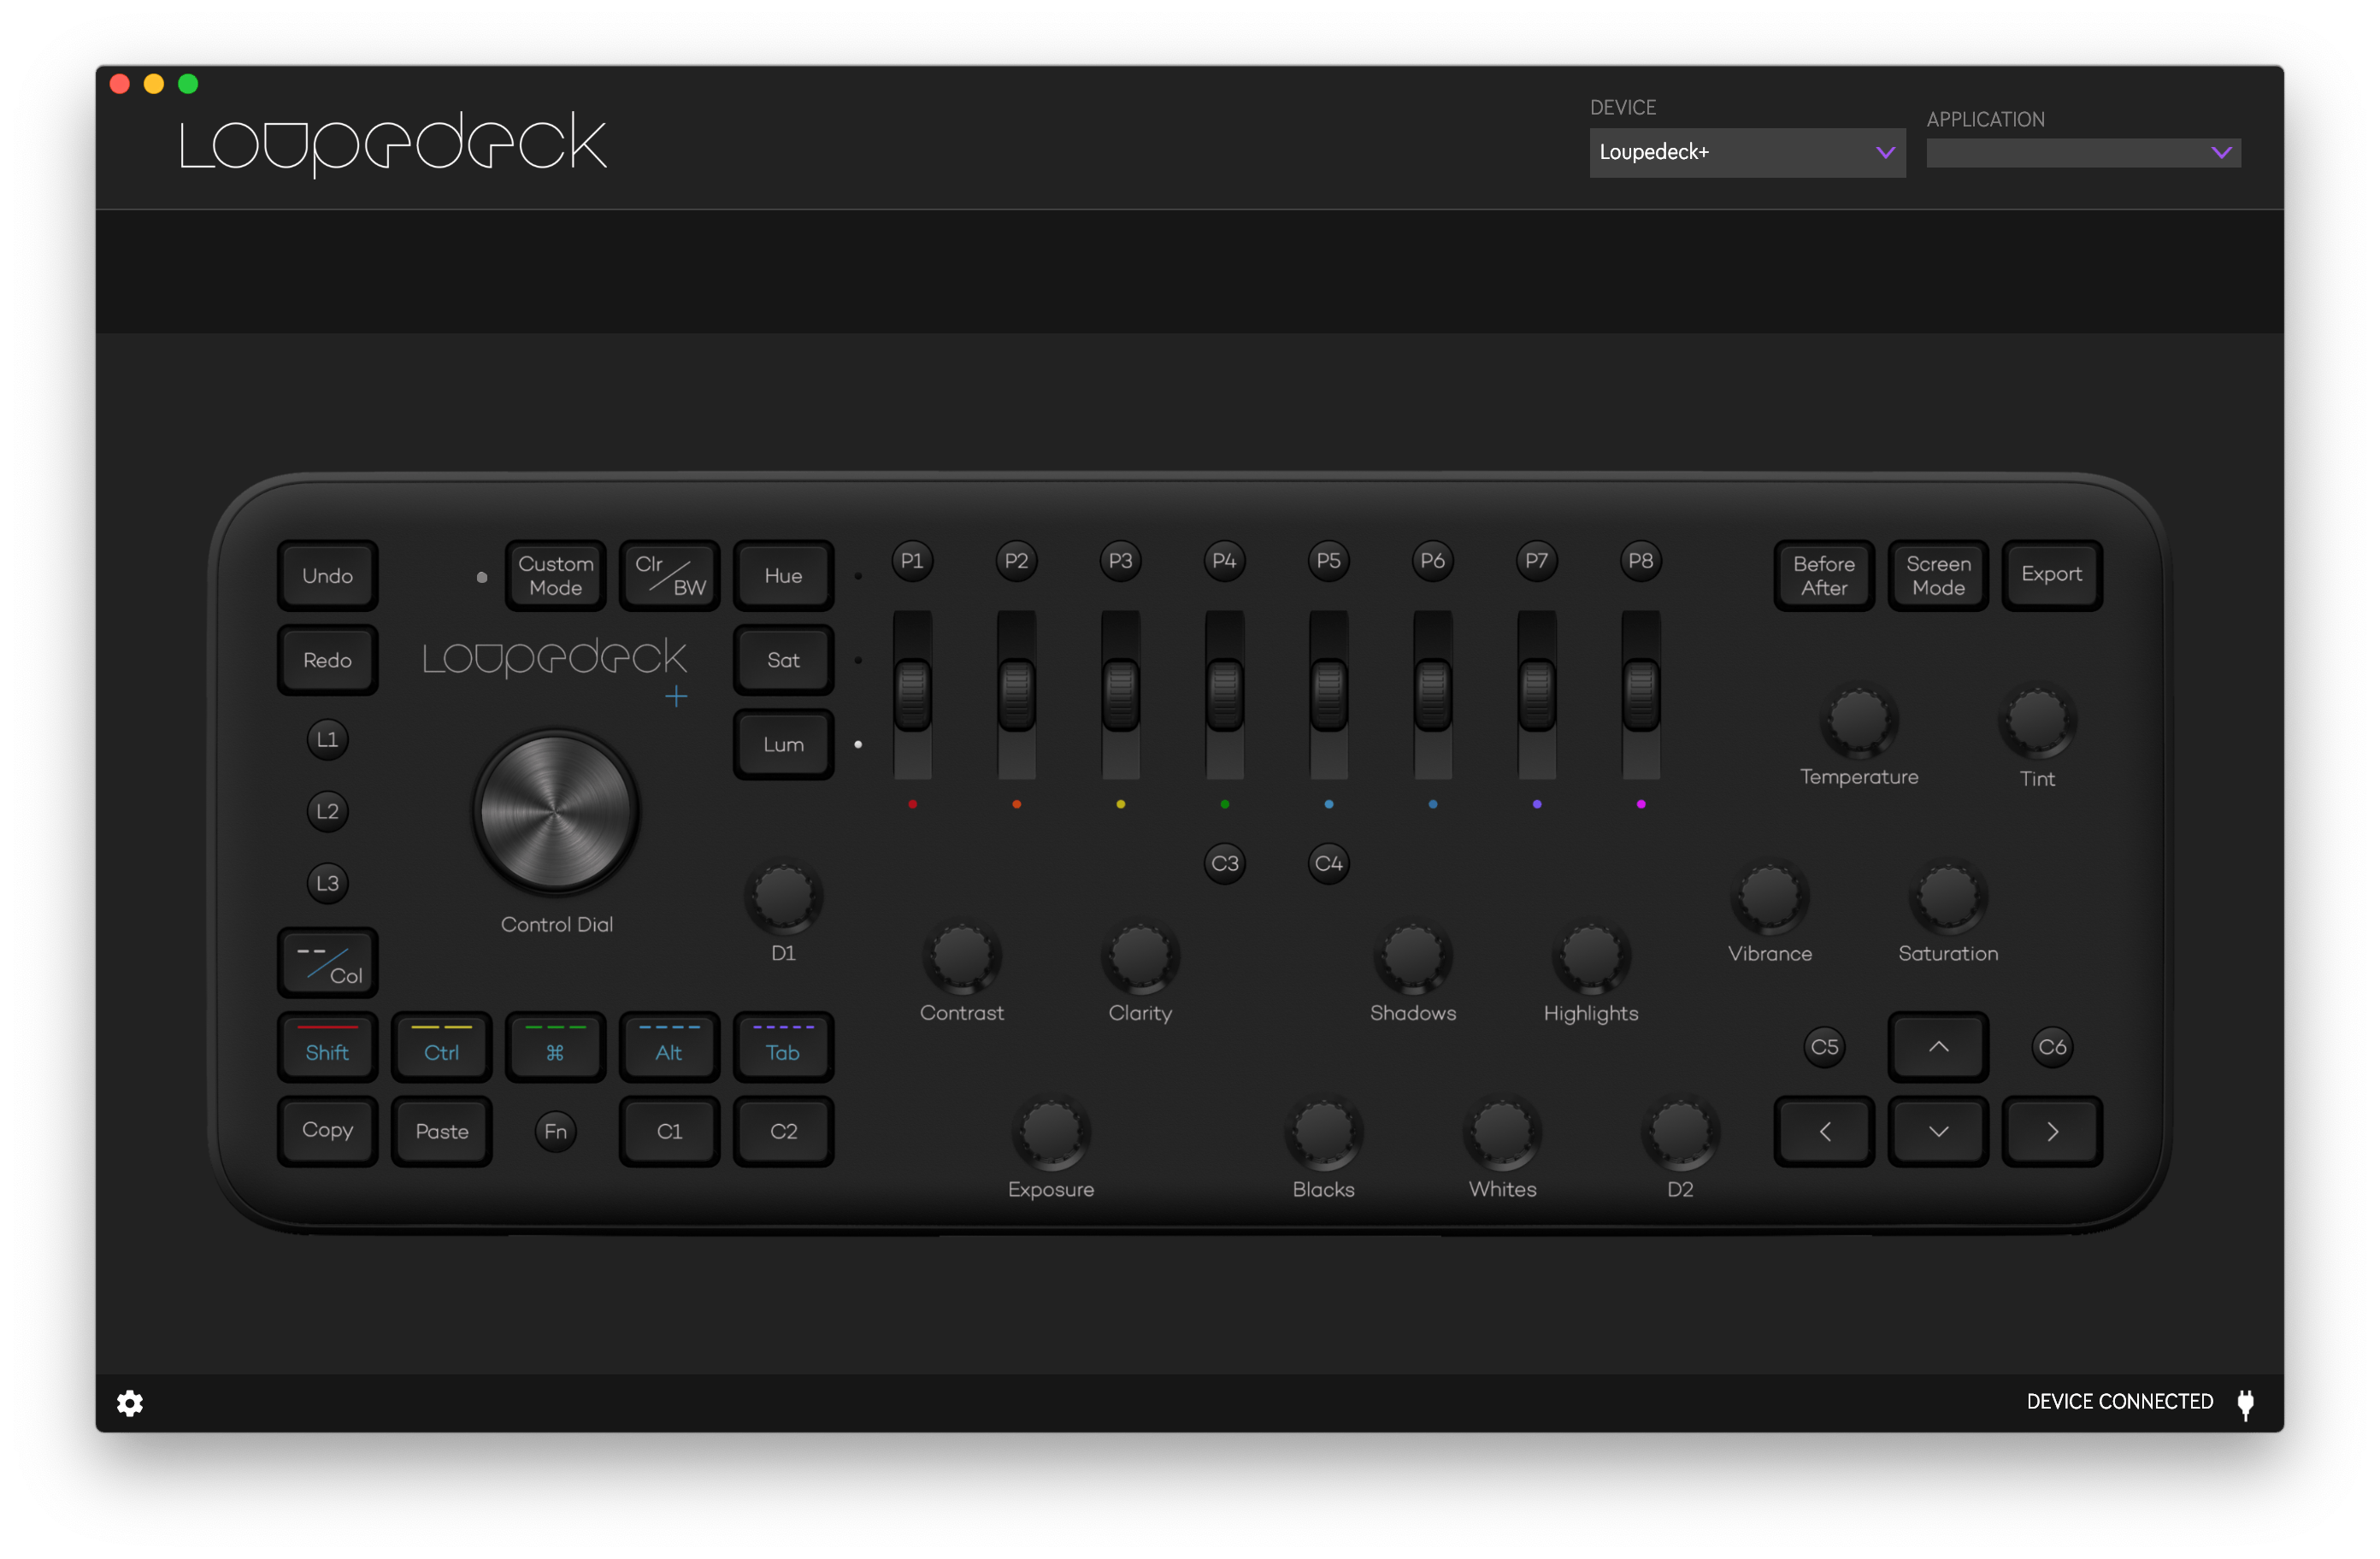
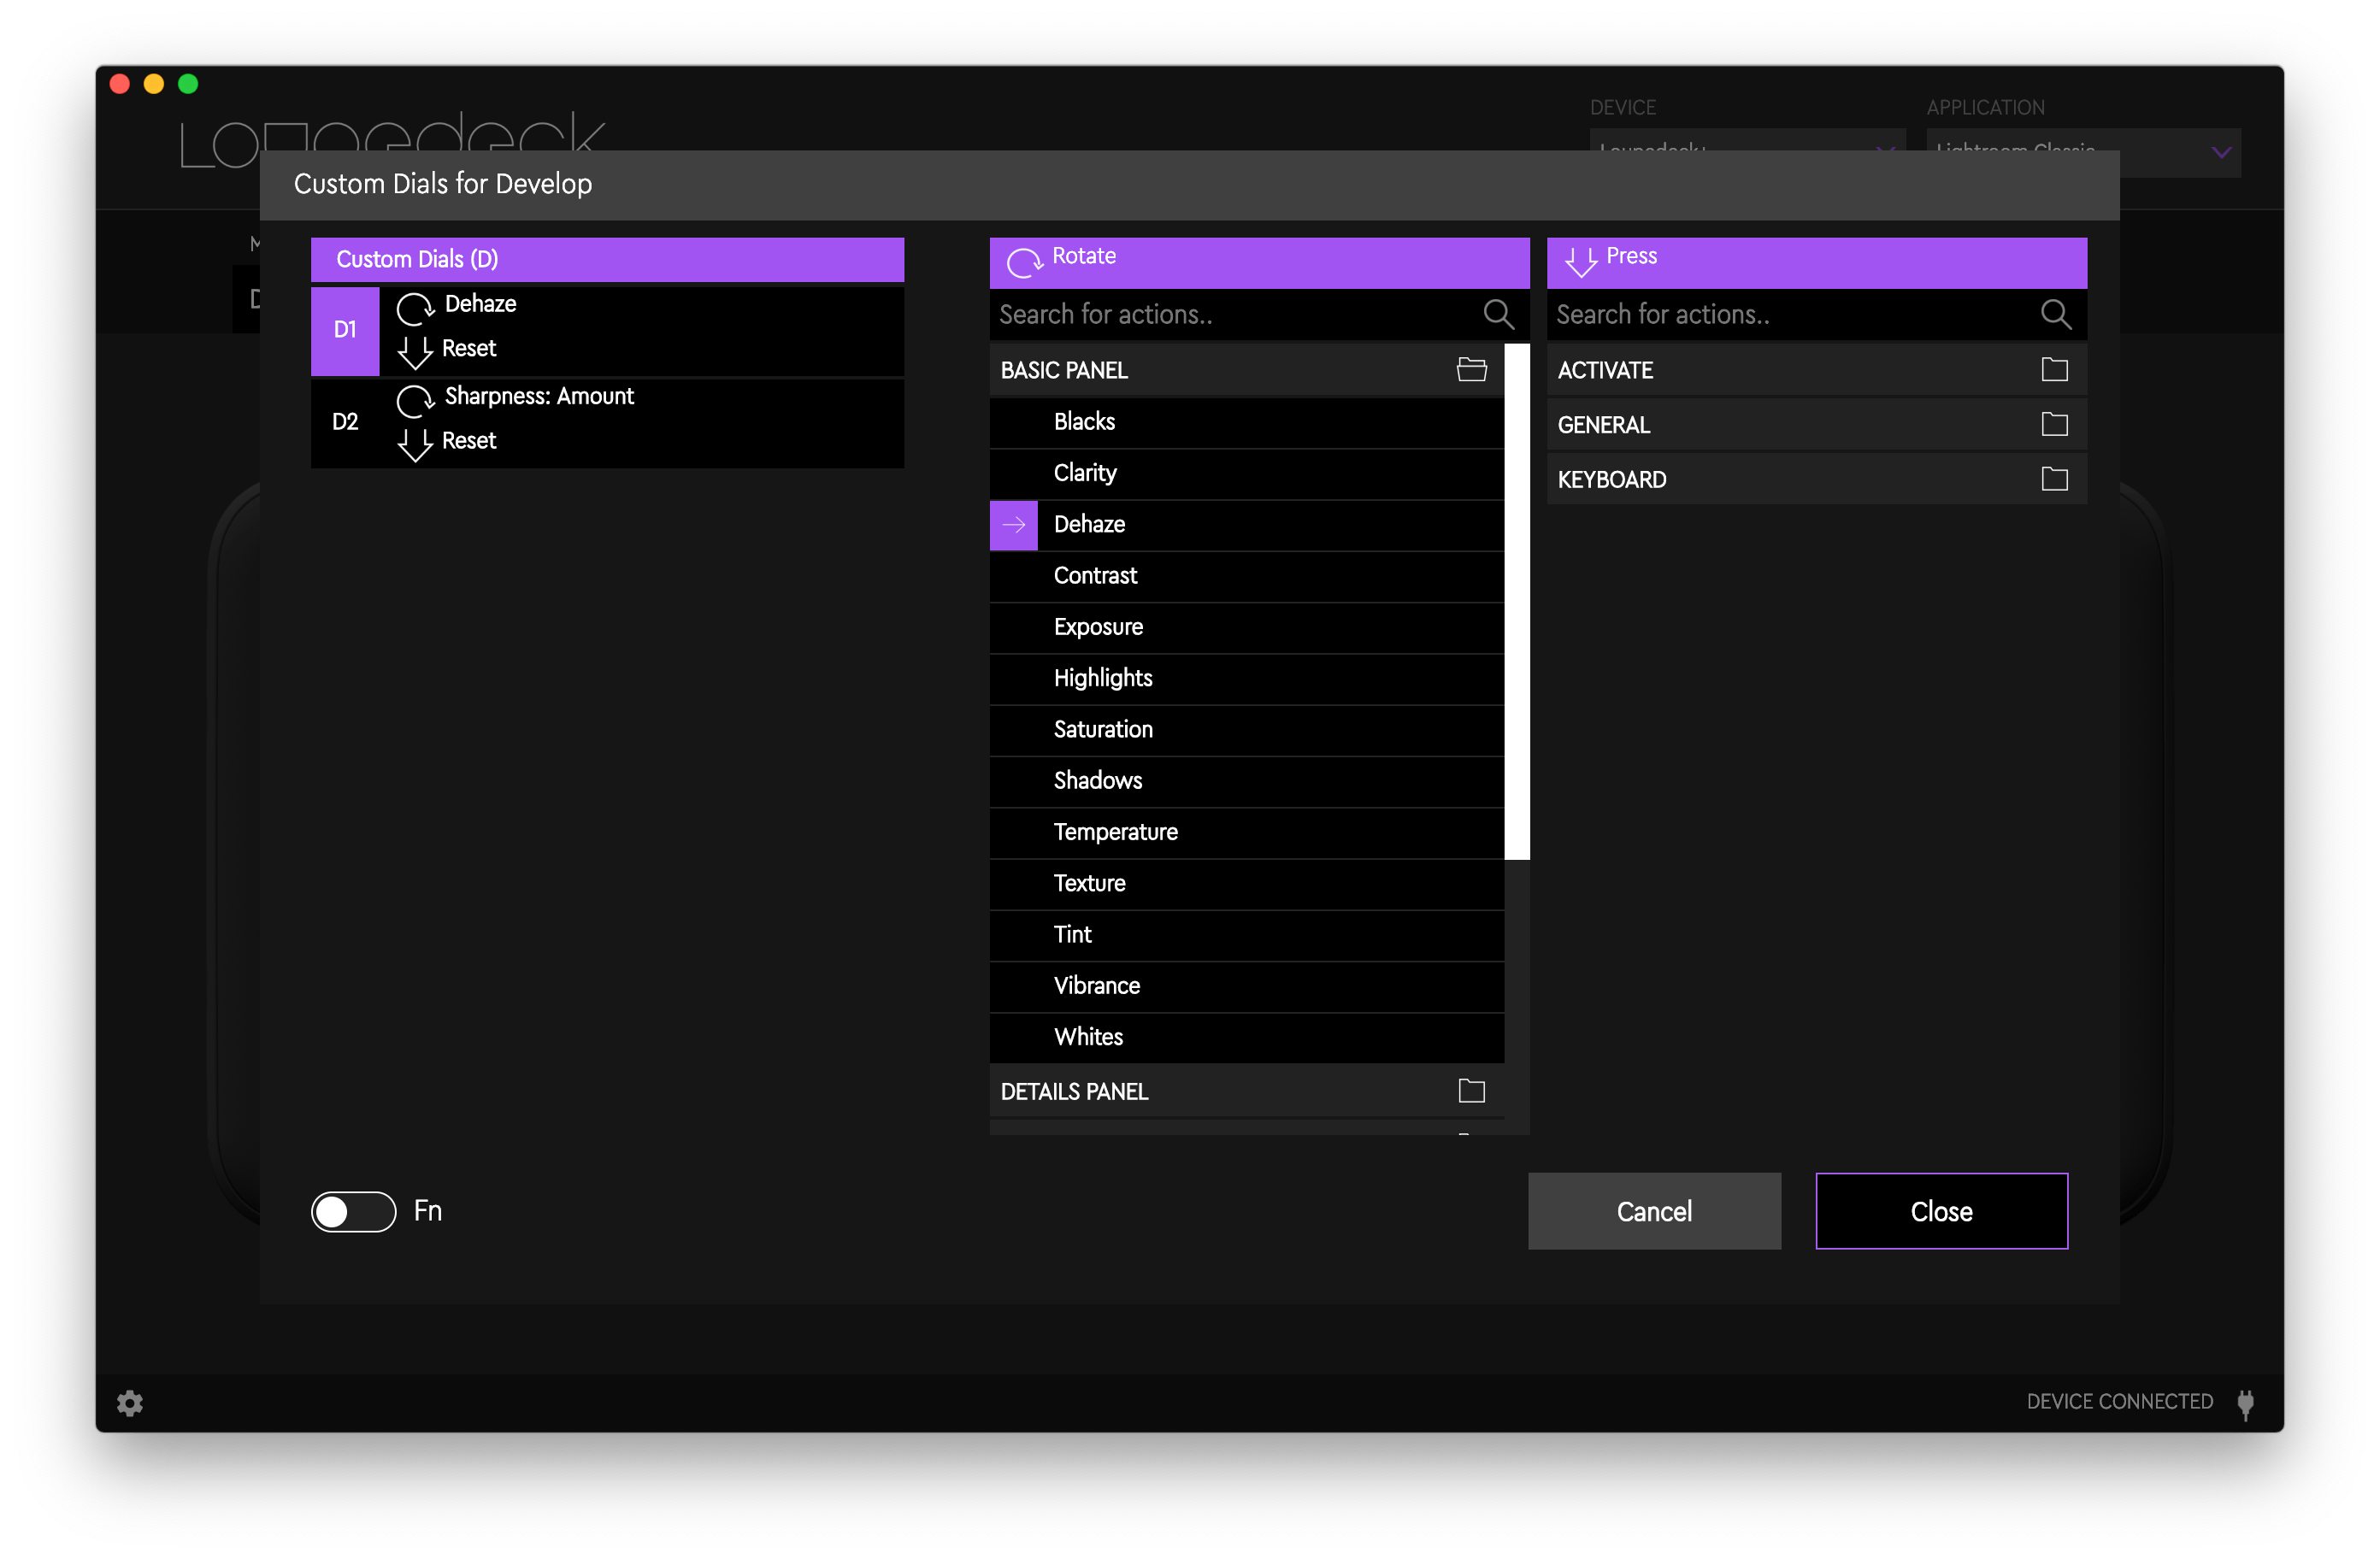
The Applications dropdown and other customizations don’t appear in the Loupedeck+ setup app until you engage the Custom Mode button on the device.
One quibble I have with the Loupedeck+ setup software, though, is that the options to customize its hardware only appear if you first press the Custom Mode button on the device. If you open the app without doing that, you won’t see any of the supported apps in the Applications dropdown or the supported modes. Once you’ve figured that out, however, switching between the modes that can be customized and applying custom actions to the Loupedeck+’s controls is straightforward.
The setup app is the device’s weakest link. I don’t know how it was developed, but the app behaves like a thin wrapper around a web app. That makes the app feel out of place and cheap on the Mac, which is in stark contrast to the hardware that’s obviously been built with care for a professional audience. Supporting multiple operating systems isn’t easy, but this is nonetheless disappointing for a product that has otherwise paid such close attention to the details. Fortunately, you don’t have to use the setup app very often.
The extensive use of modifier keys and customization allows for a level of flexibility that enables the Loupedeck+ to adapt to any user’s needs. As a newcomer to Lightroom Classic and someone with fairly simple photo editing needs, I was perfectly content to work with the default set of features built into the Loupedeck+. It’s great to know, however, that the power to access even deeper functionality is available.
It’s worth recalling that I’ve only covered how the Loupedeck+ works with Lightroom Classic. The device works with all the other apps I listed above too, making it an incredibly versatile tool for anyone working in a creative field with images, video, or, to a lesser extent, audio. Coupled with the speed with which I was able to edit images, I expect that the Loupedeck+ would be attractive to a lot of professionals.
I was surprised by how quickly the Loupedeck+ helped me learn Lightroom Classic. Beginners trying Lightroom, Photoshop, or one of the other supported apps for the first time may balk at the Loupedeck+’s $250 price tag, but serious hobbyists and people starting out in a creative field should consider it. Not only was the Loupedeck+ hardware intuitive and easy to use, but the more direct manipulation of images that it allowed eliminated the frustration of hunting for the tools I wanted in an unfamiliar UI.
The Loupedeck+ made exploring Lightroom Classic’s UI fun and intuitive. For example, instead of hunting for the saturation slider in Classic’s sidebar, I just twisted the saturation knob on the Loupedeck+. That section of Classic’s sidebar happened to be collapsed, but as soon as I adjusted saturation on the Loupedeck+, it opened in Classic, and I could see my experimentation play out in the image I was editing and with the sliders in the app’s sidebar. The low barrier to entry using the Loupedeck+ with Lightroom Classic combined with the visual feedback provided an immediate feedback loop that accelerated the learning process substantially.
It’s worth noting that since I began my testing of the Loupedeck+, Loupedeck released the Loupedeck CT, a more compact version that combines LED screens with some of its buttons and knobs to create an even more flexible and portable keyboard for editing images and sound. I haven’t tried the CT, and it looks like an interesting option, but at $549 it’s more than double the price of the Loupedeck+. The Loupedeck+ is not cheap either, but if you edit thousands of photos every week for a living or are looking to jump-start your way into complex image, video, and audio apps, it’s an investment that will save you valuable time.
There isn’t anything the Loupedeck+ does that can’t be done in more traditional ways with a standard keyboard, pointing device, and keyboard shortcuts. However, that isn’t the point. What the Loupedeck+ offers users is a better way of accomplishing those tasks. A way that is faster, more intuitive, and frankly, more fun than dragging sliders with a cursor. The Loupedeck+ is the sort of purpose-built accessory that is a fantastic addition for anyone who uses apps for which it’s built.
I’ve only scratched the surface of what the Loupedeck+ can accomplish with Lightroom Classic. Loupedeck’s own manual for the app runs for nearly 30 pages. When you consider the other apps the device supports, the depth and breadth of ways the device can be used are immense. Especially if you use more than one of the apps supported or are looking for a good way to get started with them, the Loupedeck+ is an accessory worth considering.
The Loupedeck+ can be purchased directly from Loupedeck for $249.