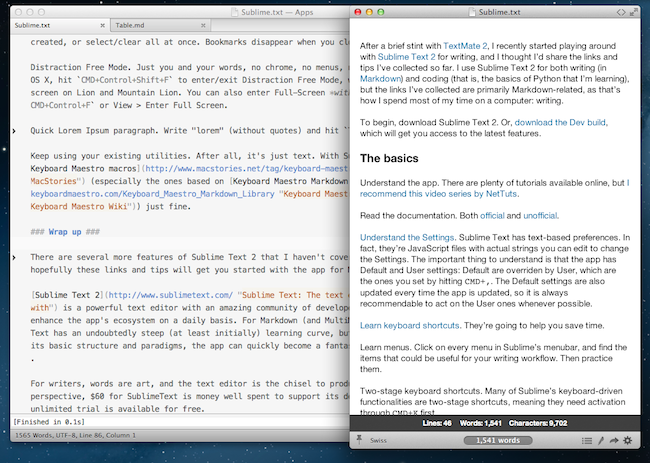
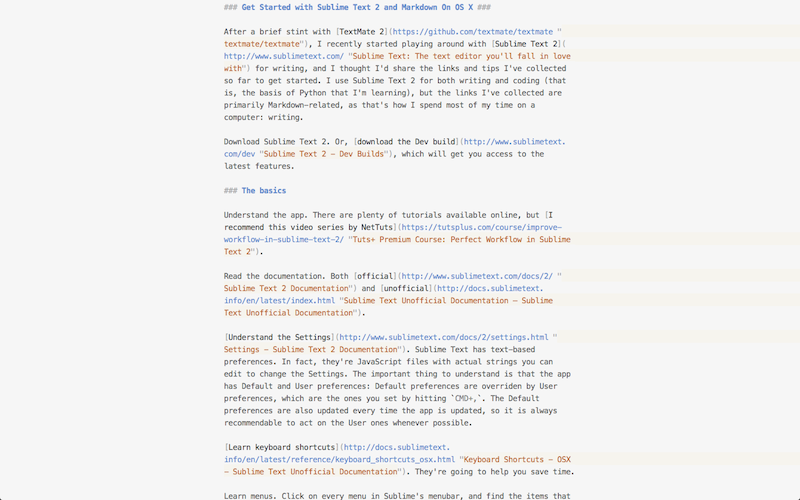
After a brief stint with TextMate 2, I recently started playing around with Sublime Text 2 for writing, and I thought I’d share the links and tips I’ve collected so far. I use Sublime Text 2 for both writing (in Markdown) and coding (that is, the basics of Python that I’m learning), but the links I’ve collected are primarily Markdown-related, as that’s how I spend most of my time on a computer: writing.
To begin, download Sublime Text 2. Or, download the Dev build, which will get you access to the latest features.
The basics
Understand the app. There are plenty of tutorials available online, but I recommend this video series by NetTuts.
Read the documentation. Both official and unofficial.
Understand the Settings. Sublime Text has text-based preferences. In fact, they’re JSON files with actual strings you can edit to change the Settings. The important thing to understand is that the app has Default and User settings: Default are overriden by User, which are the ones you set by hitting CMD+,. The Default settings are also updated every time the app is updated, so it is always recommendable to act on the User ones whenever possible.
Learn keyboard shortcuts. They’re going to help you save time.
Learn menus. Click on every menu in Sublime’s menubar, and find the items that could be useful for your writing workflow. Then practice them.
Two-stage keyboard shortcuts. Many of Sublime’s keyboard-driven functionalities are two-stage shortcuts, meaning they need activation through CMD+K first.
Goto Anything and Command Palette. Two powerful tools, immediately explained on Sublime’s homepage.
Essentials
Package Control. The package manager for Sublime Text to install plugins and add repositories. It’s the de-facto standard for the community.
MarkdownEditing. A package for Markdown and MultiMarkdown that will add a new theme to Sublime Text and better editing features such as autopair for Markdown keys and useful keyboard shortcuts. Another gem by Brett Terpstra, a must-have for any Markdown writer who uses Sublime.
Macdrifter. My friend Gabe has been writing in Sublime for a few months now, and he’s collected several articles, links, and resources over at his blog. Just use the Sublime tag to find his coverage.
SmartMarkdown. Another plugin aimed at enhancing the Markdown functionalities of Sublime Text. SmartMarkdown brings folding and unfolding for sections, which can be triggered on a section-basis with TAB, or globally using Shift+TAB; this is very handy for long documents with several sections. The plugin also brings smart table formatting for MultiMarkdown tables, smart list continuation (also supported by MarkdownEditing), and a shortcut to move between previous/next headline.
DetectSyntax. A plugin that detects the syntax of files automatically. It tries to guess the best syntax for a file, but you can also set it to always open a new file with a syntax. To always open a new file in MultiMarkdown, add "new_file_syntax": "Markdown/MultiMarkdown" to “DetectSyntax.sublime-settings” (the plugin’s User settings).
Markdown Preview. A plugin to preview your Markdown document as HTML in the browser (with optional LiveReload).
Additional Tools
Soda theme. Sublime Text can be themed to your liking, and, so far, the best theme I’ve found is Soda (the light version), which requires the development version of Sublime Text. It looks great, even on Retina Macs.
Preview in Marked. Install Brett Terpstra’s Marked Bonus Pack for Sublime, then in any document (that has been saved at least once), hit CMD+B to preview instantly in Marked. I use it all the time.
Use UTF–8. I encode all my plain text files in UTF–8. To make sure UTF–8 is set as the default encoding in Sublime, add "default_encoding": "UTF-8" to your User preferences.
EncodingHelper. A plugin that tries to guess the encoding of a document and show it in the status bar. It offers options to convert to UTF–8 from a variety of encodings, convert to UTF–8 automatically, or convert to UTF–8 from guessed encoding. It also adds a useful “Reopen with Encoding” item to the File menu.
ChangeQuotes. Convert single to double or double to single quotes.
Origami. A plugin to enhance Sublime’s support for multiple panes. Origami lets you “carry” and “clone” documents in adjacents panels, as well as quickly create and destroy new panes. I use the “clone” functionality to keep the same copy of a document I’m working on at the bottom for easier access to footnotes.
WordCount. A simple plugin to show a document’s word count in the status bar. Make sure to have "enable_live_count": truein the Settings for best results.
Tips
Quickly open/close the sidebar: CMD+K, CMD+B. If you Open a folder containing all your notes, the files will be shown in the sidebar. Unfortunately, I haven’t found a way to sort items by modification date yet.
Hide line numbers. You probably won’t need them if you’re writing prose in Sublime. Set "line_numbers": false in your User Settings.
Use separate themes and color themes. For instance, I use Soda theme for the UI changes, and a modified version of Brett Terpstra’s theme for the Markdown syntax colors (you can download my mod here).
The Find menu. In here, you’ll see the multiple options Sublime supports for Find, Incremental Find, and Find and Replace. Every option (including navigation in search results) is associated with a keyboard shortcut. And make sure you master the Find in Files feature soon.
Expand Selection to Scope. In Markdown, you’ll be writing posts with links, which means brackets and parentheses. Sublime comes with excellent support for diverse types of selection (line, word, paragraph, etc), but one that stands out for Markdown writers is Scope: place your cursor inside parentheses or brackets containing a link, hit CMD+Shift+Space, and see what happens. You can also use the variant Expand Selection to Brackets; Scope, however, also works for Markdown headers. Furthermore, Scope will select single items inside a parentheses (with inline links, a URL or a title), whereas Brackets will select the entire contents of a bracket/parenthesis.
Switch from sidebar to active buffer: Control+0 to switch to the sidebar, ESC to move to the active buffer (in our case, a text file).
Always open a file type with a specific syntax. View > Syntax > Open all with current extension as > Markdown > MultiMarkdown. Now my .txt and .md files always open with the correct syntax.
Move between files quickly: Use Safari-like CMD+1...9 shortcuts to activate an open file.
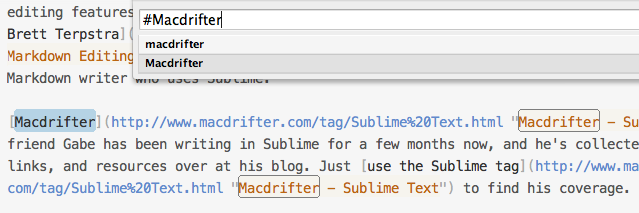
Perform fuzzy searches on any file. Using the Goto Anything command, you can perform a fuzzy search on a file that matches your criteria. For instance, I have a Scratchpad.txt file where I append text to every day using timestamps. Typing “scratch#27” in Goto Anything would return every line containing “27” (a day) in Scratchpad.txt. Use CMD+G or `CMD+Shift+G to move between results.
Multiple Selections. Sublime Text lets you have selections with multiple cursors at once. It sounds crazy at first, but it can actually help a lot in practice for, say, correcting all mispelled versions of a word in a document. It’s sort of like Find and Replace All, but for the cursor. Just highlight a word, hit CMD+D to expand the selection to a word, and keep hitting the hotkey to select the next similar word; use CMD+K, CMD+D to skip the current instance. Then edit all at once.
Quickly navigate between sections of a document. CMD+R to open Goto Anything with the @ character already filled in – Sublime’s shortcut for section navigation (headers in Markdown).
Highlight tabs with unsaved changes. Use "highlight_modified_tabs": true in your User Settings. Tabs will gain a visual indicator to show they have unsaved changes. It works well with the Light Soda theme.
Bookmarks. Sublime Text lets you set “bookmarks” (i.e. markers) in a document, so you can quickly jump back to a specific line later for editing or adjustments. From the Goto > Bookmarks menu (or through keyboard shortcuts), you can toggle a bookmark on a line, move between the ones you’ve created, or select/clear all at once. Bookmarks disappear when you close a document.
Distraction Free Mode. Just you and your words, no chrome, no menus, no Mini Map – just text. On OS X, hit CMD+Control+Shift+F to enter/exit Distraction Free Mode, which defaults to native full-screen on Lion and Mountain Lion. You can also enter Full-Screen with UI elements with CMD+Control+F or View > Enter Full Screen.
Quick Lorem Ipsum paragraph. Write “lorem” (without quotes) and hit TAB.
Keep using your existing utilities. After all, it’s just text. With Sublime, I can use my Keyboard Maestro macros (especially the ones based on Keyboard Maestro Markdown Library) just fine.
Wrap up
There are several more features of Sublime Text 2 that I haven’t covered in this article, but hopefully these links and tips will get you started with the app for Markdown writing and editing.
Sublime Text 2 is a powerful text editor with an amazing community of developers and contributors who enhance the app’s ecosystem on a daily basis. For Markdown (and MultiMarkdown) writers, Sublime Text has an undoubtedly steep (at least initially) learning curve, but once you start “getting” its basic structure and paradigms, the app can quickly become a fantastic addition to your workflow.
For writers, words are art, and the text editor is the chisel to produce art reliably. From this perspective, $60 for SublimeText is money well spent to support its development, even when an unlimited trial is available for free.


