Released earlier today on the App Store, Chrome for iOS version 29.0.1547.11 (according to Google’s release notes) brings various search and navigation improvements, as well as a new white-themed icon that seems to be aimed at making Chrome fit more with the upcoming aesthetic of iOS 7.
The first improvement is better handling of single sign on with other Google apps for iOS, something that the company has been focusing on lately to provide an even tighter integration between its apps for iPhones and iPads.
Alongside bug fixes and stability improvements, Google has added a way to more easily swipe back from a webpage to search results: when you search on Google and choose a result, when you go back to your search query you’ll see a new animation and, more importantly, your previous results instantly appear on screen. Switching back and forth between results was cumbersome in the old Chrome, as it wasn’t fast and often led to problems with the Google Search page reloading again.
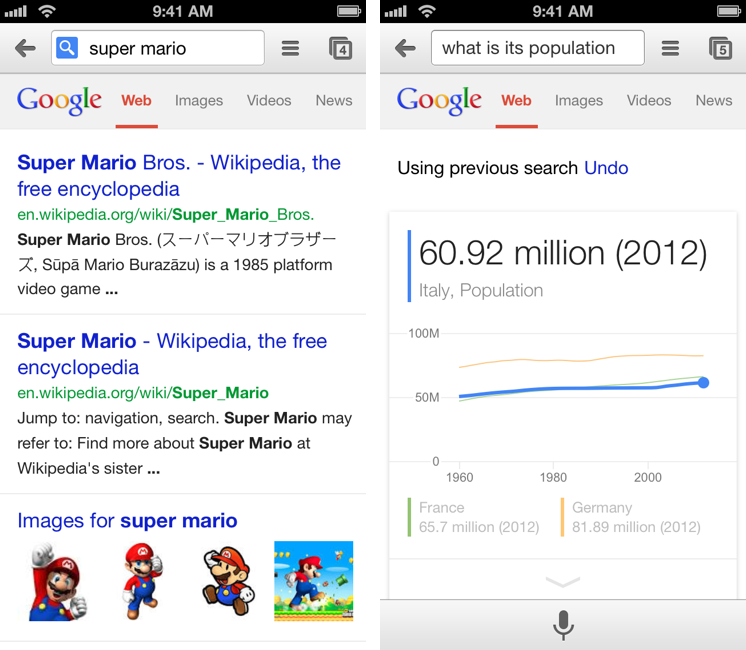
Last, Google says that Voice Search has been enhanced with pronoun support for chaining queries like “Who is Barack Obama?” followed by “Who is his wife?”. in my tests, the feature worked as advertised with US English Voice Search, correctly displaying results for the aforementioned person/wife combination, as well as “What is the capital of Italy?” and “What is its population?”. However, improved pronoun support doesn’t seem to be working with Italian yet, which wouldn’t be surprising considering that Google rolled out international versions of Voice Search months after the US launch.
You can get the latest Chrome for iOS update on the App Store.