Writing this article has been difficult. The fact is, I couldn’t stand Yojimbo until a few weeks ago. And I swear, I wanted to test it, buy it, become a Yojimbo die hard fan…but I couldn’t find a real use for it. Two downloads, two “move file file to trash”.
Now, this article is focused on the total awesomeness of Yojimbo.
What? Yeah, I changed my mind.

The big change happened when I stumbled upon this post from Shawn Blanc, “Yojimbo and the case of Anything Buckets”. As Shawn exceptionally outilines in his piece:
Four out of five of you are nerds. On your computer exists your hobbies, your current and/or future career, and the rest of your daily life. You don’t own a snowboard, but you do have a blog, a Twitter, an RSS reader, and a pirated copy of Photoshop.
You, my friend, need an Anything Bucket.
At the end of the post I was like “Oh man, I do need an Anything Bucket” so I decided to give Yojimbo another try, following Shawn’s tips.
And it’s been great so far.
What’s Yojimbo?
Let’s start from scratch: Yojimbo is an information / data organizer. It’s an application you can “throw” anything to, like a target waiting for you to start collecting stuff. By stuff I mean text, photos, links..almost every kind of file format can be saved into Yojimbo’s library.

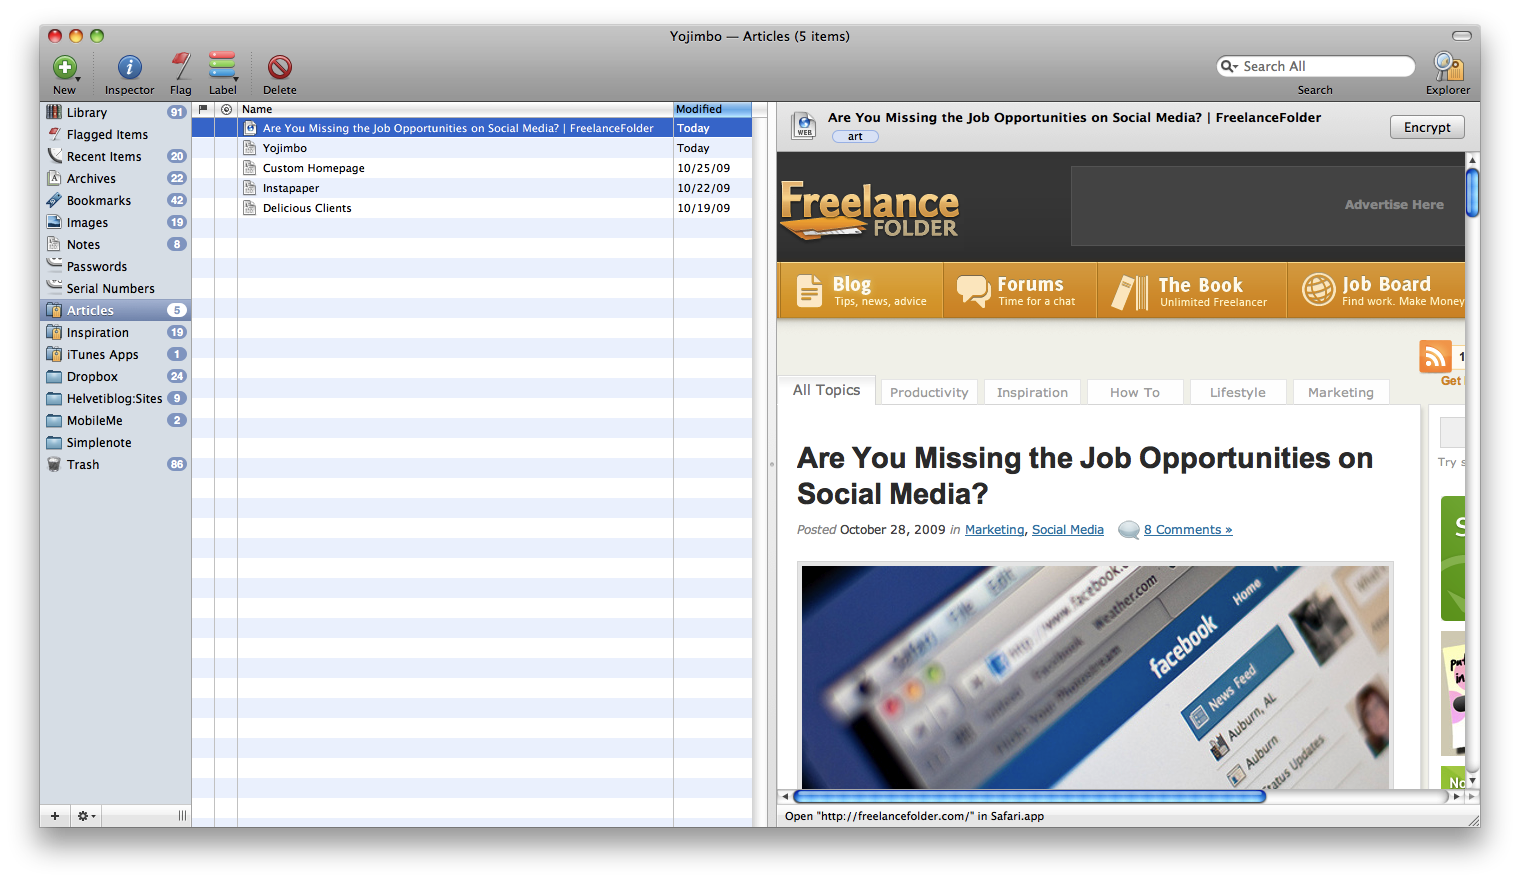
As you can see, the interface of Yojimbo is pretty basic: you can create folders and “tag collections” into the left sidebar, view files in the mid pane and edit / encrypt into the right pane. Please note that I edited Yojimbo’s main interface with this John Hick’s hack.
You can organize stuff in folders (just like Mac OS) or tag folders, basically folders which automatically display stuff with a tag you choose. This is really useful to me, but let’s move on. Every item you throw something into the bucket it is recognized by the application and moved into its position: for instance, every .jpeg file gets moved into “Images” and so on.
Obviously, you can drag & drop items into Yojimbo’s to re-arrange them.
Overall, the interface is too simple but it definitely works well. Sure, BareBones Software has to change all the icons in my opinion but - graphical discussions aside - the application window is well developed. Also, there’s a Tag Explorer button in the toolbar which is worth a mention: by pressing this button you’ll reveal another pane containing all of your assigned tags.
Much like Webbla’s tag tree, a very useful feature.
Tags
Yes, Yojimbo is highly based on the tag system. You can tag everything. Or, you should tag everything.
The problem is, if you start collecting tons of stuff (and by tons I mean dozens of links, notes and images) the Library becomes a mess. I think the main downside is that “List view” is the only available view: if BareBones guys will ever implement a grid view (don’t tell me about CoverFlow, the most useless thing I’ve seen on Mac OS X) things will surely get a lot better.
By now, heavy tagging is the only solution to this.
However, if you’re a web 2.0 addict, tags shouldn’t be a problem at all.
Getting Stuff into Yojimbo
Now, we should dig into the core of Yojimbo and talk about how you can add stuff into the Library. Mostly, in two ways: Drop Dock and Quick Input.
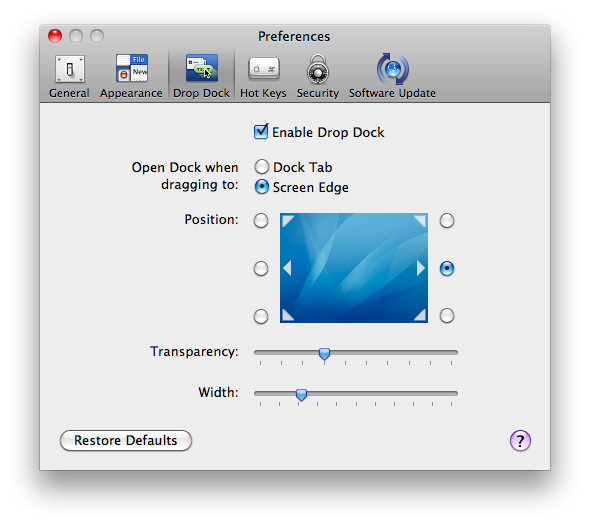
The former is a small tab which gently sits at the side / bottom / top of your screen (you choose) waiting for you to drop stuff into it. As you drag a file over the Drop Dock, the tab expands reveiling Library, Flagged, Folders and Tag Folders: if you mess around with the Inspector (Cmd + Shift + I) you can decide to show / hide a folder in the Drop Dock. When you drop a file into a tag folder it is automatically assigned that tag.
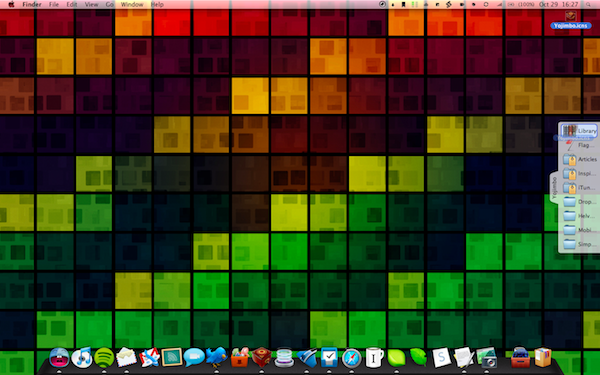
Last, size and transparency are adjustable from the app’s Preferences.
On the other hand, Quick Input is nothing more than a floating window which pops up via keyboard shortcut. And, for the workflow I have, I’m quite disappointed with it.

First, you can’t change its position: being a floating window, you should be able to drag it all over the screen, but that’s it. Then, I think the input system itself has many problems. For example, let’s say I’m reading a page I want to save into Yojimbo: in a “normal” process I’d select (and eventually copy) some text as a Description, press a button, then the app should display Title and URL fields automatically filled together with the text I previously selected ( and eventually copied) as a Description.
DeliciousSafari has it, Pukka has it, Delibar has it.
Yojimbo is different.
Indeed, it’s different because it doesn’t support this process. It only supports copied text (not selected) and doesn’t autofill url / title. Worse, it autofills it with the text it finds in the clipboard.
Moreover, Quick Input has another major downside. Let’s quote Shawn again:
Similar to the Quick Entry HUD in Things, Yojimbo’s input panel is an easy and ubiquitous way to capture info on the fly. Unlike the HUD in Things, however, is the Quick Input Panel’s frustrating behavior with click-through. I am a big fan of how the Quick Input HUD from Things handles click through: when HUD is frontmost you can navigate, click, select, drag, and drop all around your Mac without the HUD closing. The Yojimbo input panel operates the opposite: when creating a new item, clicking outside of the input panel will instantly cause it to disappear. The info isn’t lost, you just have to re-invoke the panel to get to it again.
Pretty much self explanatory. If you invoke the quick input and you’d like to attach an image (please note that the window itself says “Drag Image Here”) it’s very, very difficult.
One good thing I noticed about the Input it’s the interface: the animations are very smooth.
Anyway, Drop Dock and Quick Input aren’t the only ways to get stuff into Yojimbo. Besides the usual File->New… menus, you’d like to know that many people created custom applescripts / apps to sync Yojimbo with other online services.
You’d probably already know SimpleNote: it’s a very straightforward iPhone note taking app which sync all the notes to its own server. John Gruber loves it, and I do, too.
Anyway, while I was browsing the last night searching for some good Yojimbo hacks, I thought it would be great to have all my SimpleNote notes backed up and organized into Yojimbo. Turns out that it’s possible.
Indeed, Chasing Daises has created a simple application called SNYS (SimpleNote Yojimbo Sync) which syncs the Mac app with the online service in a few simple steps.
Read the author’s description:
When first run, the script creates a collection called “Simplenote” in Yojimbo if there isn’t already one, and asks you for your email and password for Simplenote, which it will store in ~/Library/Application Support/Simplenote Yojimbo Sync. It should then perform an initial sync, downloading all of your Simplenote documents and putting them into the Simplenote folder as plain text notes in Yojimbo.
From then on, every time you run the script it will sync everything in that collection with everything in Simplenote. If you delete an item from one but not the other, it will re-appear.
The application stays open after being run, and will sync Yojimbo with Simplenote every hour until you manually quit it. You might wish to have it launch on startup.
SNYS has Growl support, which you will probably find a lot more convenient for notifications than dialog boxes.
The application works perfectly, and it’s a great addition to Yojimbo, whose developers don’t will to open up to external services by now. (Just to let you know, I’d love to have my Instapaper stuff into Yojimbo). Fortunately, there are a lot of user created Applescripts ready to be downloaded, just search on Google for the one you need. For instance, I’ve set up two Applescripts with FastScripts: Send Mail to Yojimbo (from Shawn Blanc) and another one which, in combination with Mail.app rules, sends mail messages to a specific Yojimbo folder.
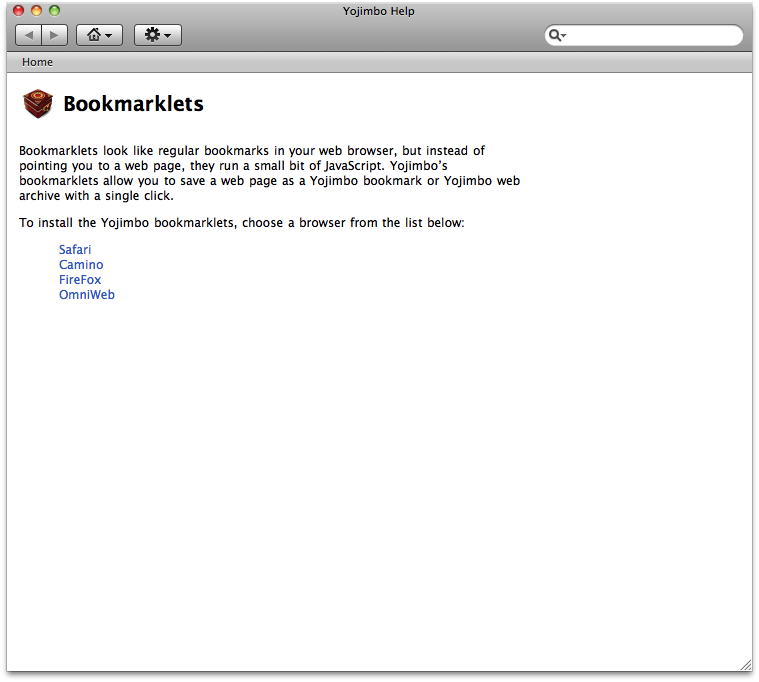
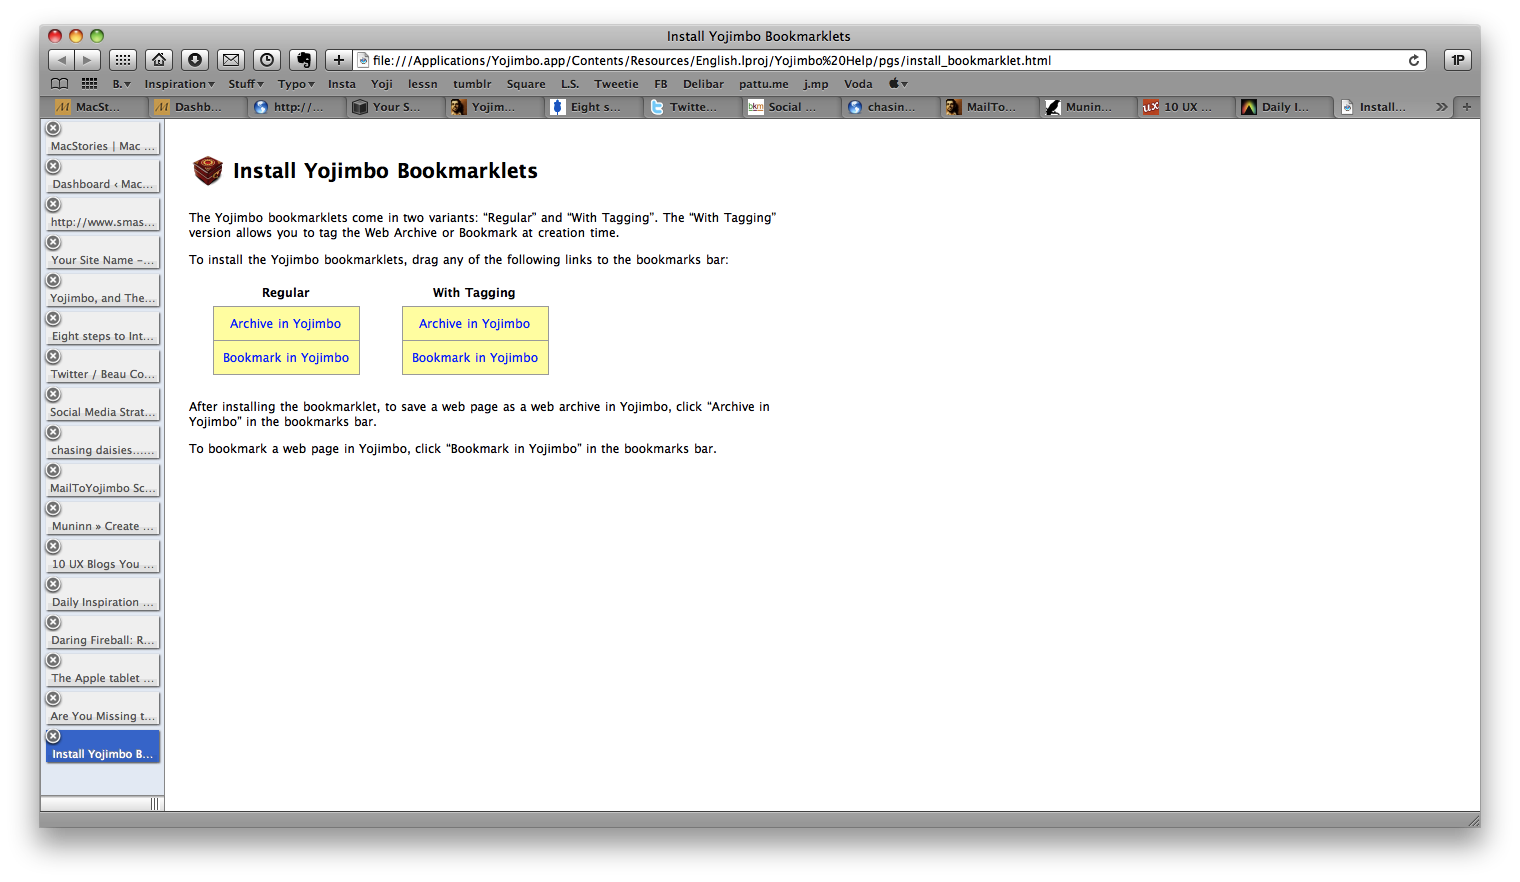
Last, I should mention the bookmarklets. From the help menu of the application you can open up a new window which contains bookmarklets for many Mac browsers. You can choose between a “Regular” and a “With Tagging” bookmarklet, both of them work great. I highly suggest the tagging one.

And that’s enough for the ways you can get stuff into Yojimbo. Sure, there are plenty of “homebrew” scripts / apps / whatever, but these ones are the most popular, no doubt.
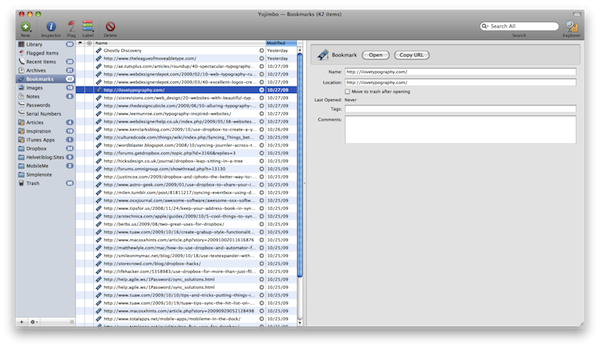
How Yojimbo Saves Files
Now, I think you should know how Yojimbo actually saves files. Well, aside from the way it saves images, it’s a pretty good system. First, you can choose to save URLs as plain bookmarks or web archives. Web archives are basically a full copy of the webpage, with text, images…everything. If you save a webpage as a web Archive, it keeps all its clickable links and stuff, although I noticed some incompatibilities if ClickToFlash plugin is enabled.
Maybe the developers should fix some Webkit rendering problems, God knows.
Anyway, I think this web archive option is useful to people who actually need to save the whole content of a page, not the page itself. I mean, during my workflow I need to associate pages to an article for future reference, for this reason I only need to keep the link contextual with the article. I create a tag folder, start writing the article, save a page in the same folder. I don’t need to save everything from the page..just the url. But still, this is my workflow, it surely will be more useful to other people.
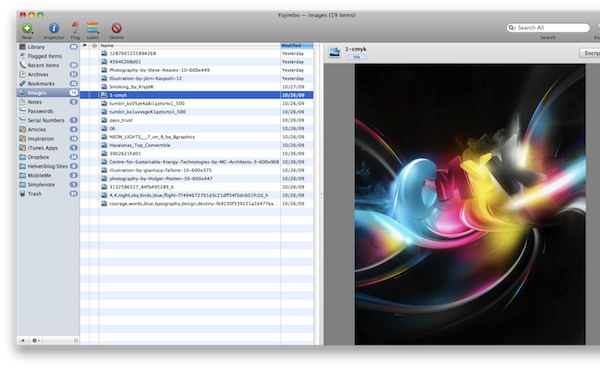
Speaking of how Yojimbo saves images, I’m deeply disapponted. Each image you’ll save won’t be saved at full resolution and it won’t keep the original url in its metadata. This means, you can only have a low-res copy without its orginal source. This is totally meaningless. I hope BareBones will fix this in 2.1.
Then, text. Yojimbo supports Rich Text format, so you can edit styles, alignement, baseline..If you’d like to paste text as plain text, it’s impossible. Or, it’s not real plain text it’s just “Paste and Match Style” meaning that it will only be convert to the current rich text format you’re using. Again, I hope the plain text option will come in the 2.1 update.
As for the database file itself, it’a .sqlite file saved into /Users/yourname/Library/Application Support/Yojimbo.
Now, there are tons of creative uses for this Database.sqlite file floating around: the best one in my opinion, involves creating an iCal event which automatically backups Yojimbo database everyday into a Dropbox folder. You’ll just have to create a custom Automator workflow which will get and copy the database file into Dropbox; then create an iCal event which runs the workflow file everyday.
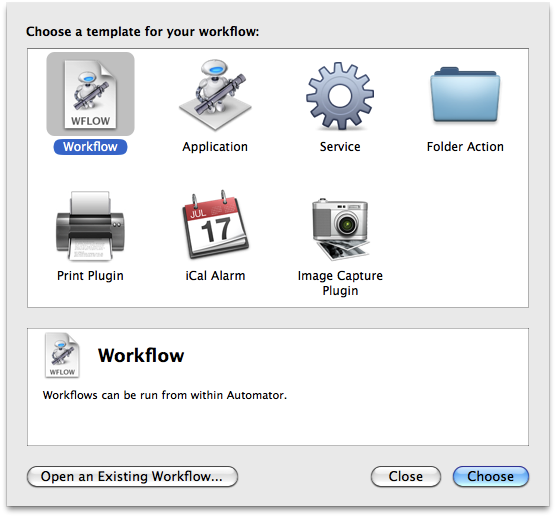
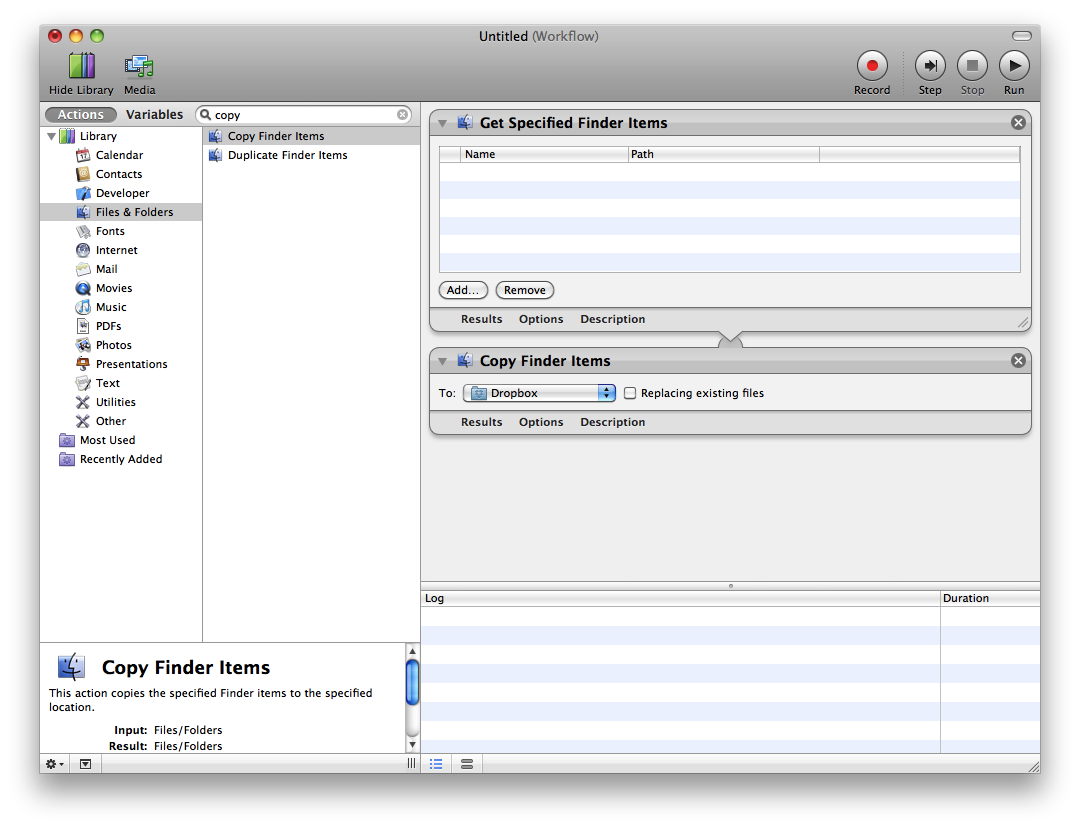
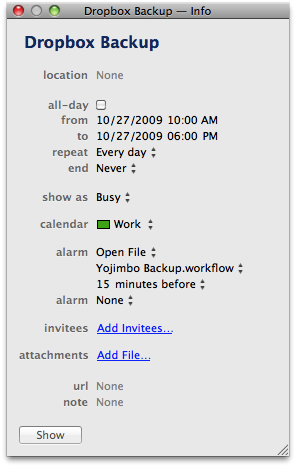
Follow this great tutorial to set it up.
Another tip I’d like to share with you is how to create a Yojimbo iPhone app with Dropbox: it doesn’t require the database file, but it’s definitely worth a mention.
Final Thoughts
Despite the many flaws this version 2.0 has, Yojimbo totally rocks.
I tried many information organizer apps before (Evernote, Together, Journler) but none of them really gives you the same amount of power Yojimbo gives you. Sure, Evernote has the online sync service and an iPhone app, but as I said many times before, Yojimbo is just different.
It’s a bucket for your Mac. Stop.
Morever, is still possible to acheive many sync options via other apps / scripts, as pointed out in the article.
Now, you could argue about the real usefulness of an app such as Yojimbo, and you would be right.
Yojimbo is not for everyone.
It’s for people like me, who daily save tons of links, text, images, notes and create folders, smart folders, tags. So, is Yojimbo for power users? No, it’s for people who need to organize stuff into a central hub which links every item to another.
That’s why Yojimbo rocks.