Give Me My Eject Key Back!
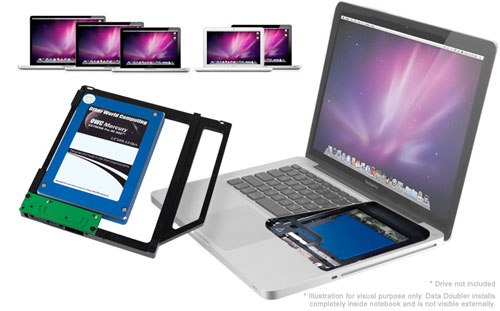
A couple of months ago, I visited the OWC offices and took advantage of OWC Jamie’s workbench skills and had him perform some “OWC Love” on my 2011 MacBook Pro by removing the optical drive and replacing it with an OWC Data Doubler + 750GB HDD – to compliment the 480GB SSD I already have inside as my start-up disk.
With the optical drive removed, I started thinking about how the Eject key was now totally useless, and I thought that maybe there might be some way to re-purpose it to do something useful. Turns out that I was by far not the first person to ever have this thought and that there are apps pretty much dedicated to remapping the Eject key. These apps are especially popular with MacBook Air owners who are without an internal optical drive right out of the box.
One of the cool things you can do to a MacBook Pro is remove the optical drive in place of an OWC Data Doubler, which turns your optical drive bay into a usable bracket for a second internal hard drive. The benefit is that you can either achieve super fast speeds by setting a pair of SSDs in RAID 0, or you add additional space or a scratch disk to your machine without the added bulk of external storage. In doing this, however, the eject key on the MacBook Pro becomes needless. After all, how many times do you normally use that key anyway? Erik offers some great advice on how to map your eject button to something functional, while retaining the ability to eject a USB optical drive.


