Don Southard

56 posts on MacStories since September 2011

Former MacStories contributor.

This Week's Sponsor:

Listen Later

Listen to Articles as Podcasts


Transfer Files with Alfred - Zero Config Required

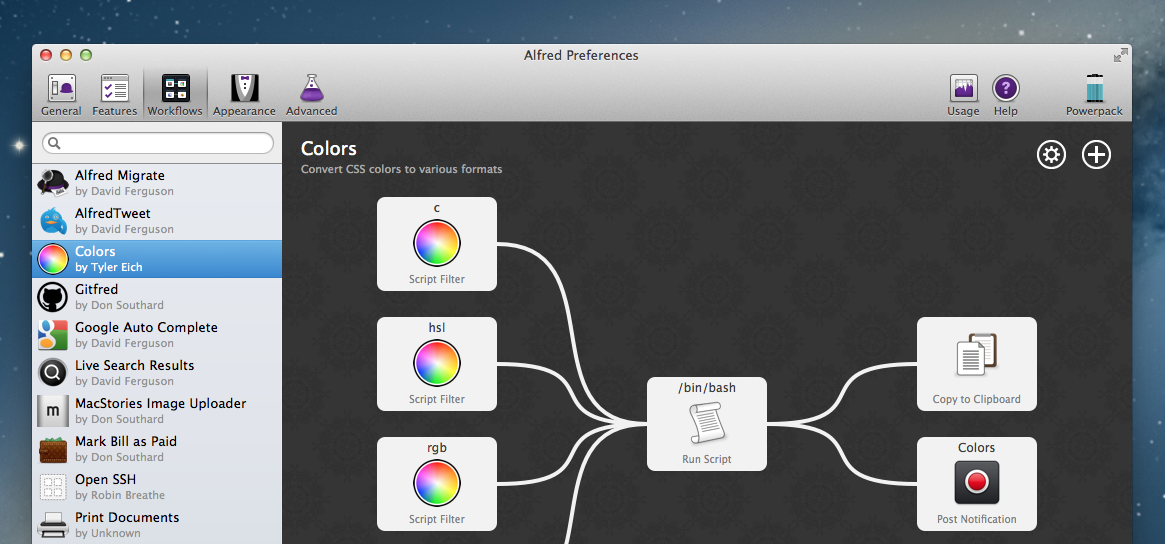
File transfers between computers on a network can be a pain. No one wants to memorize hostnames and IP addresses are often dynamic. Apple made huge strides in simplifying the process with AirDrop but the UI leaves a lot to be desired especially if you are looking for fast transfers with minimal interactions. If you are an Alfred Powerpack user then you are probably already familiar with the many ways Alfred workflows can speed up simple actions without ever having to take your hands off the keyboard. Wouldn’t it be great if you could transfer files using Alfred with absolutely no configuration?

This is exactly what I had in mind when I made the Alfred File Transfer workflow. So how does it work? It is powered by the pyncp project. A few months ago one of my favorite blogs, One Thing Well, linked to the pyncp project which is a Python port of the popular linux utility – NCP. Pyncp is essentially a command-line tool for copying files across a LAN without any configuration. You simply run the pyncp push command on one computer, then run the pyncp poll command on the second computer and file is transferred. However, I ran in to some initial issues that prevented pyncp from working properly on OS X – so I forked the project, refactored some code, and got it working.

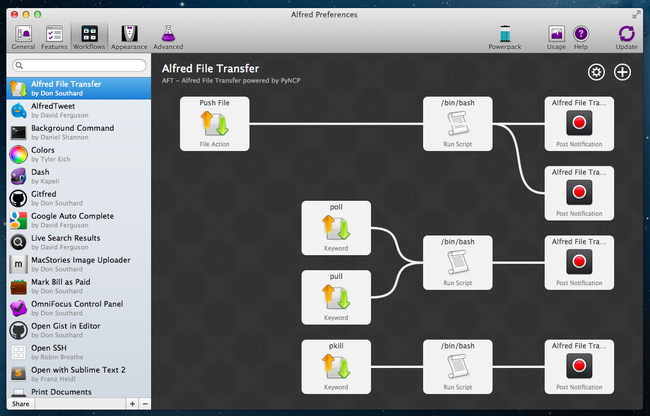
The Alfred File Transfer workflow is simple. First, install the workflow on each computer. Then select a file to transfer in Finder and show the list of available Actions using Alfred’s ⌥ + ⌘ + \ keyboard shortcut. Type push and select the corresponding Alfred action. On the second computer, simply bring up Alfred and type pull – the file will be transferred to the ~/Downloads folder on the destination computer. That is all there is to it!

Check out a video of the workflow in action:

This workflow is simple yet very powerful because it allows you to move files across your network using nothing more than your keyboard. It is worth noting that this does not provide the encryption and security provided by AirDrop so if you are transferring sensitive information on a public network – use with caution. However, I have found it extremely useful on my personal computers at home. If you find this workflow handy be sure to thank Felix Richter for his hard work porting NCP to the Python language.

Download the Alfred File Transfer workflow.


Minibar - Mixing Cocktails With Class

I would not consider myself a mixologist but I do enjoy the occasional adult beverage. Whether it is in an aluminum can or it is finely crafted with aged liquors and muddled with exotic fruits, I will drink it. I originally went through a cocktail making phase when I was really into Mad Men but who hasn’t done that? And up until recently I referred to my bar book when I needed a decent receipe for a mixed drink. I now have a better option — Minibar for the iPhone. Read more


Wingman – Your GitHub Code Concierge

On the surface Wingman is a simple menu bar application that integrates with a Github account to manage projects. As you dive deeper into the app you will find more robust features that help accomplish routine tasks such as the ability to create separate branches for features, bugs, hotfixes, and releases. What makes Wingman so simple to use is not the minimal interface, actually it is the “Task Driven Workflow” that is easy to understand for developers and non-developers alike.

All actions in Wingman start with a task. For example, if you have a bug in your project you would like to work on, you would start by clicking the Wingman icon in the menu bar (or by hitting command+enter on the keyboard) and arrowing down to your repo for that project. If you have already loaded the project then a sub menu will display the available tasks you can perform for that project (e.g. Work on a new bug fix or Work on a new feature). As an example, I chose Work on a new bug fix. Wingman will ask for a name to associate with the bug fix and it even allows you to select a pre-existing GitHub Issue or create a new one at that time. Wingman then goes in to action doing all the work required to create a separate branch for the bug fix as well as cloning it to your local computer. The automated tasks are quick and reliable in my experience. The integration with GitHub Issues is perhaps my favorite part of Wingman. Having a paid account with GitHub for a while now, I love tools that really help me get my moneys worth out of the service. I have been using Wingman with a couple of projects in private repos associated with a GitHub organization account and it has worked flawlessly.

Read more


Apple Releases iOS 6.1.3 With Passcode Bypass Fix

iOS 6.1.3 Update

iOS 6.1.3 Update

Today Apple released iOS 6.1.3. It is an incremental improvement to iOS that includes a security patch for the previously publicized vulnerability that allowed access to the Phone app even when the screen was locked. The release notes also mention improvements to the Maps app for users in Japan. Perhaps some of our kind Japanese readers can give us some insight in to the changes Apple might have made to the Maps app. Finally The Next Web is reporting that some of the vulnerabilities required to jailbreak iOS devices have in fact been patched which means that the cat and mouse game between Apple and the jailbreak community continues.

The update is now available through iTunes and iOS’ Software Update panel and it is assumed that the update will ship to all iOS devices that are iOS 6 compatible.


Alfred 2: Rewritten From The Ground Up, Workflows, Themes, and More

Alfred is one of the few apps that I can honestly say have changed the way I use my Mac. I remember the first time I downloaded Alfred back in 2010, the 0.4.1 beta had just been released. I was frustrated with the complexities of Quicksilver and wanted to try something different so I downloaded that early version of Alfred. I remember thinking it was nice, had a small handful of useful features, but ultimately I got bored and deleted it. I hadn’t even given the app another thought until Apple launched the Mac App Store and Alfred was one of the apps to be initially available in the store. I downloaded the free version and not even a week later I had purchased the PowerPack. I lost countless hours of my life scripting extensions to do anything and everything. Over the next 2 years the app received incremental upgrades adding new features with each release. This led to an overwhelming and hard to navigate labyrinth of settings and preferences.

Alfred 2 doesn’t feel like an incremental upgrade to the original app. I think it could be better described as a fresh start. Rebuilt from the ground up, Alfred 2 sports a more logical preference structure that has been simplified for easy navigation without losing any features from version 1. Most notably, the developers replaced extensions with more powerful workflows. The user interface is larger, cleaner, and has new Retina-ready icons.

Read more


Recovering a Lost QuickTime Recording

I recently wrote up an interview here on MacStories and although I was able to get it posted, I almost had to scrap the entire article because QuickTime crashed and I lost the recording of the interview.

I say it was a crash but to this day I still don’t know what happened. I had recorded my conversation with Ken Case on my Mac using QuickTime X player. The process to record audio with QuickTime is simple enough and it has never failed me in the past. After we got off the phone I immediately hit play on the recording to make sure the sound levels were adequate – first mistake. I should have hit Save then checked the sound levels. Not wanting to listen to the interview on the speakers in my display I paused the interview and left the room to track down my headphones. When I came back the audio recording was gone. The QuickTime application was still running but the recording window was gone.

My stomach dropped.

I frantically started tabbing through all of my open applications to see if anything else had closed, but they were all running. I checked all my desktop spaces and minimized windows but found nothing; it was gone and I hadn’t clicked save.

At this point, I hit up Viticci and started cussing like sailor at my own stupidity. He later told me that when I wrote up this recovery tutorial, I could post exactly what was said in our conversation. However it was so explicit that I decided not to.

Anyway, I started crawling the web for any information I could find on QuickTime temp file locations, Viticci and Cody contributed some suggestions as well.

Here are some of the potential locations I checked via web results:

$TMPDIR/com.apple.QuickTimePlayerX 
~/Library/Caches/QuickTime/ 
/tmp /var/folders/ 
/tmp/501/TemporaryItems/ 
/Library/Application Support/ 
etc... 

Unfortunately, none of those directories turned up anything useful. As last attempt I decided to run some 3rd party recovery software.

I did a quick Google search and downloaded a demo of Disk Drill for Mac. After running it for about an hour, it found a lot of deleted files, but not my QuickTime recording. The problem was I still didn’t even know what format it would be in or what filename it might have.

I soon remembered that I had a copy Data Rescue 3 so I immediately ran it. Data Rescue 3 ran for several hours, well in to the night, and found a lot more than the demo of Disk Drill found. However I was in the same situation, I had a lot of files but none of the audio recordings it found was the interview with Ken Case and I still had no idea where I should be looking.

So I decided I would start another recording in QuickTime, stop it, then check all of those temp location suggestions I had found. Unfortunately I didn’t find anything useful doing that.

Then by either divine intervention or a stroke of genius I opened a Terminal window and dragged the little QuickTime icon from the recording window in to the Terminal window and dropped it.

Sure enough, it printed out the location and file name of that test recording.

It all became clear, I can’t believe I hadn’t thought of it sooner. Now that QuickTime is sandboxed I needed to look in QuickTime’s container for the temp recording. I finally had all of the information I needed:

In the directory:

/Users/Don/Library/Containers/com.apple.QuickTimePlayerX/Data/Library/Autosave Information 

In a bundle called:

Unsaved QuickTime Player Document.qtpxcomposition 

I simply had to right click on the .qtpxcompostion file and inside I found the .m4a audio recording of my QuickTime test.

Now this is where the magic ends; this next part, the actual recovery of the file was thanks to Time Machine doing hourly updates. I simply had to open the Quicktime Autosave Information directory in Time Machine to the time right after I ended the call with Ken and there was my recording in its sandboxed temp directory.

I know this probably seems like common sense – just open up Time Machine and recover the file. However if you don’t know the filename or the directory it was located in your backup is not going to be much use. Thus, I felt this was worth sharing in case you are ever in the situation of having to retrieve a lost QuickTime recording.

Now you know where to look.


Instashare: Transfer Files the Easy Way

Instashare is a new iOS/Mac app by the folks over at Two Man Show, also known for their popular Finder style iOS app – iStorage 2. Instashare is a unique app for effortlessly transferring files between your iPhone or iPod touch and a Mac computer.

The iOS app is extremely well built. It has an interface consisting of three main pages that the user must swipe through to navigate the app. The first page displays the files you have available to share with other devices running Instashare; the second page gives you quick access to the photos in your Camera Roll; the third page is reserved for some basic settings, help documentations, and for the $0.99 In-App Purchase to disable ads. I made one transfer from my iPhone to my Mac, and immediately paid to remove ads because I knew this app would be a frequently used tool in my iOS workflow.

Instashare’s UI is clean and intuitive to use. Simply hold your finger down on any file or picture and you will be presented with a list of any nearby devices to which you can drag and drop your file. The drag and drop functionality along with the animations and user interface are a complete home run. Read more


Interview: The Omni Group’s Ken Case On OmniFocus 2, OmniOutliner 4, And More

Omni

Omni

In the midst of The Omni Group’s hectic schedule of debuting exciting new Mac versions of some of their most popular software, including the highly anticipated OmniFocus 2, CEO Ken Case sat down with MacStories from the 2013 Macworld/iWorld event to tell us about some of the new products releasing this year.

Ken and I discussed the upcoming versions of OmniFocus, OmniOutliner, their new OmniPresence technology, and also some great new iPad specific features coming to OmniGraffle and OmniPlan this year.

Read more


Sprinkle a Dash of Cocoa in Your AppleScripts

The framework AppleScriptObjC allows users to write scripts with an interesting fusion of the AppleScript and Objective-C languages. Specifically, Apple describes the framework as:

AppleScriptObjC lets AppleScript objects serve as Objective-C objects in the Cocoa runtime

Basically this means that you can use simplistic Objective-C code in an AppleScript with the seemingly easier to grasp syntax of AppleScript. If none of this makes any sense yet then just hang in there and I will explain in a very visual tutorial in which I will build a sample Cocoa-AppleScript app that simply sends a notification to the Notification Center and quits.

Read more